HOLE BY HOLE
Course Overview
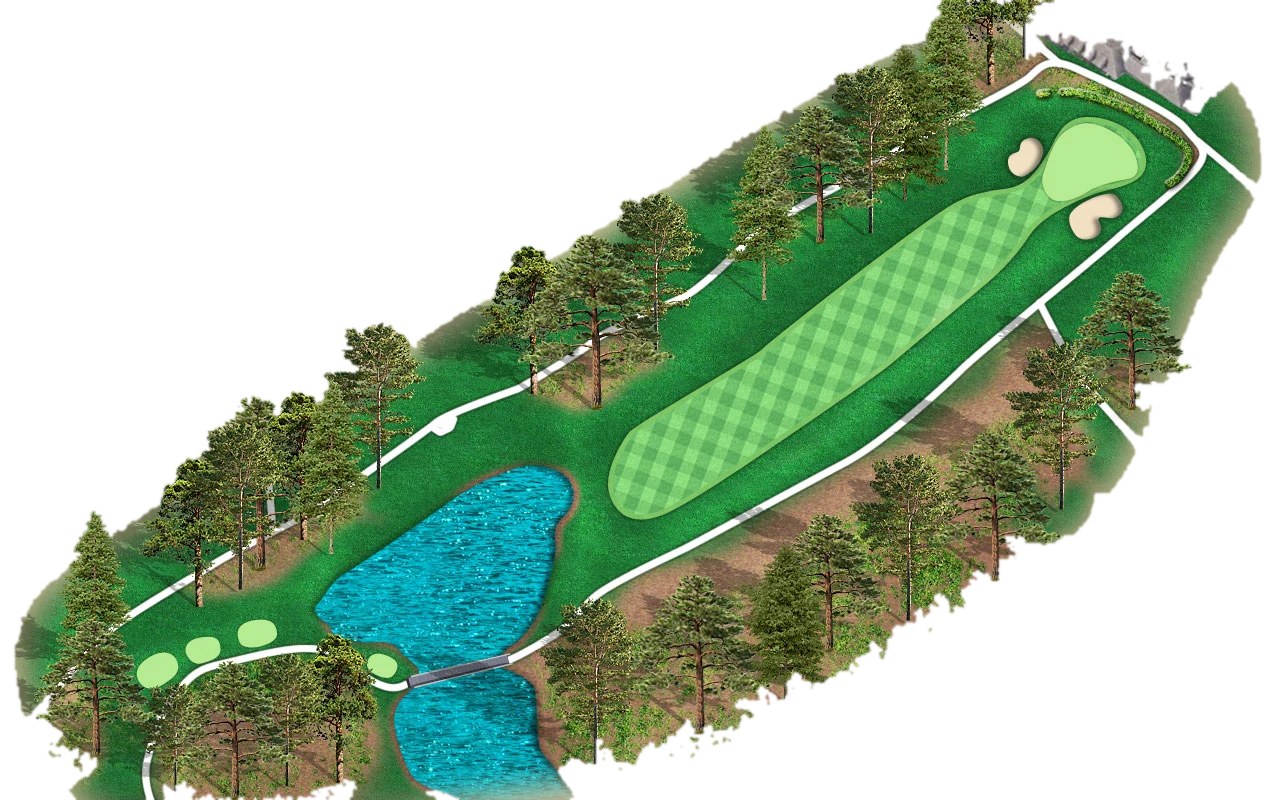
Ron Kirby’s routing at Berkeley Hills stretches to 6,900 yards from the Black tees and plays to a par of 72. Seven sets of tees, including the Players and Sr. Players combinations, let every golfer choose the right test.
Select a hole on the course map, or scroll to walk the course from the first tee to the eighteenth green. Each hole shows the photograph, the layout illustration, the yardage from every tee and notes on how to play it.
Hole 1
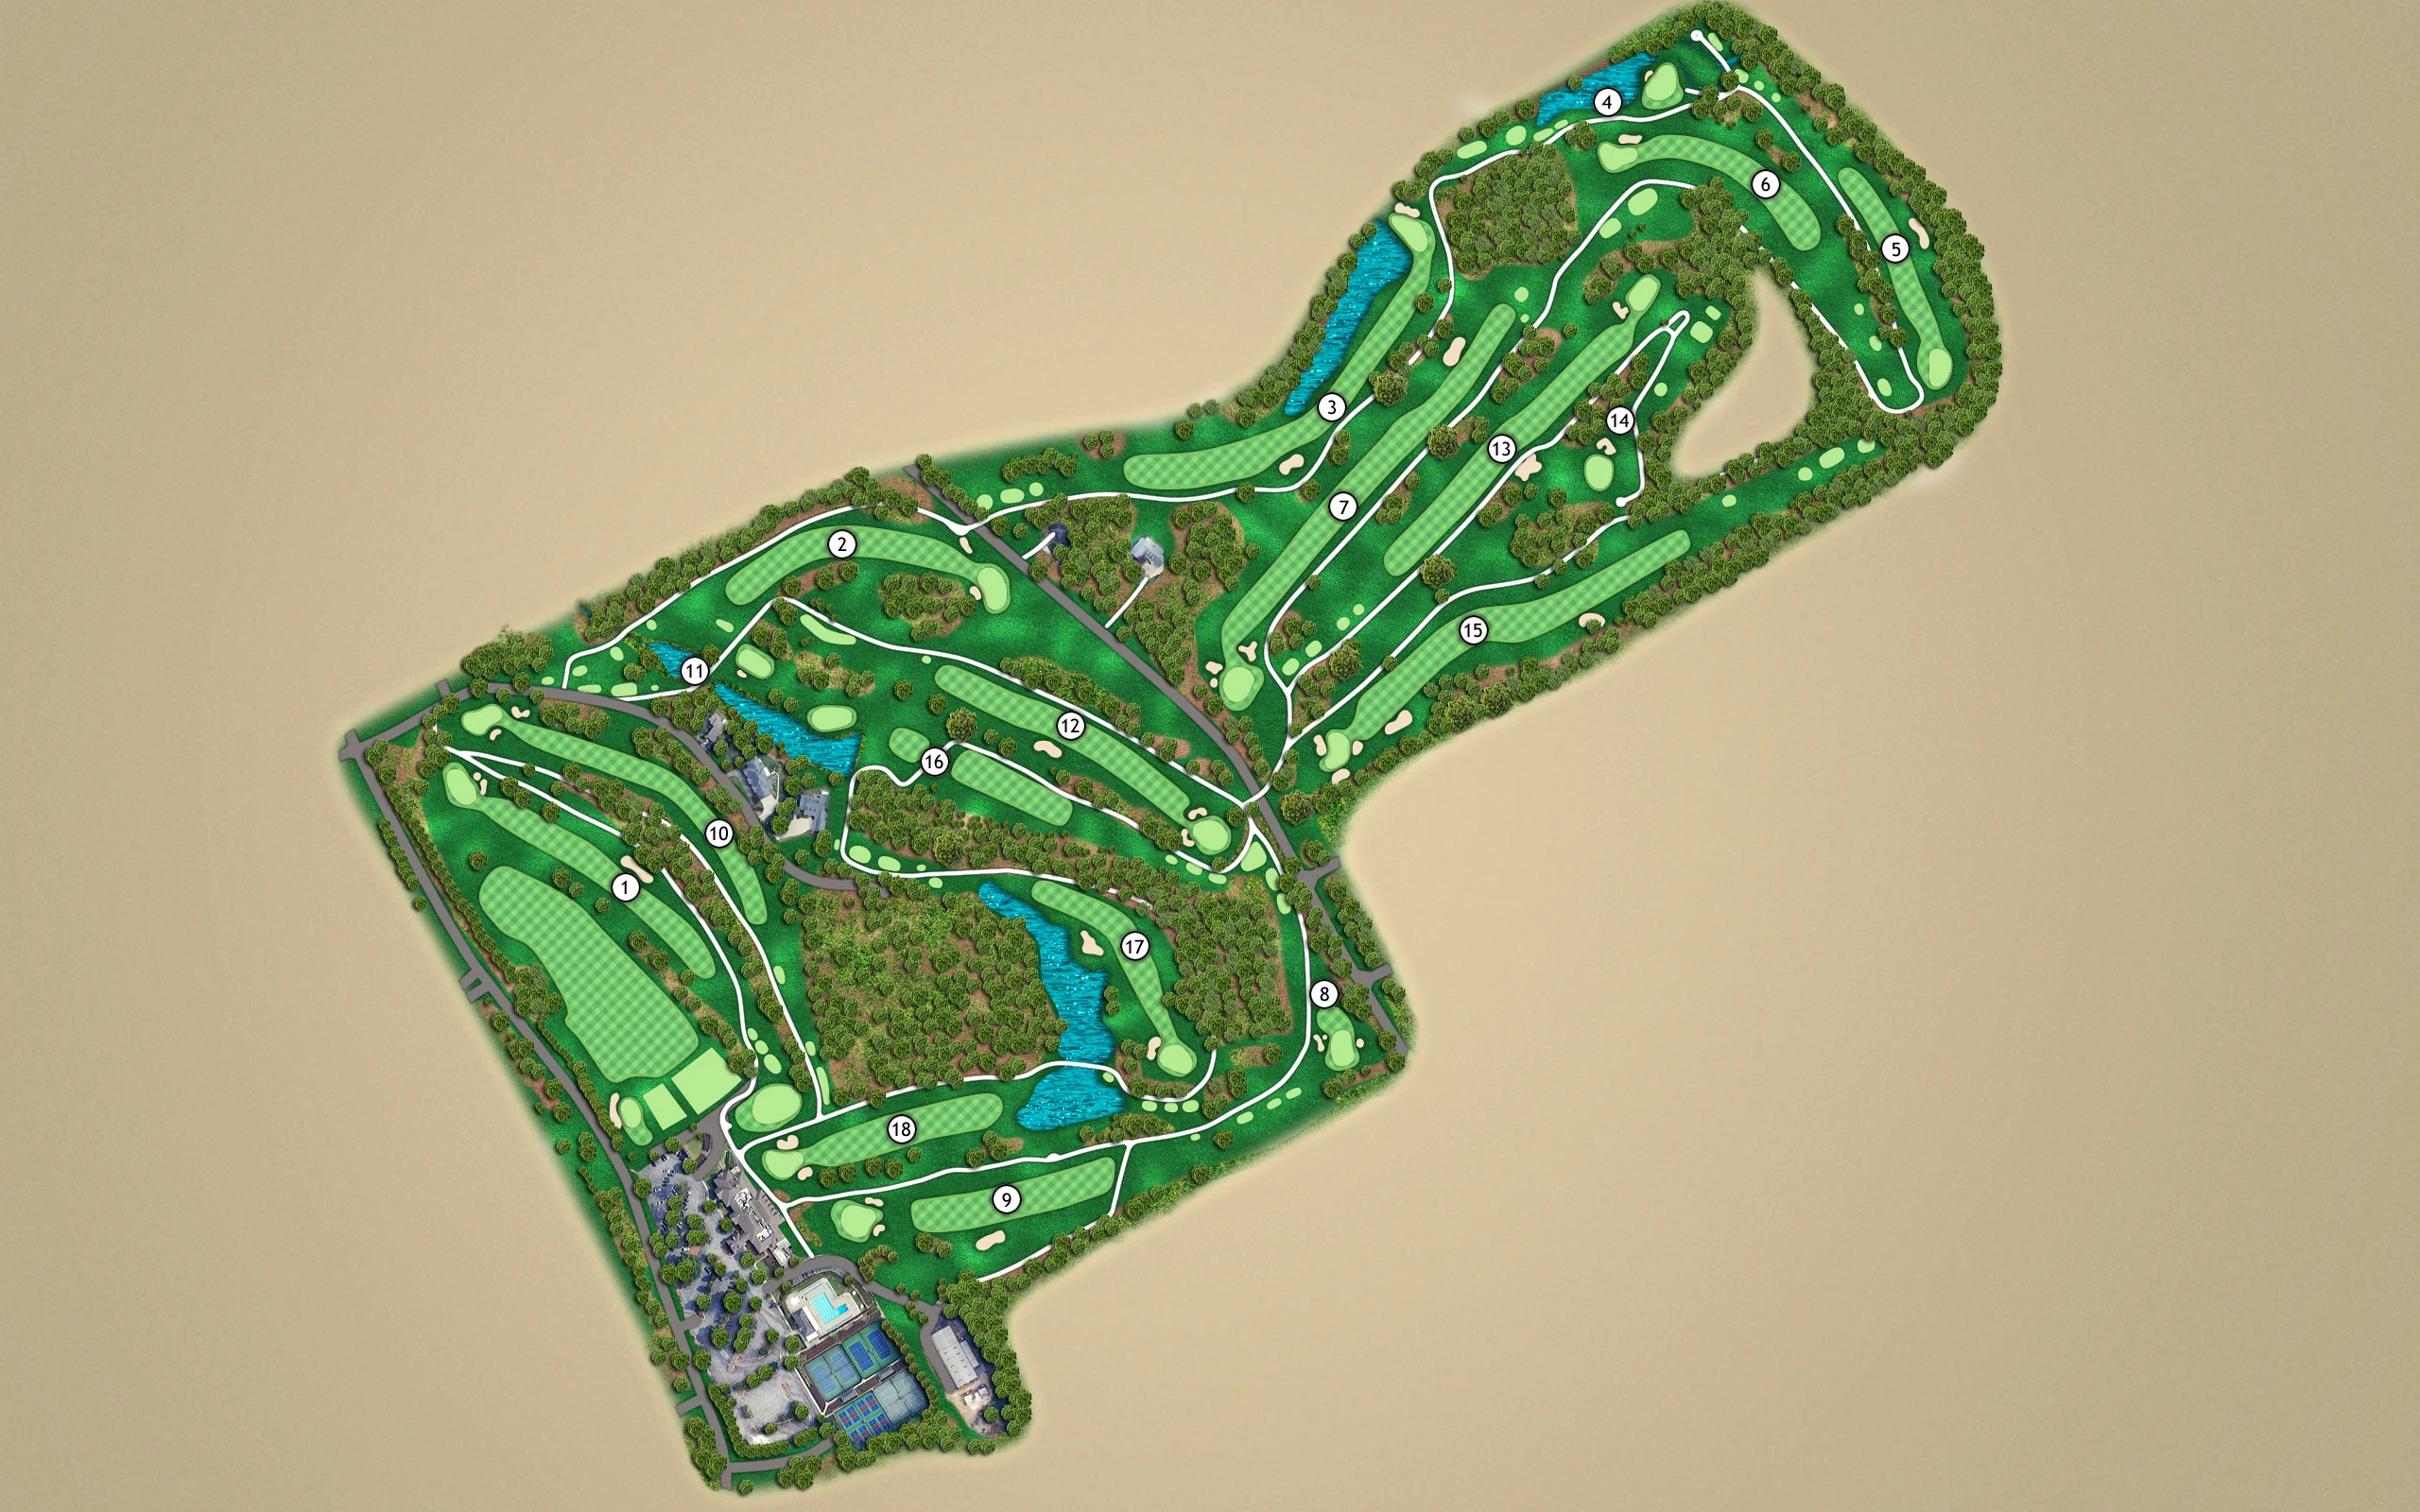
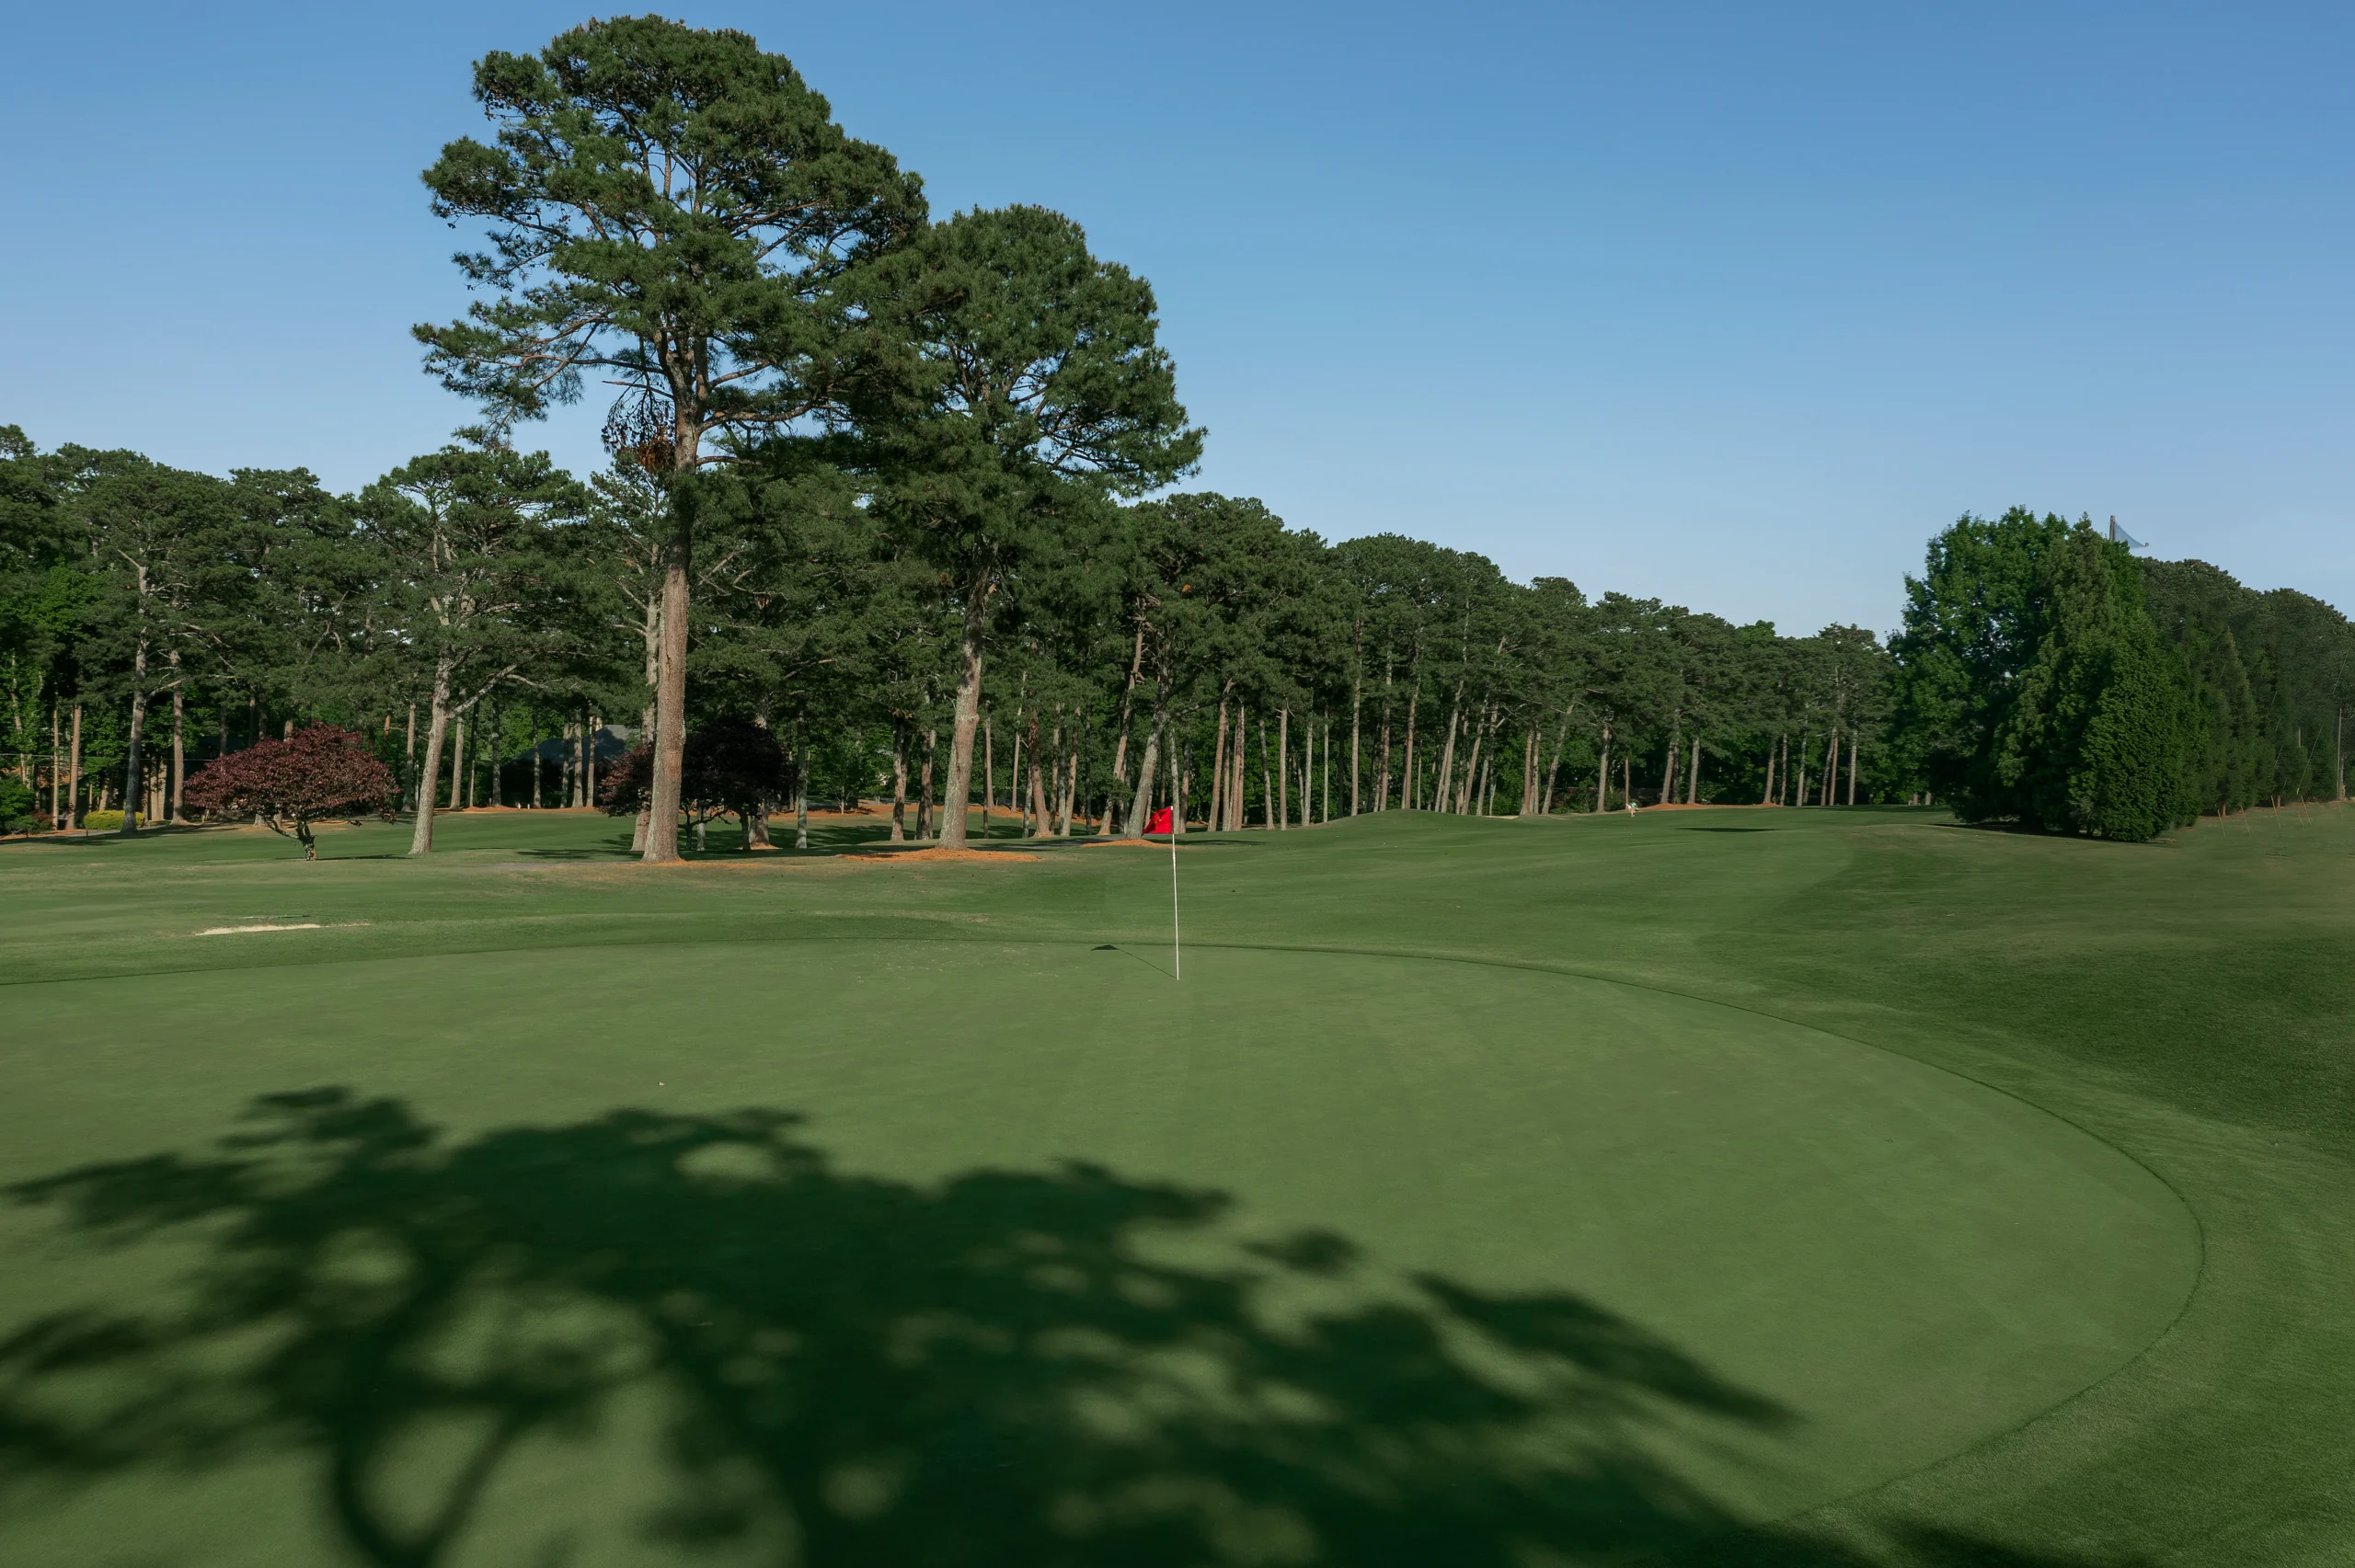
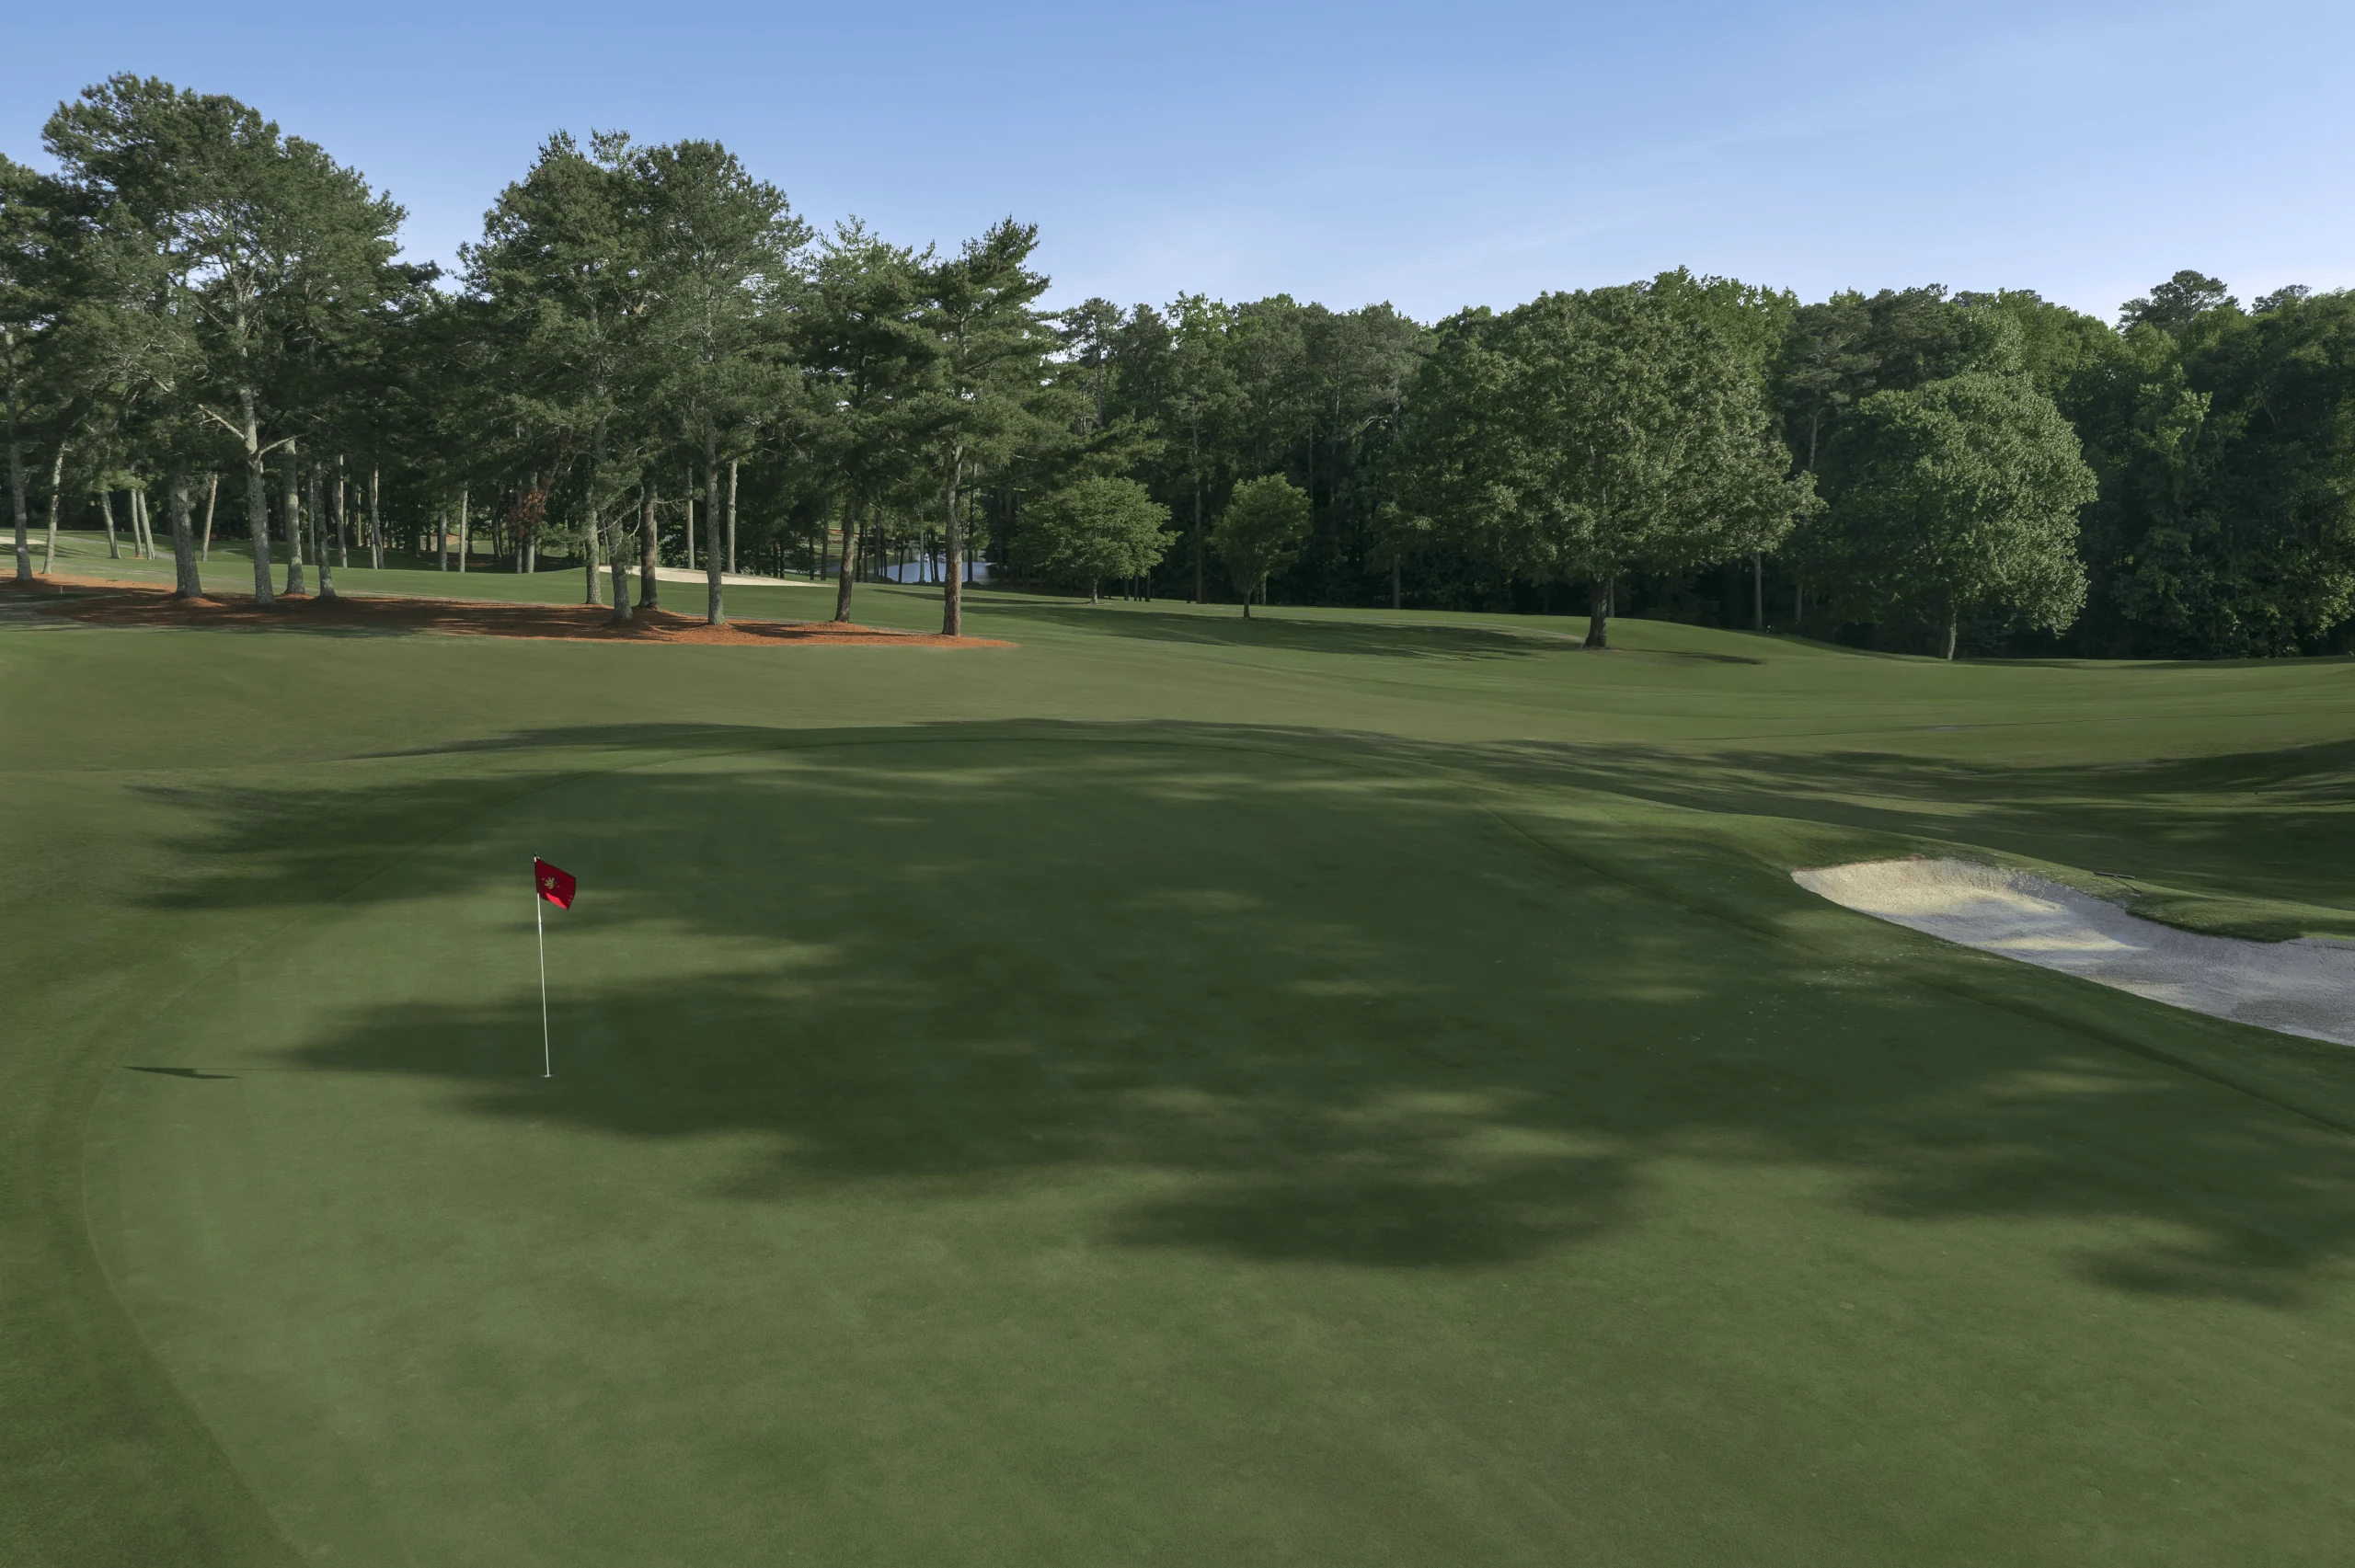
Like many holes here at Berkeley Hills Country Club, you cannot over power this medium length dogleg left. Accuracy off the tee is at a premium with out of bounds left and a large fairway bunker on the right. Once in the fairway, you will be faced with an uphill approach to one of the flattest greens on the course. Two deep bunkers guard the front right portion of the green.
Yardage by tee
Hole 2
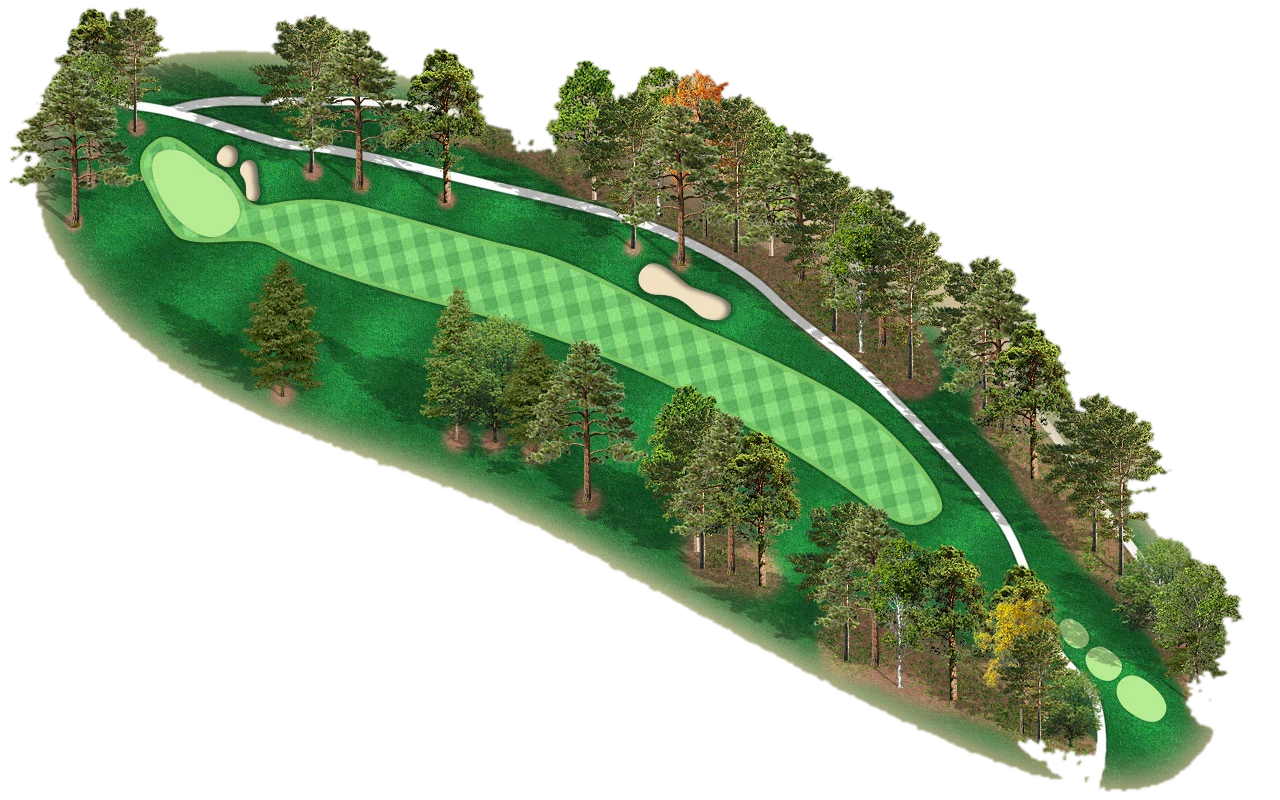
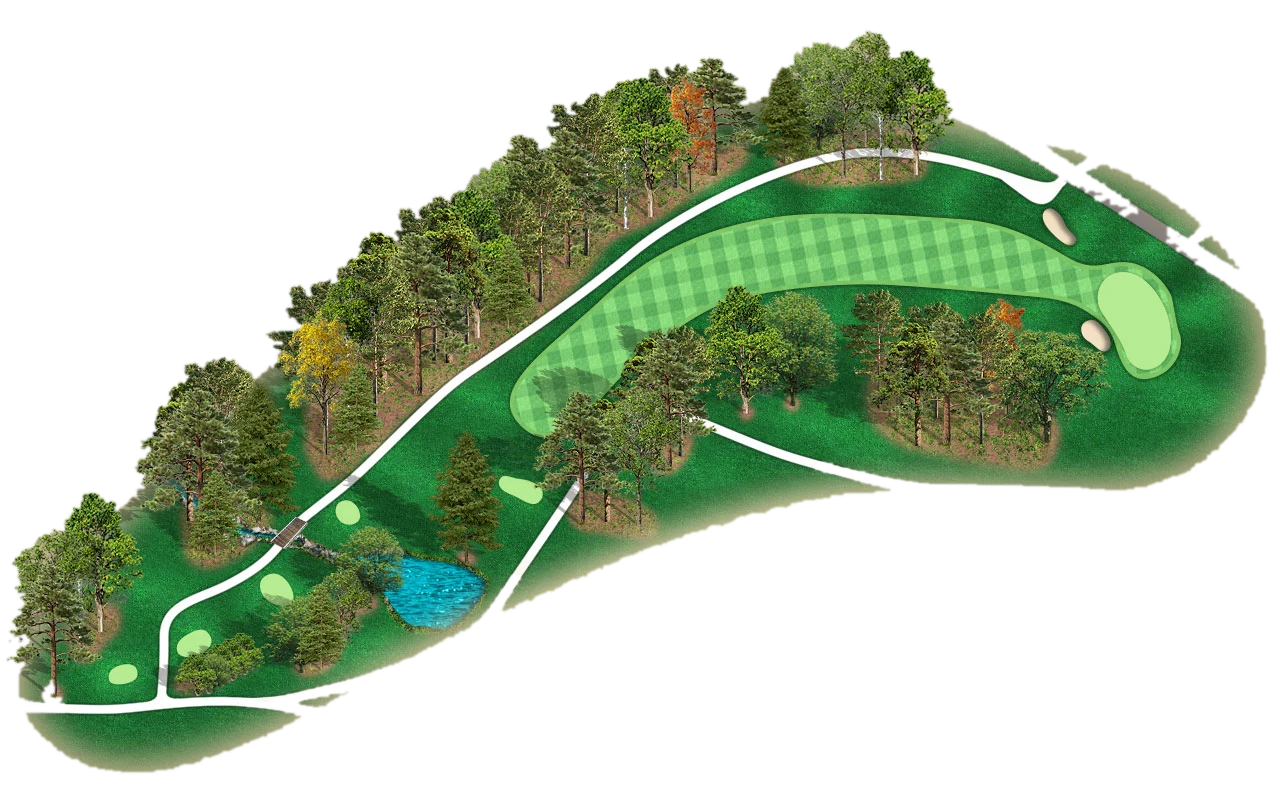
This long par four will challenge even the best players. From the tee, you are faced with a large fairway framed by trees to the right and out of bounds to the left. The fairway starts to bend to the right at the 200 yard mark so you will want to favor the left side in order to give yourself the best angle into this large green. The second shot plays ever so slightly downhill. The smart play here is to the center of the green regardless of the hole location. Par is always a good score on this hole.
Yardage by tee
Hole 3
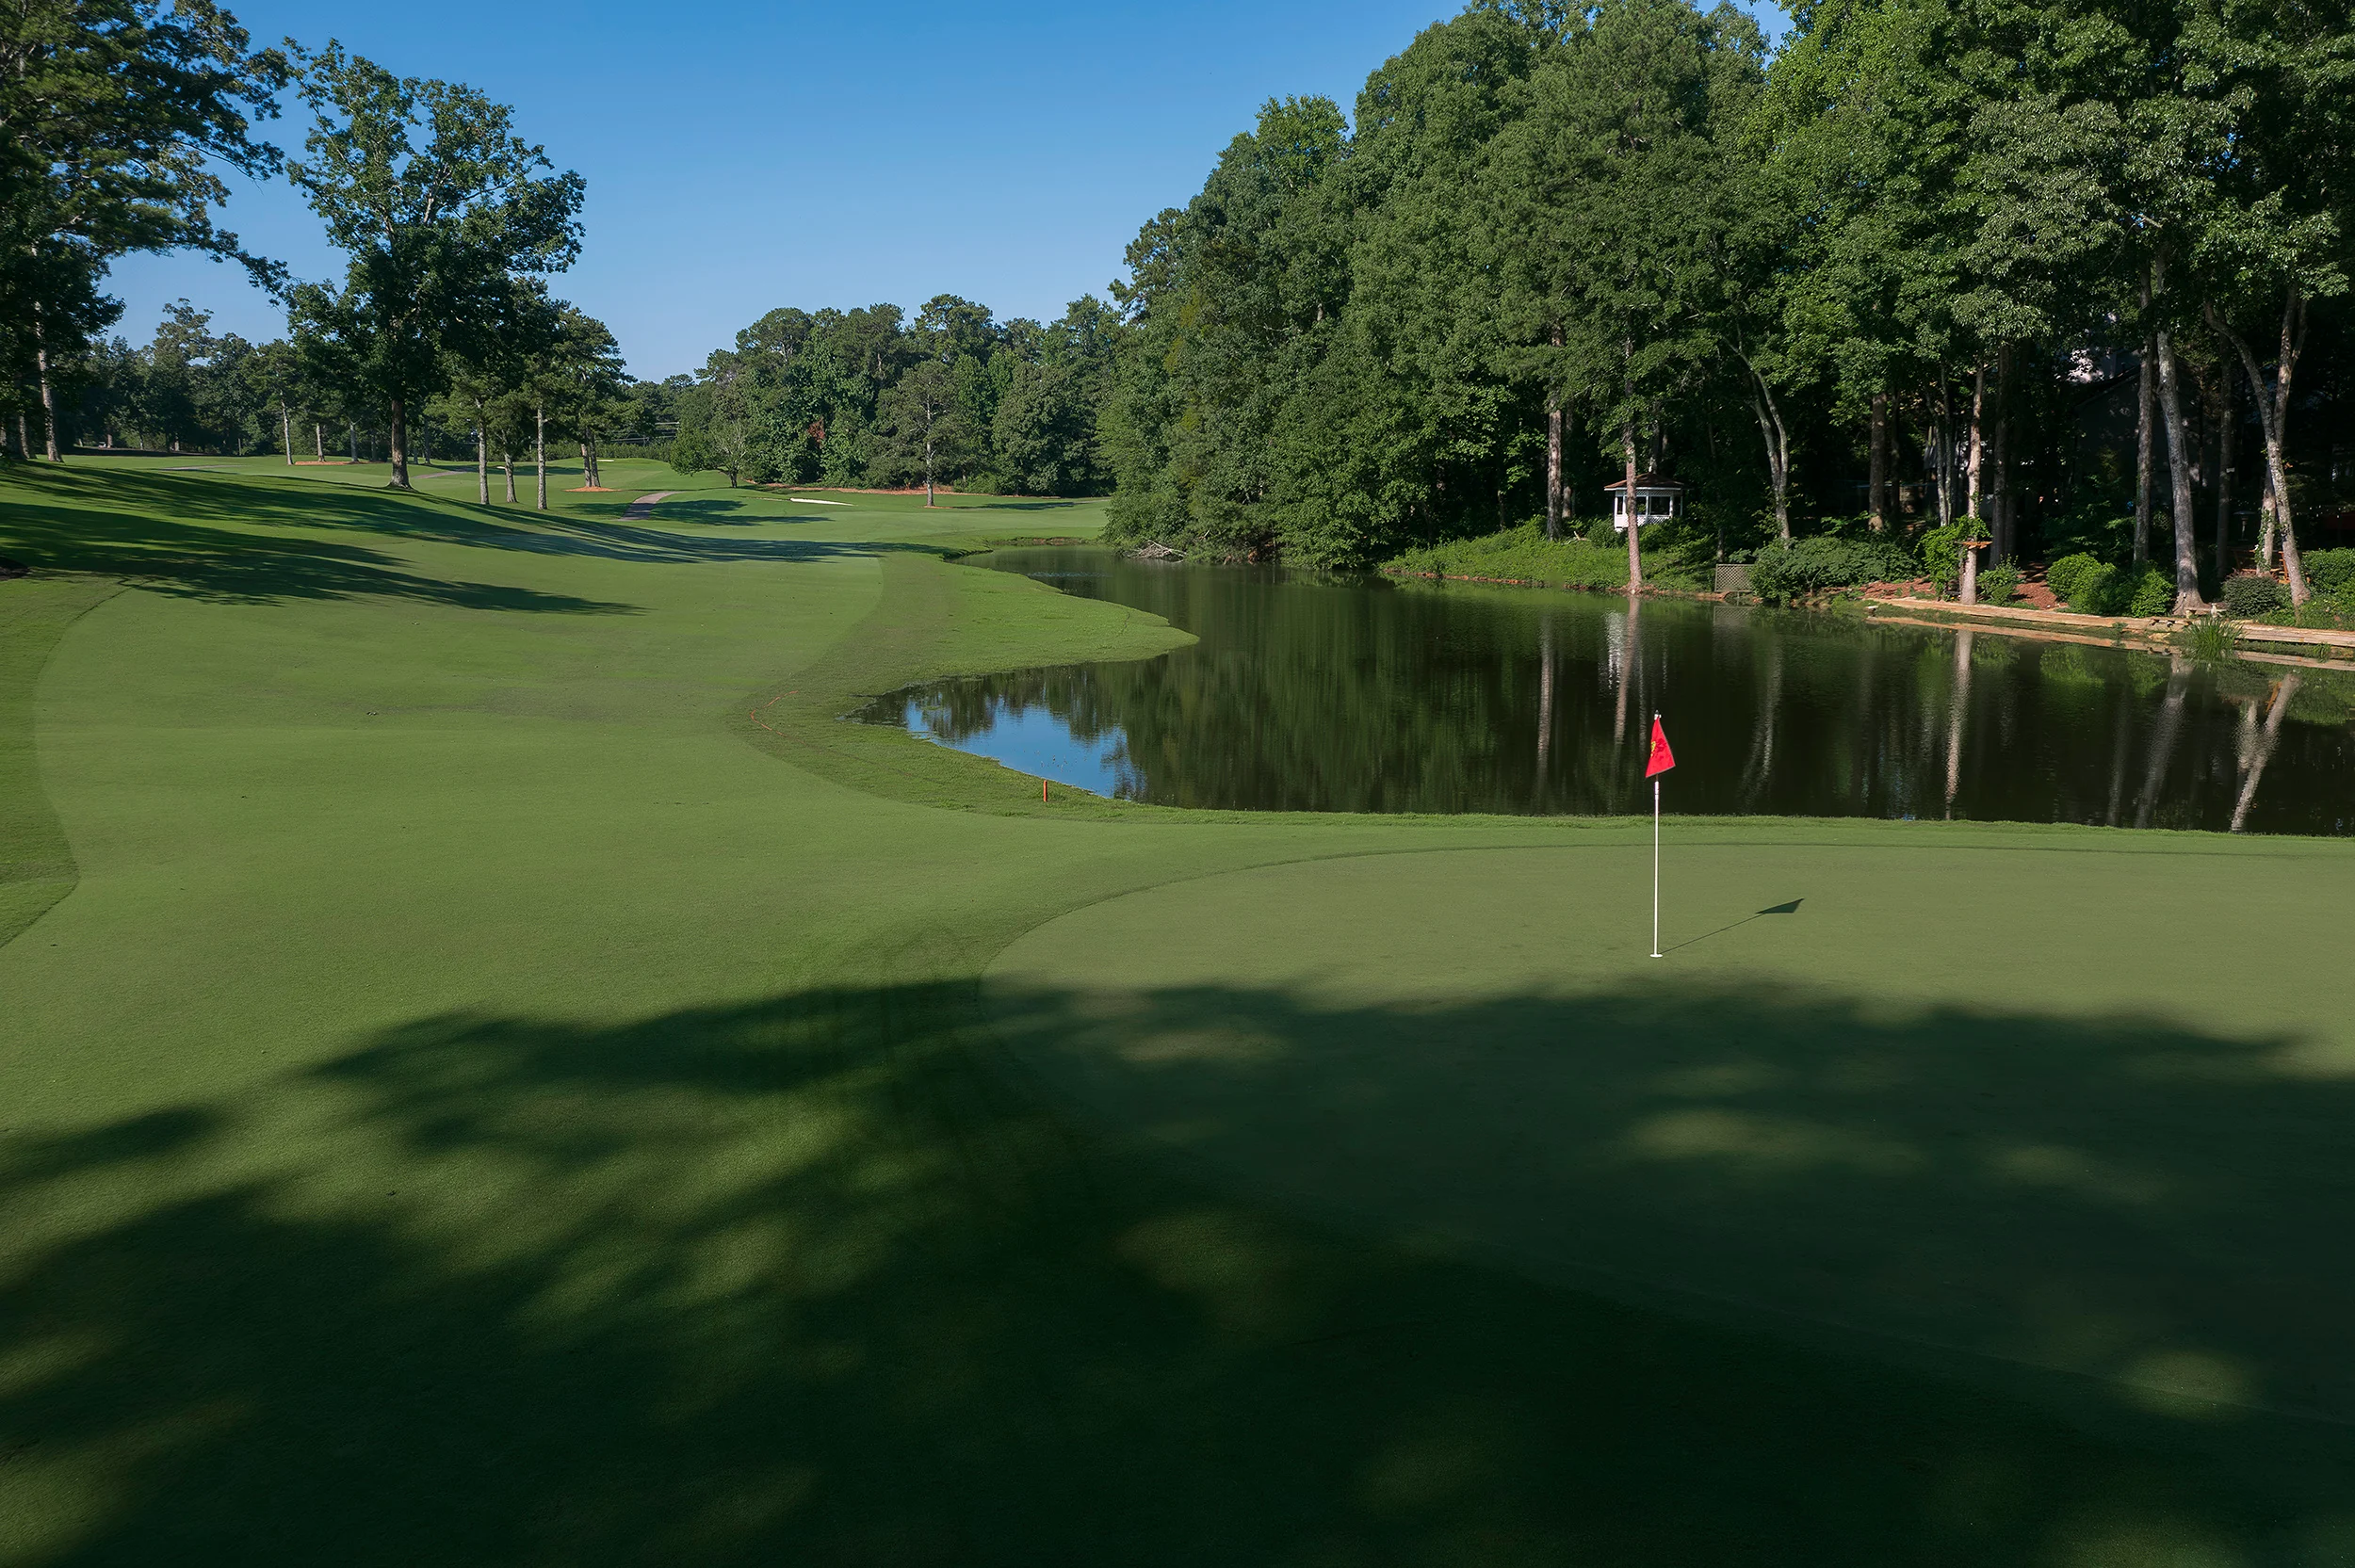
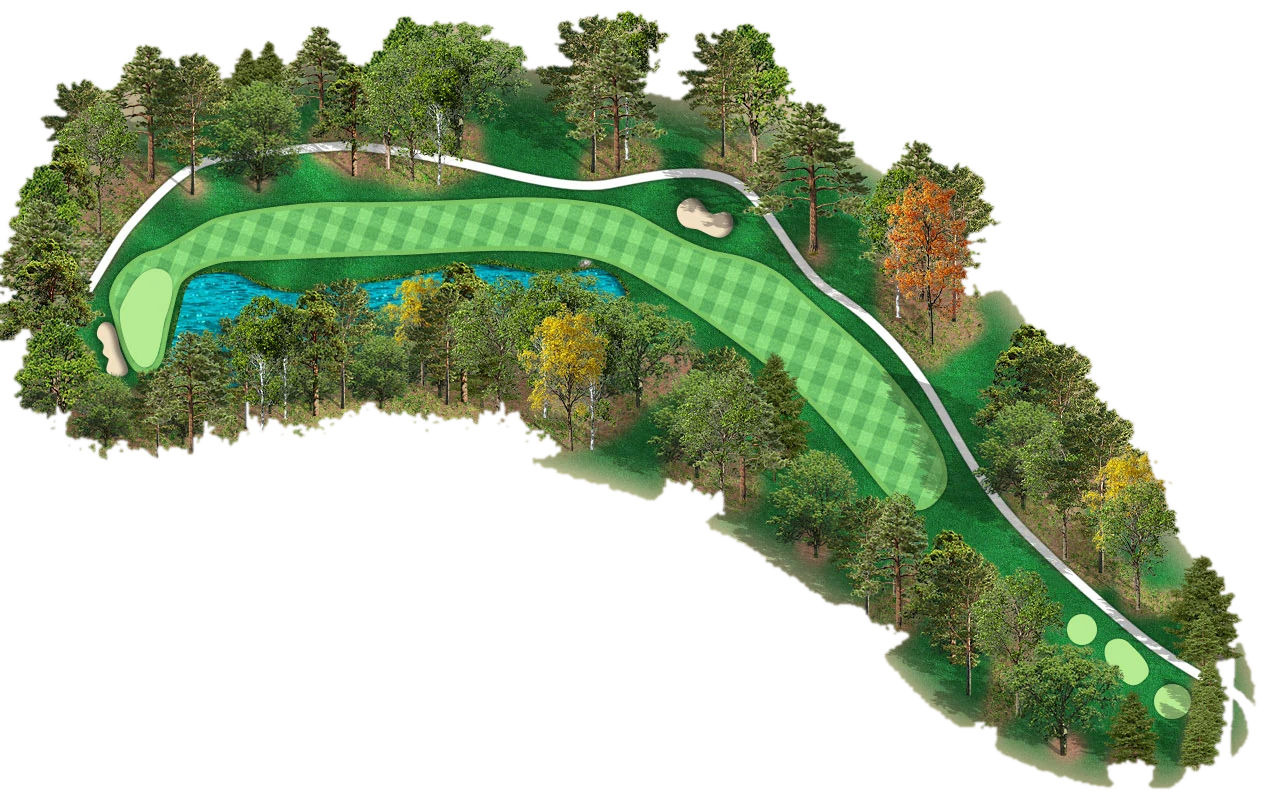
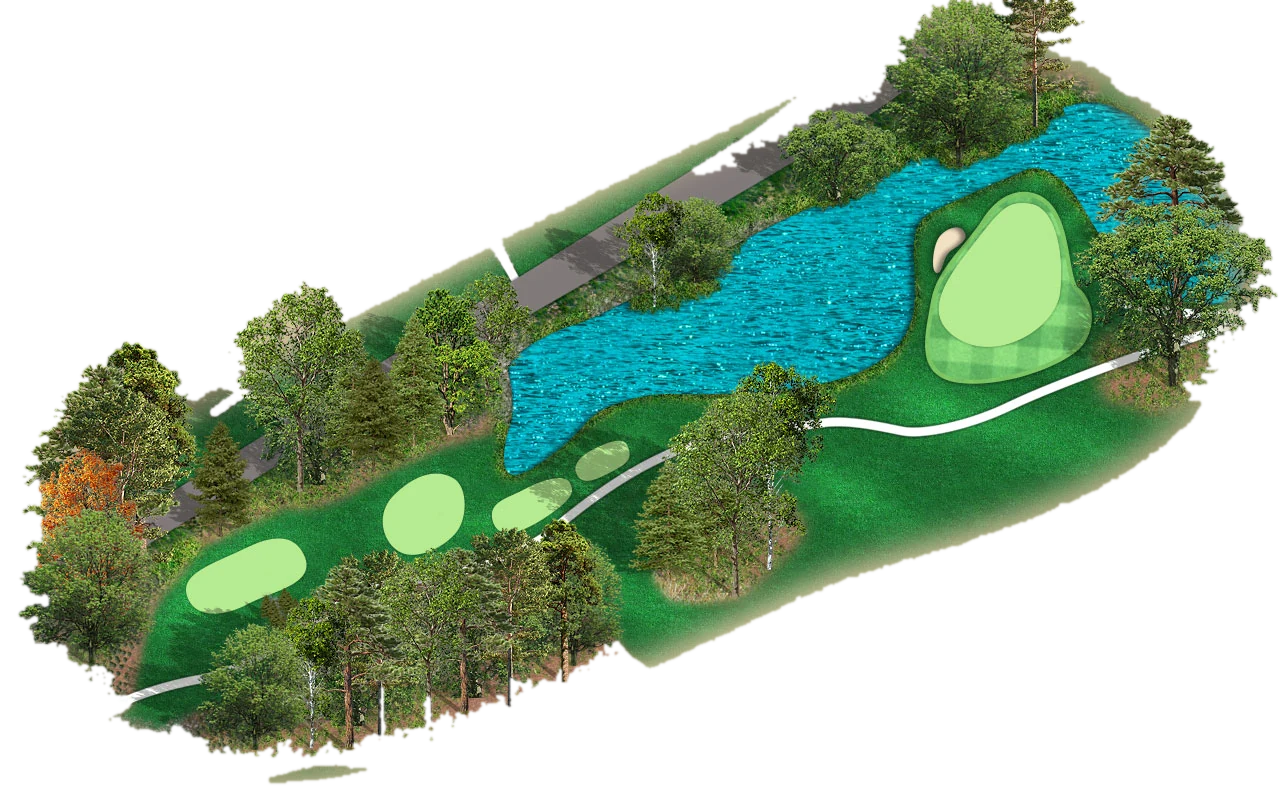
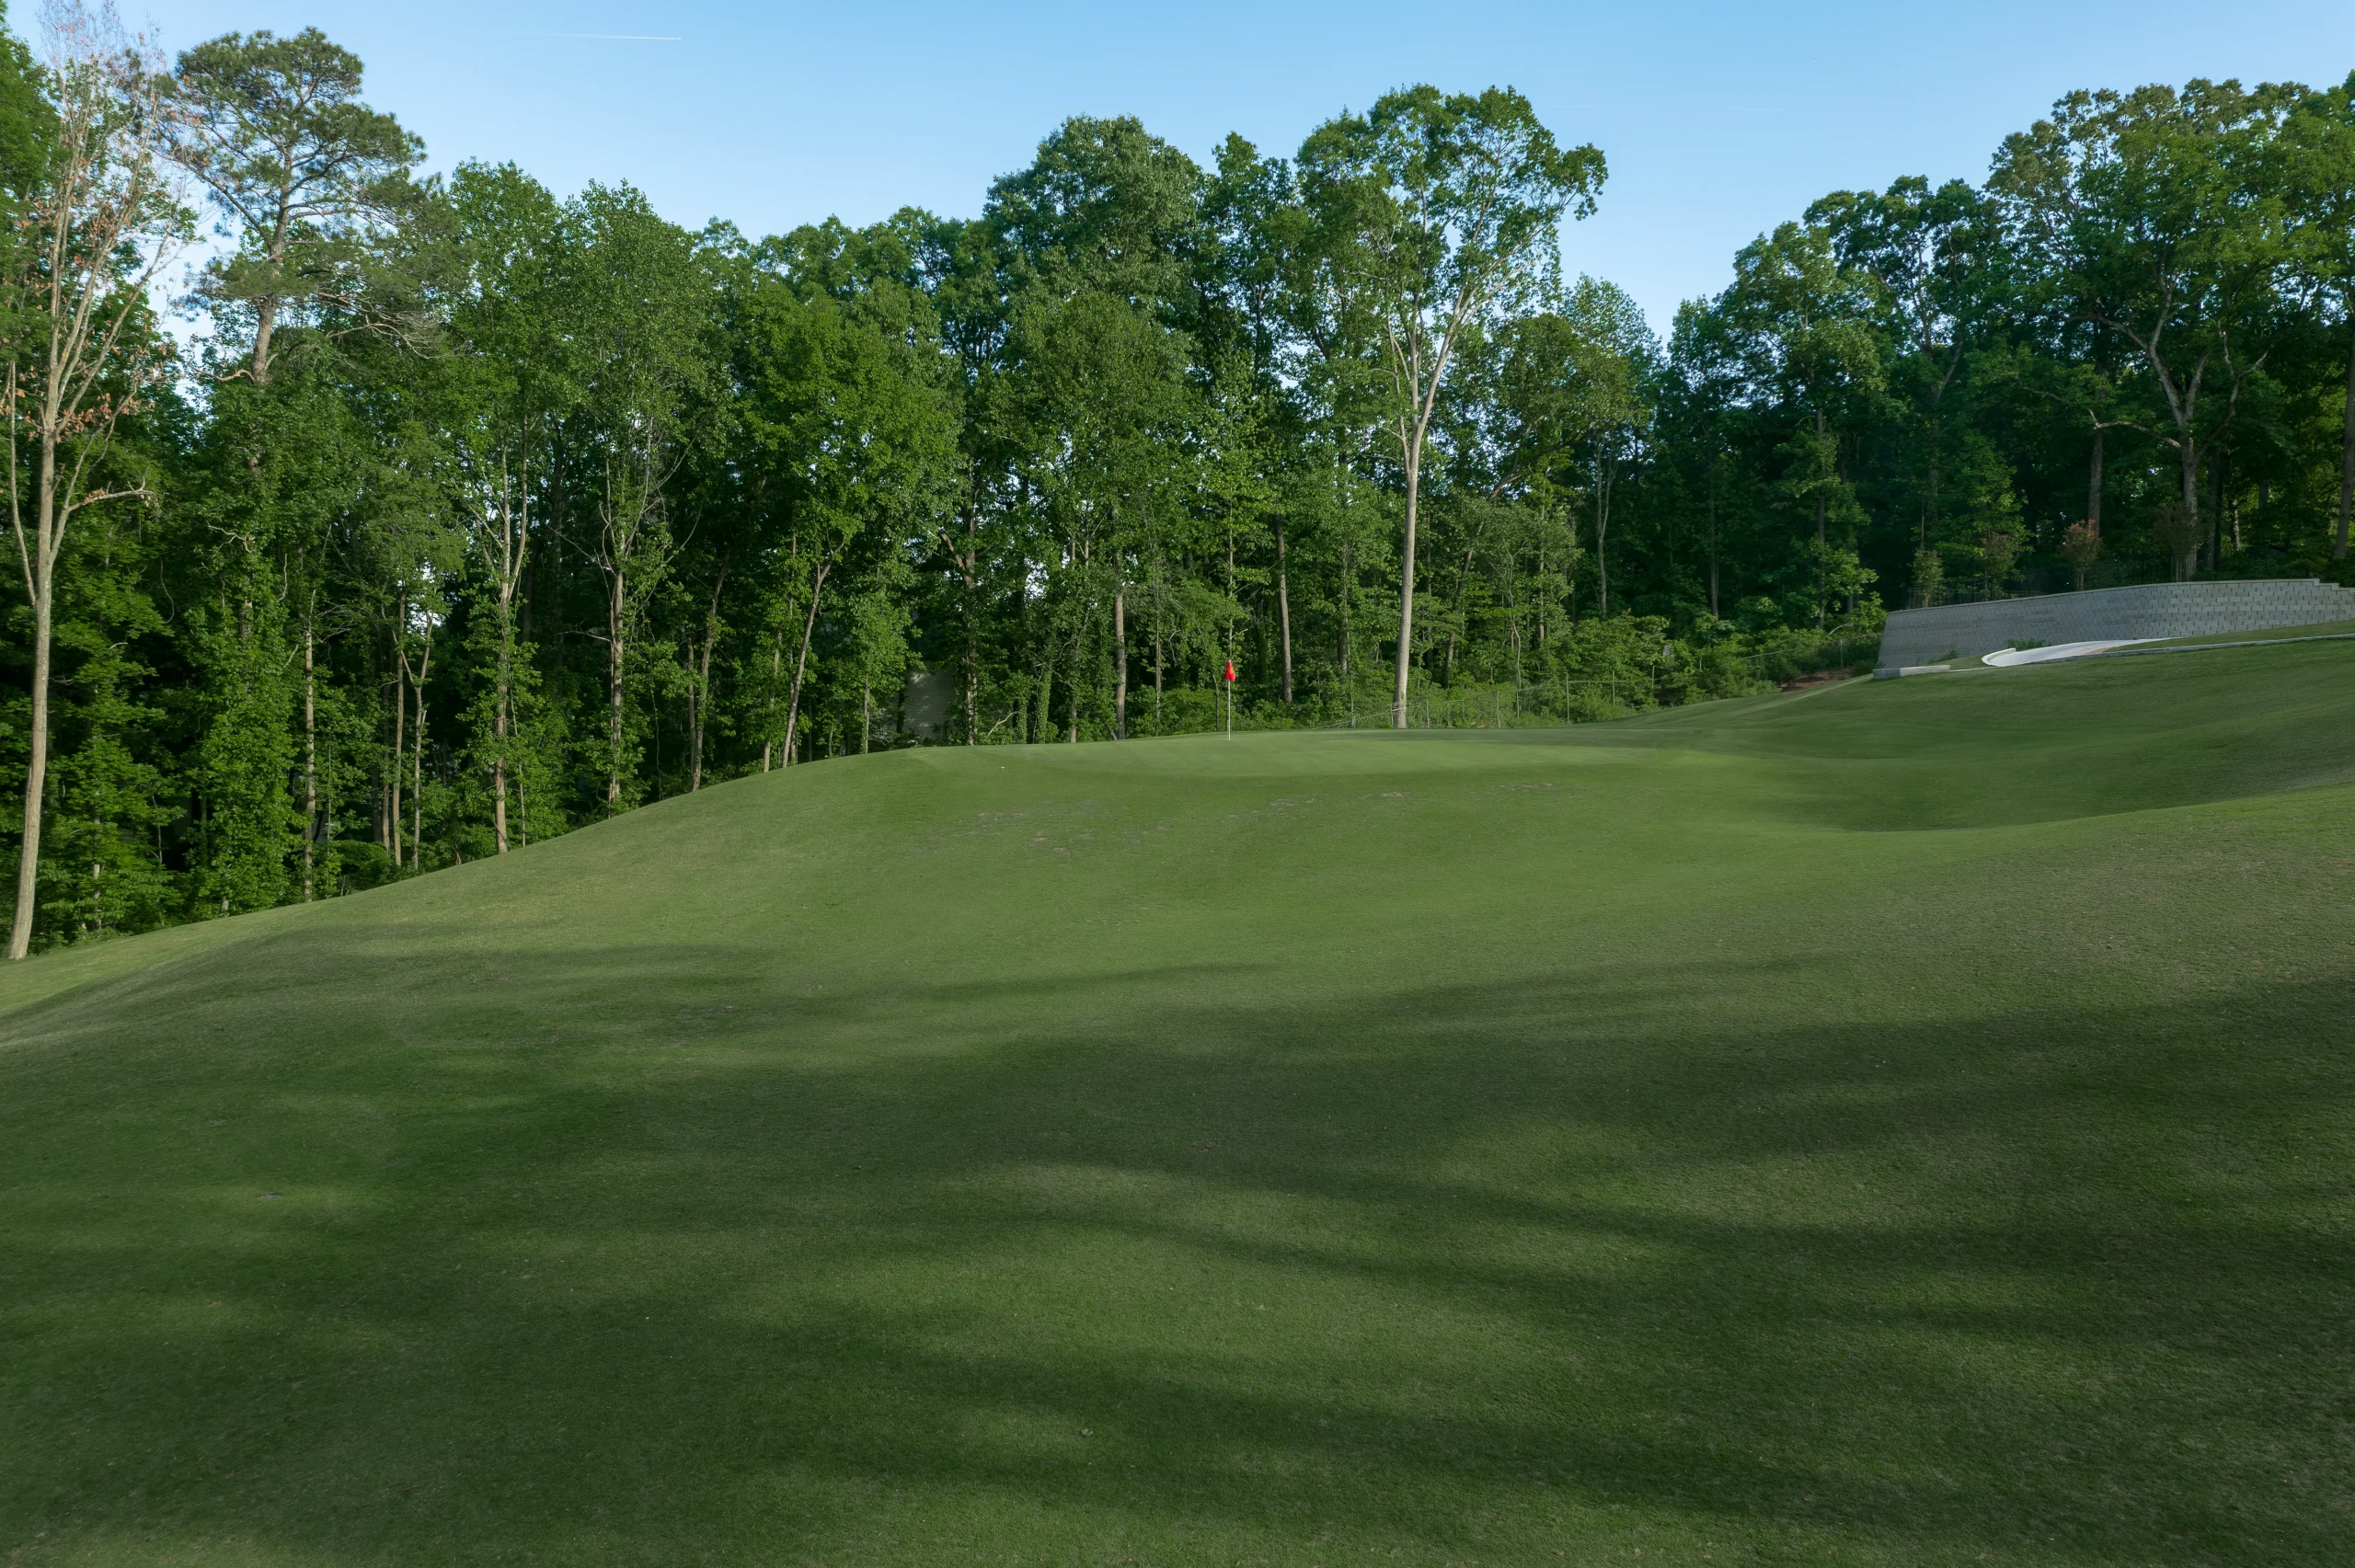
Number three is a classic risk/reward par 5. From the tee, players will need to negotiate out of bounds left and right, a large fairway bunker on the right and a water hazard waiting for drives in the 300 yard range. Once safely in play, some players will take a shot at the green with their second shots with a pond waiting to consume any shots that come up short. Favor the right side of the fairway when laying up as everything kicks toward the water. The green is long and shallow so club selection is essential.
Yardage by tee

Hole 4
The picturesque par 3 fourth hole plays about 200 yards from the back tee and is slightly down hill to the green. Water guards the front, left and back of this green so choose your line carefully. A bail out area to the right of the green is a popular play but do not expect an easy up and down as the green slopes from right to left.
Yardage by tee
Hole 5
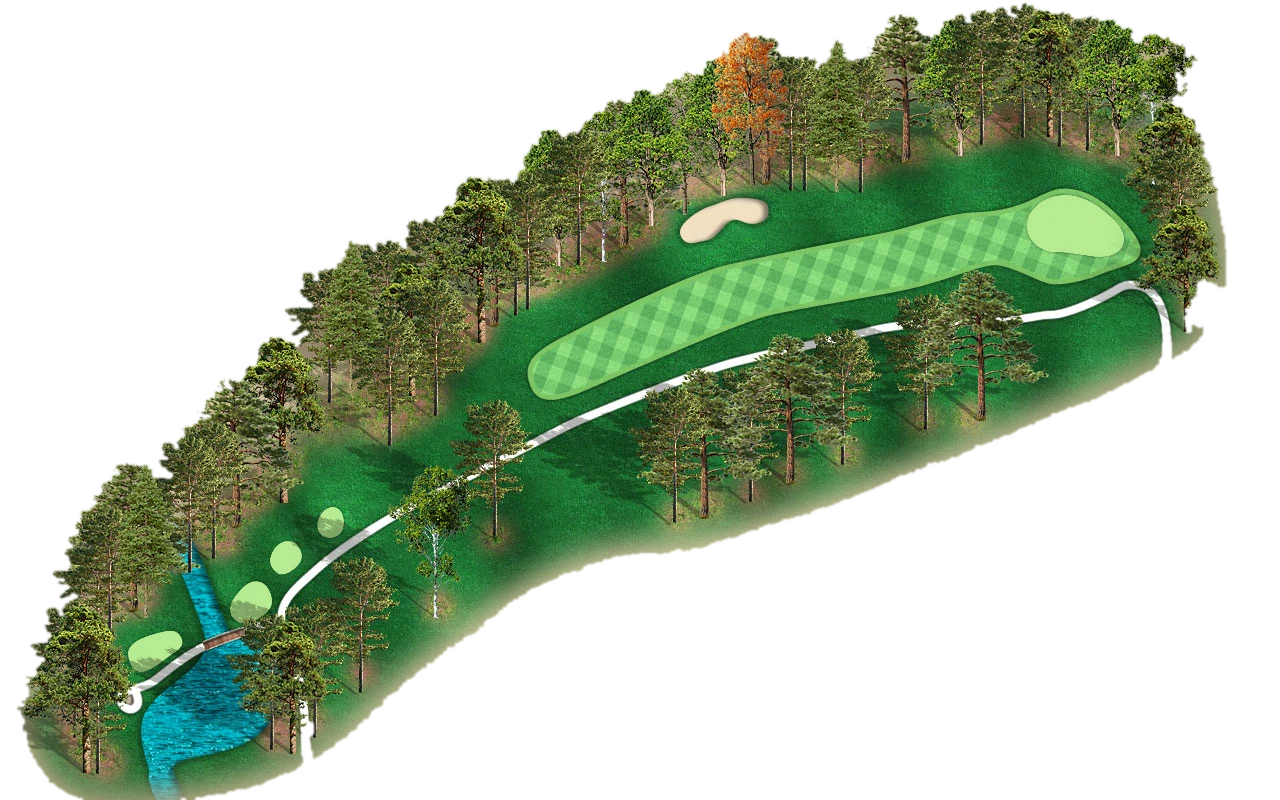
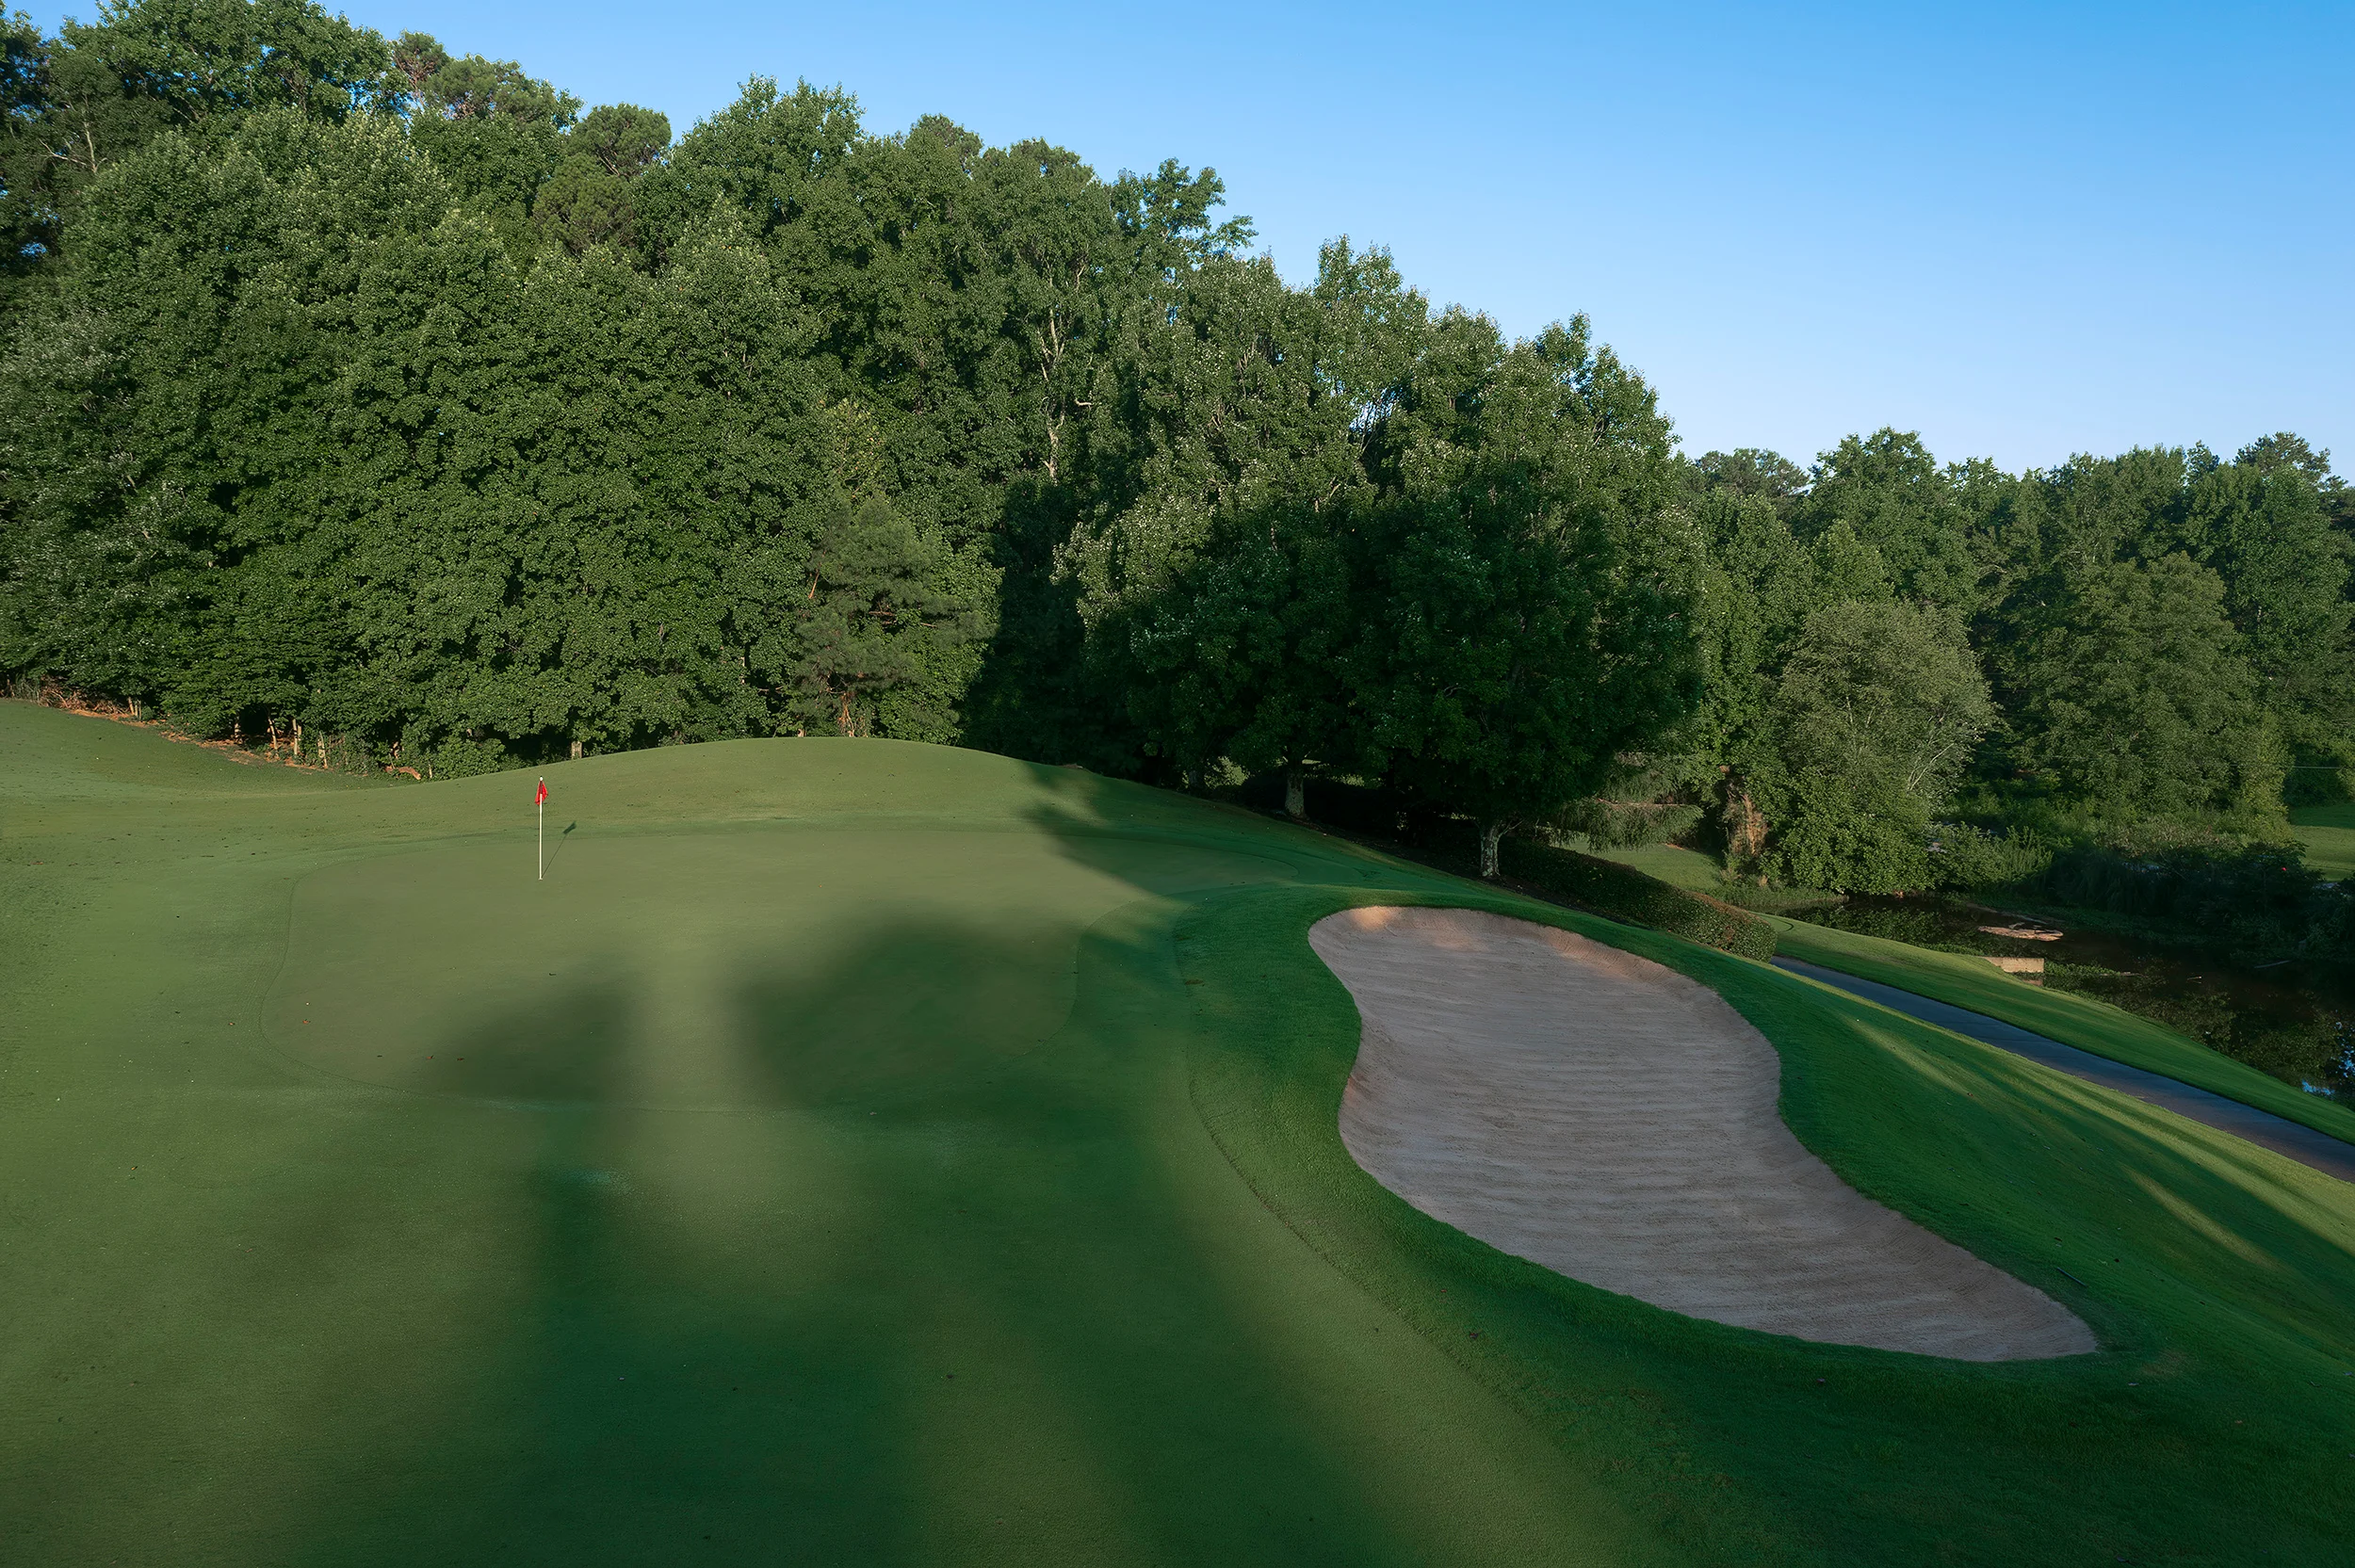
Based on its length, one might think the fifth hole is a chance for an easy birdie but like many holes here at Berkeley Hills Country Club, the yardage does not tell the whole story. This hole starts off with an uphill tee shot to a narrow fairway that is guarded by trees to the right and out of bounds along with a huge bunker on the left. Find the fairway and you will be faced with an uphill approach to one of the most difficult greens on the course. Shots landing short may funnel back down the fairway while anything long or left of this green is likely lost. Getting a ball close to the hole on this green takes a good bit of luck but once the putter comes out, the real challenge begins.
Yardage by tee
Hole 6
The sixth hole is perhaps the easiest par four on the golf course. A downhill tee shot of no more than 200 yards will leave a wedge or short iron to a relatively flat green. Once you negotiate the trees to the left and right off of the tee, take dead aim on your approach shot in order to capitalize on this great birdie opportunity.
Yardage by tee
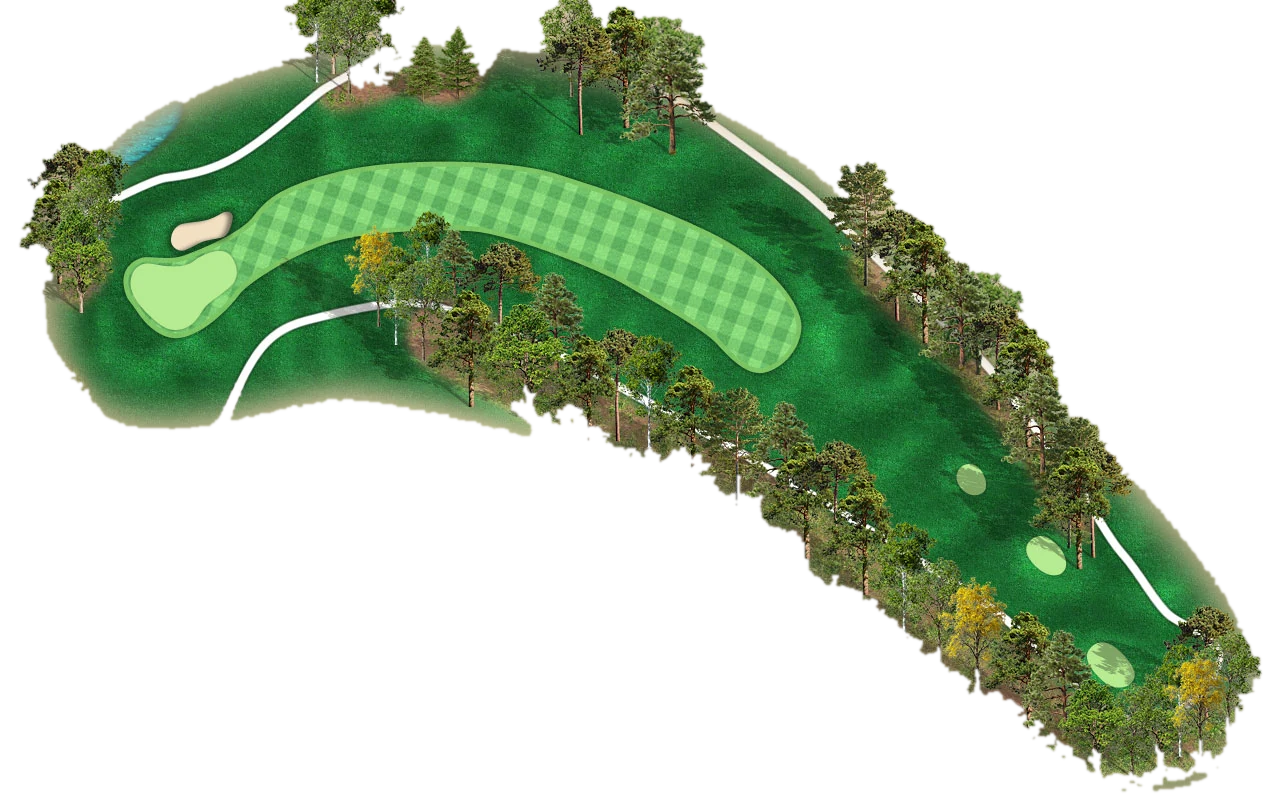
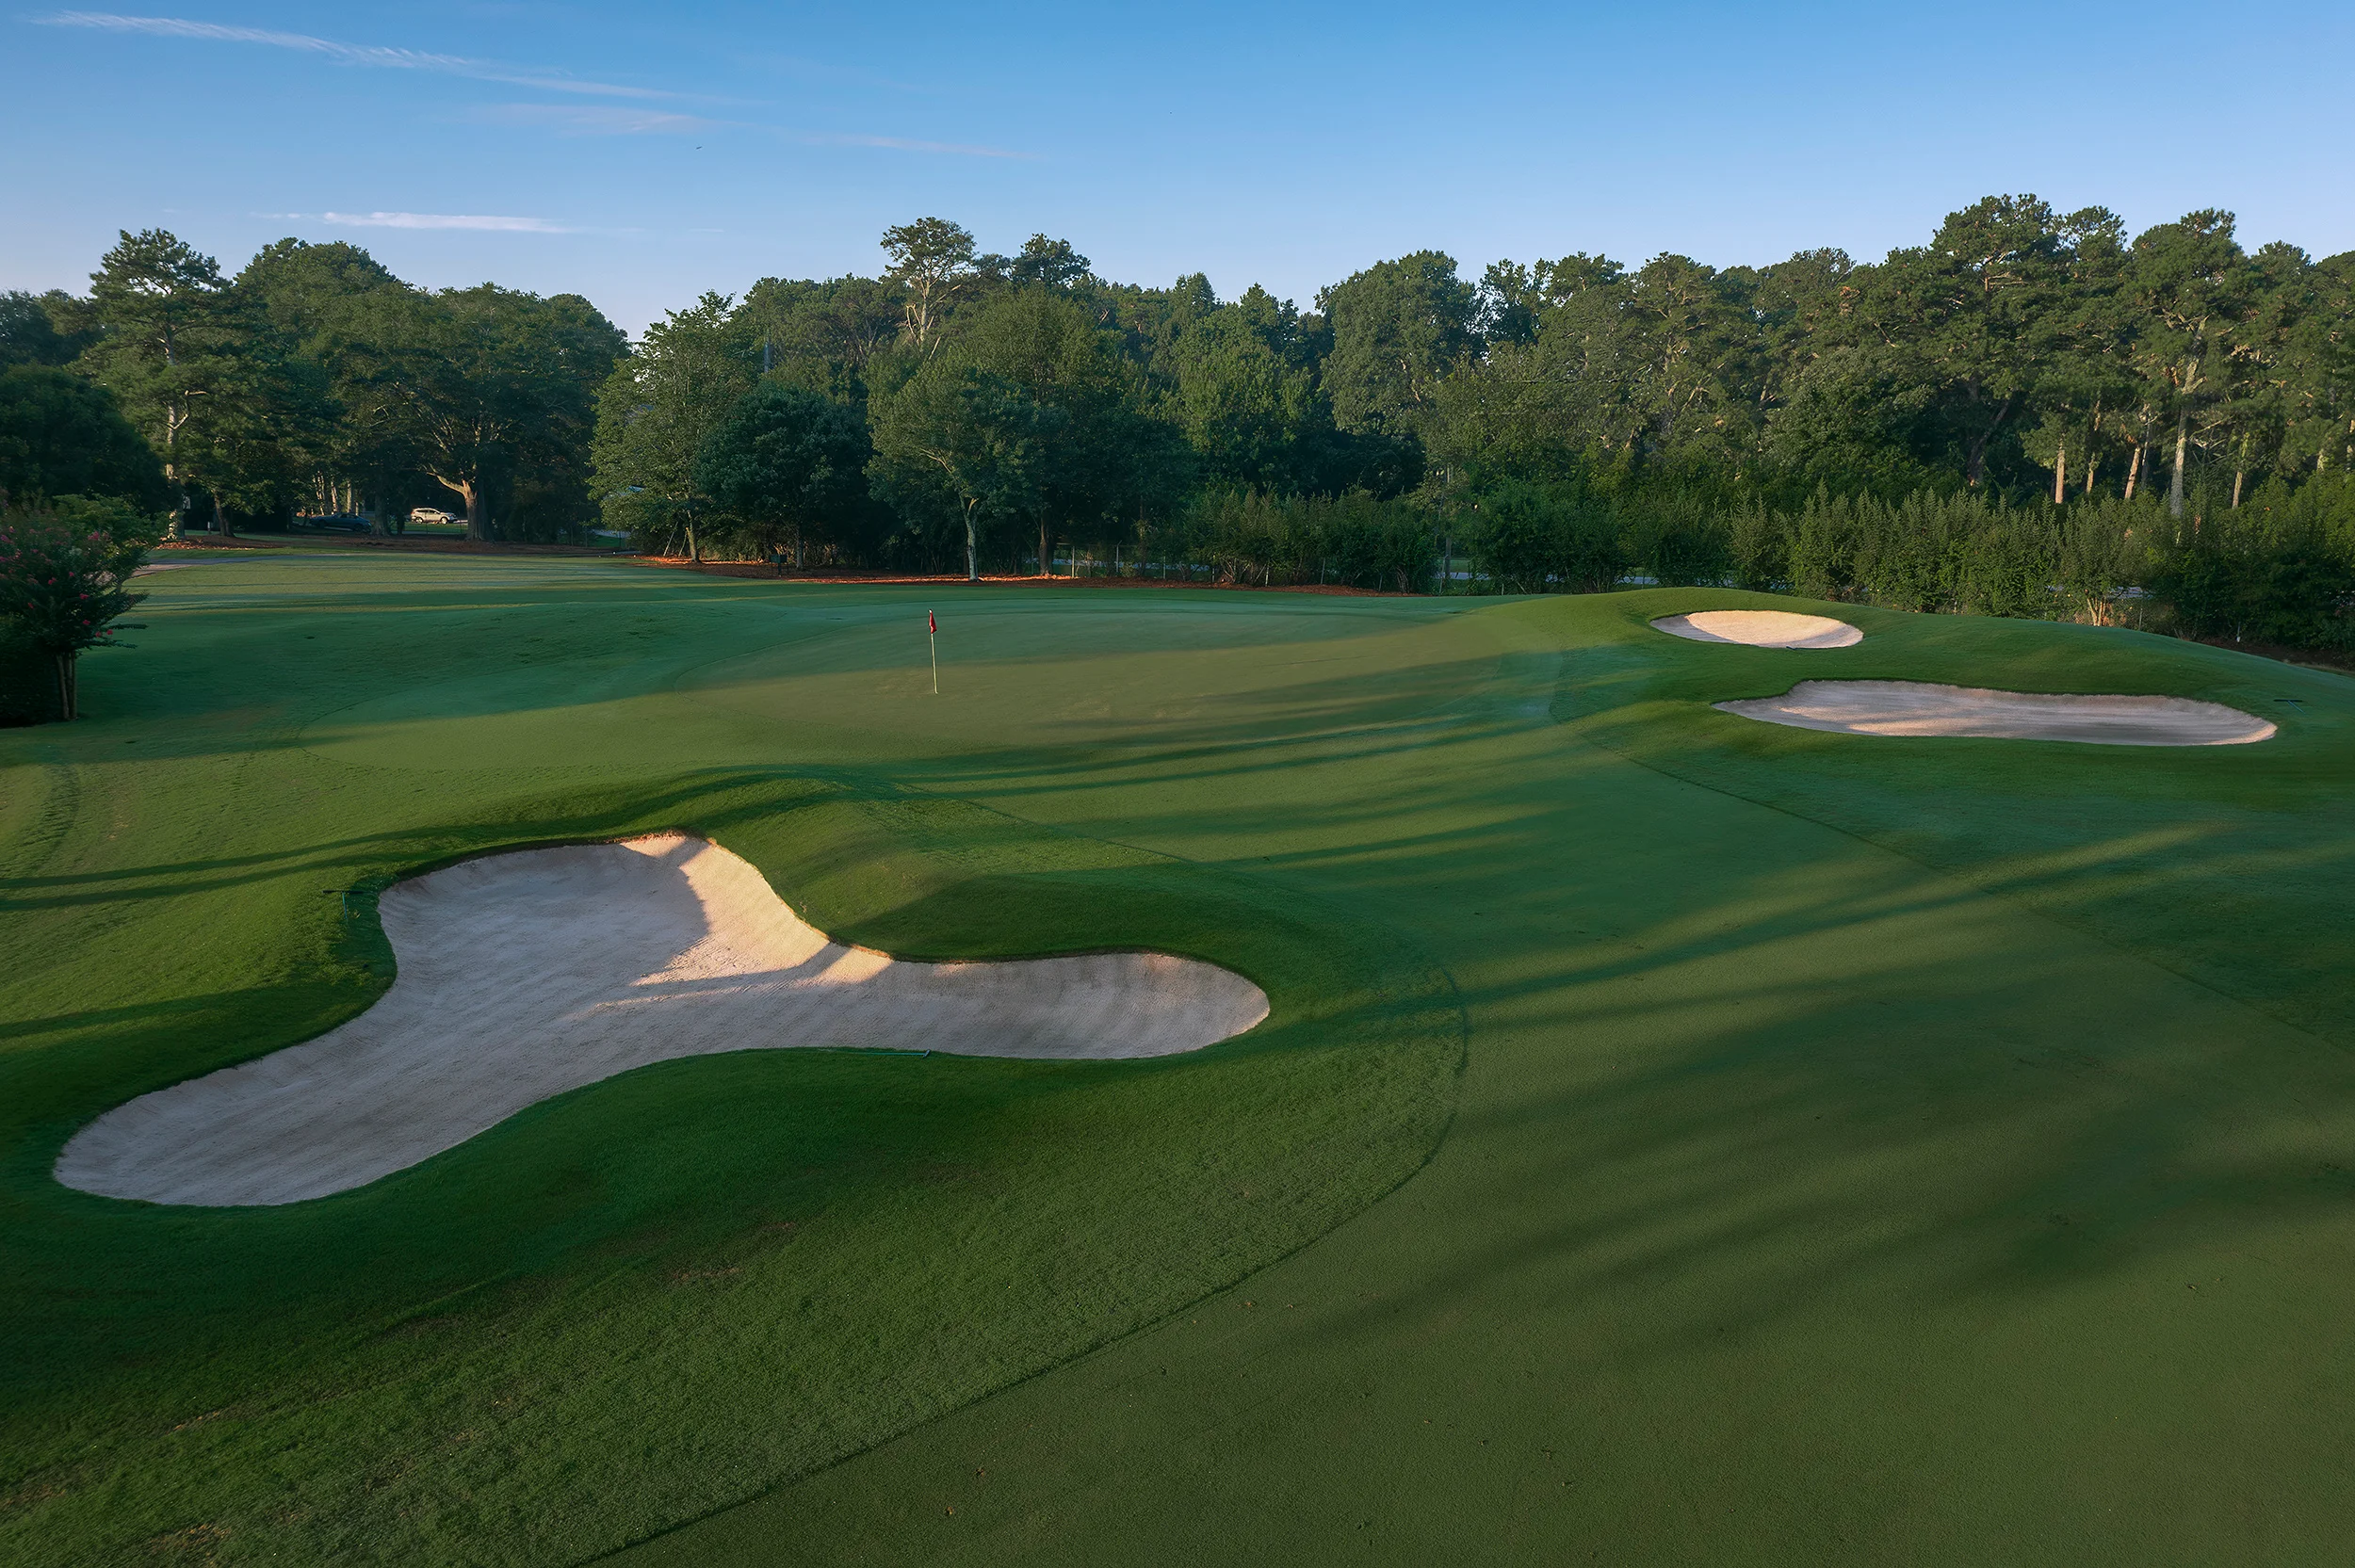
Hole 7
The seventh hole is the longest hole on the golf course, and it plays every bit of the 573 yards on the scorecard. From the tee, you will need to avoid a stand of pines on the left and a large fairway bunker on the right. The second shot is all about position, and players should favor the right side in order to provide the best angle into this large green. The shot into the green plays slightly uphill to a green that slopes from back to front. Birdie is a possibility with three good shots, but par is never a bad score on this great hole.
Yardage by tee
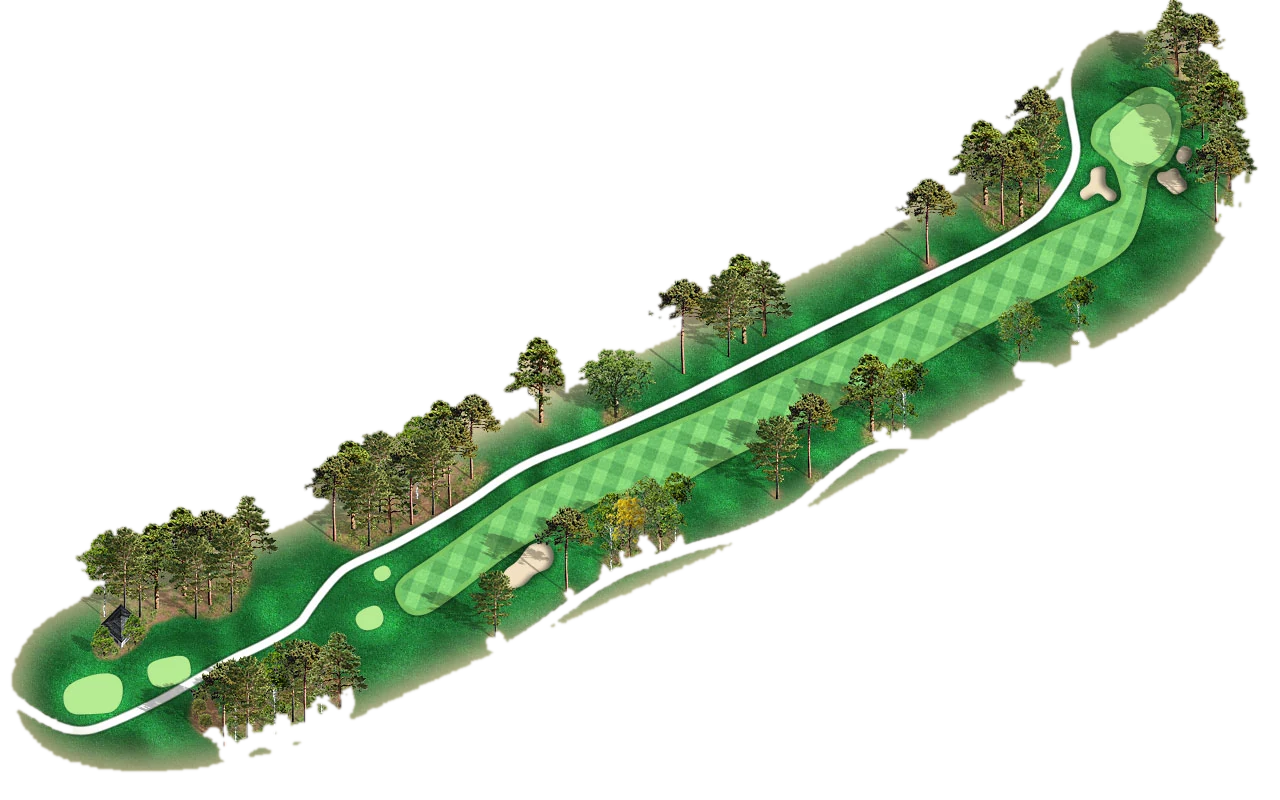

Hole 8
This long and difficult par 3 can play as much as 205 yards from the back tees. The green is heavily guarded by bunkers left and right. Find yourself lucky enough to find the putting surface and you will be faced with a two-tiered green that slopes drastically from back to front. Get on the wrong side of the fall line in the middle of this green and you will struggle to two-putt.
Yardage by tee
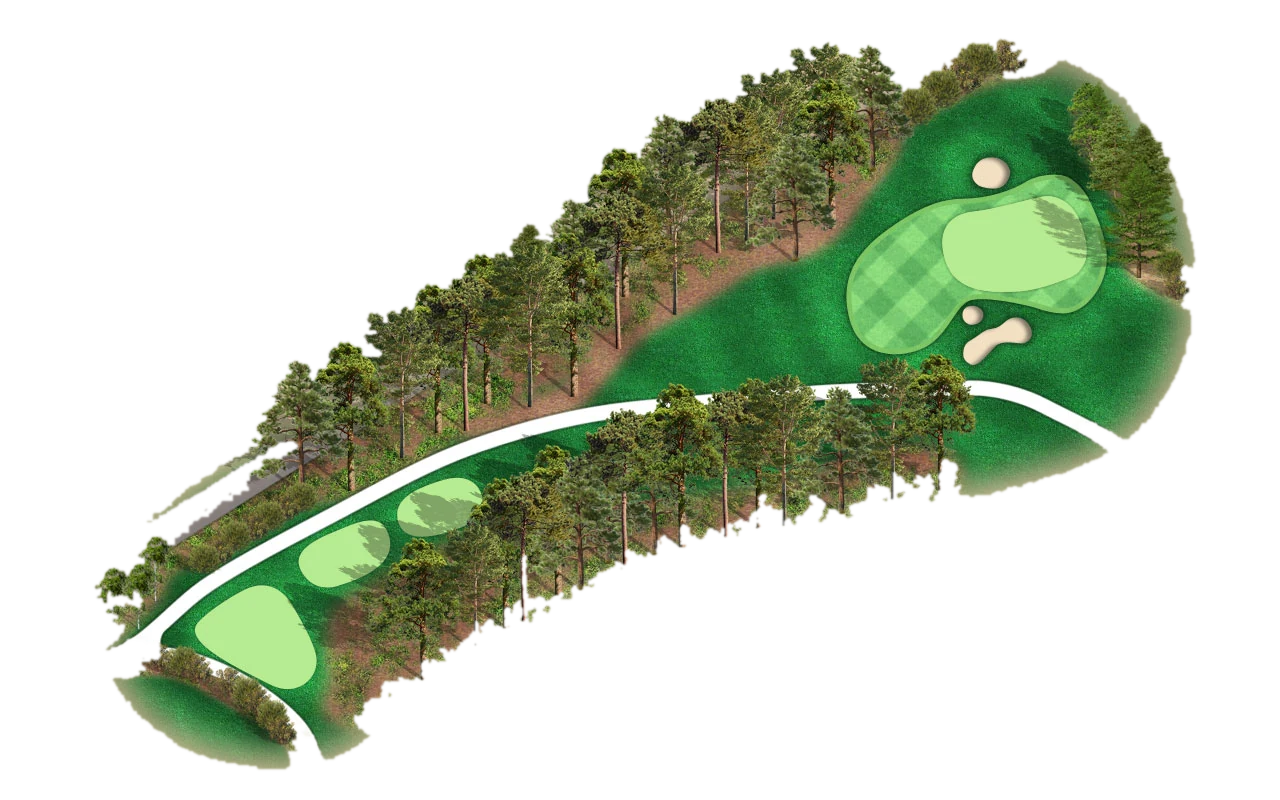

Hole 9
Number 9 plays considerably downhill from the tee, and there is very little trouble around this wide, flat fairway. The second shot, however, is considerably more difficult as it plays straight uphill to a two-tiered green that is guarded by deep bunkers left and right. Get behind the flagstick with your approach, and you will be faced with one of the fastest putts imaginable.
Yardage by tee

Hole 10
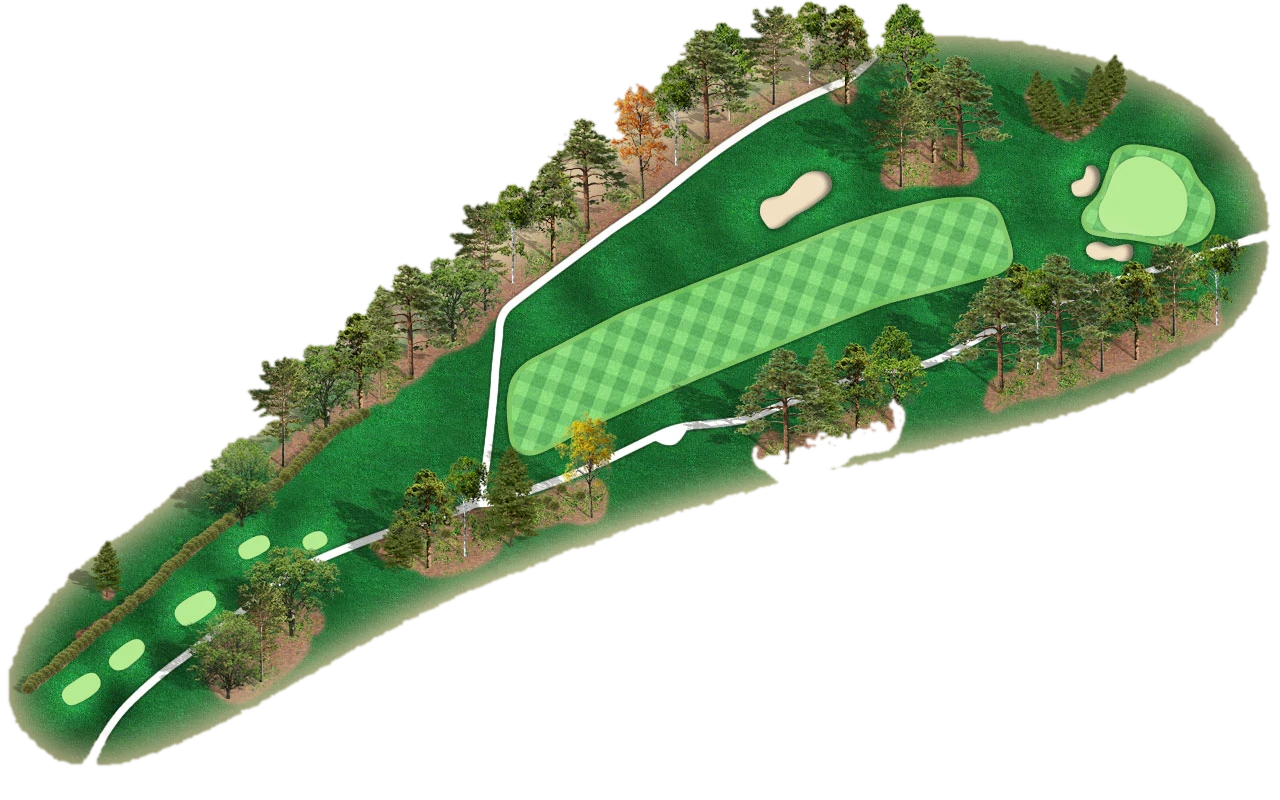
At less than 500 yards, this par 5 is a definite birdie opportunity if you can avoid the pines along the left side and out of bounds on the right the entire length of the hole. A draw off of the tee works best on this hard dogleg left and once you find the fairway, you will face an uphill second shot to a two-tiered green. Bunkers guard the front right and front left of the two-tiered green.
Yardage by tee
Hole 11
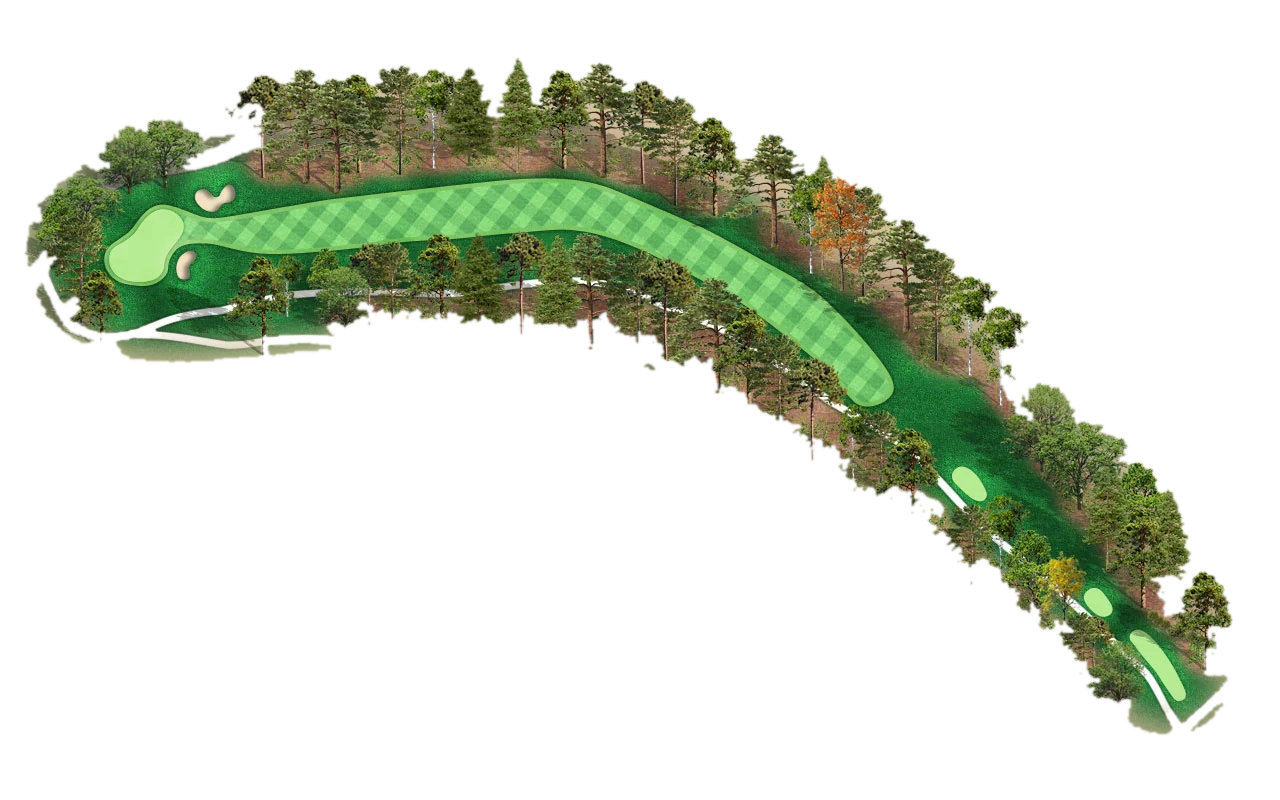
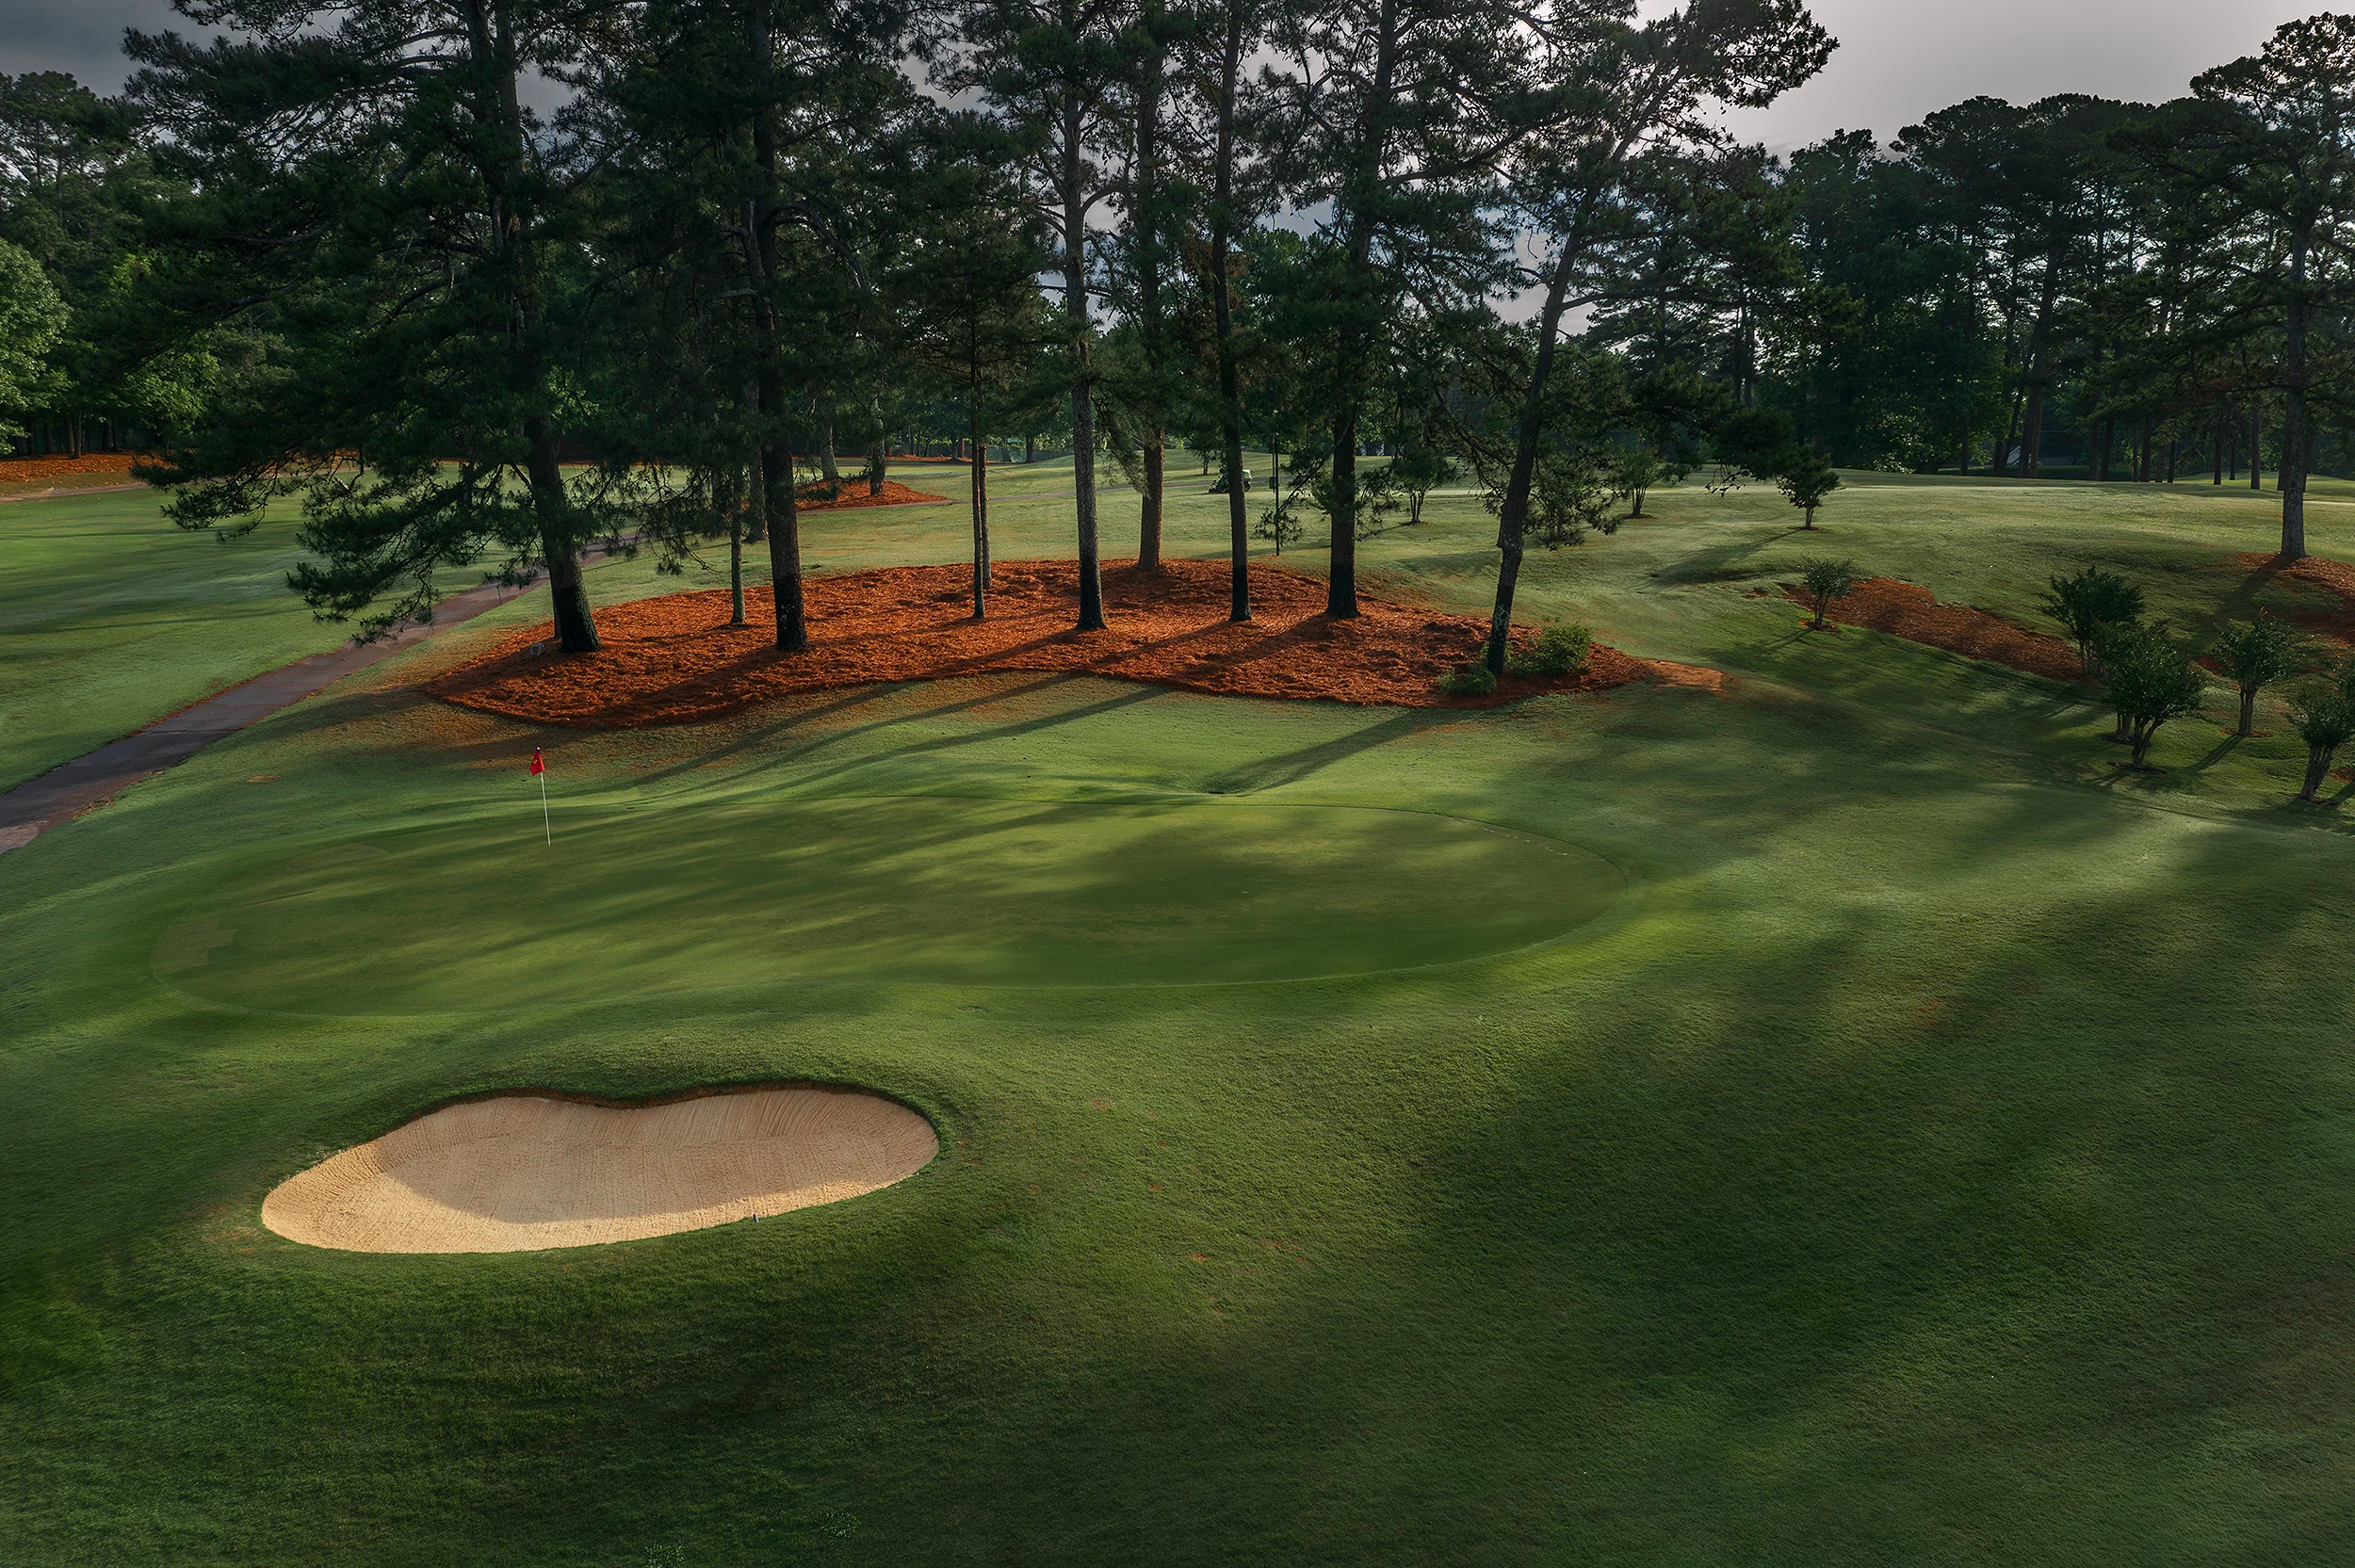
Regardless of the distance, the 11th is no pushover. This short par three plays from an elevated tee to a green that is divided by a large ridge in the middle. Sloping away from the center towards the left and the right, there are essentially two greens on this hole, and you will want to make sure you are on the right one. A deep pot bunker guards the front portion of the green, and anything long will almost always result in a bogey or worse.
Yardage by tee
Hole 12
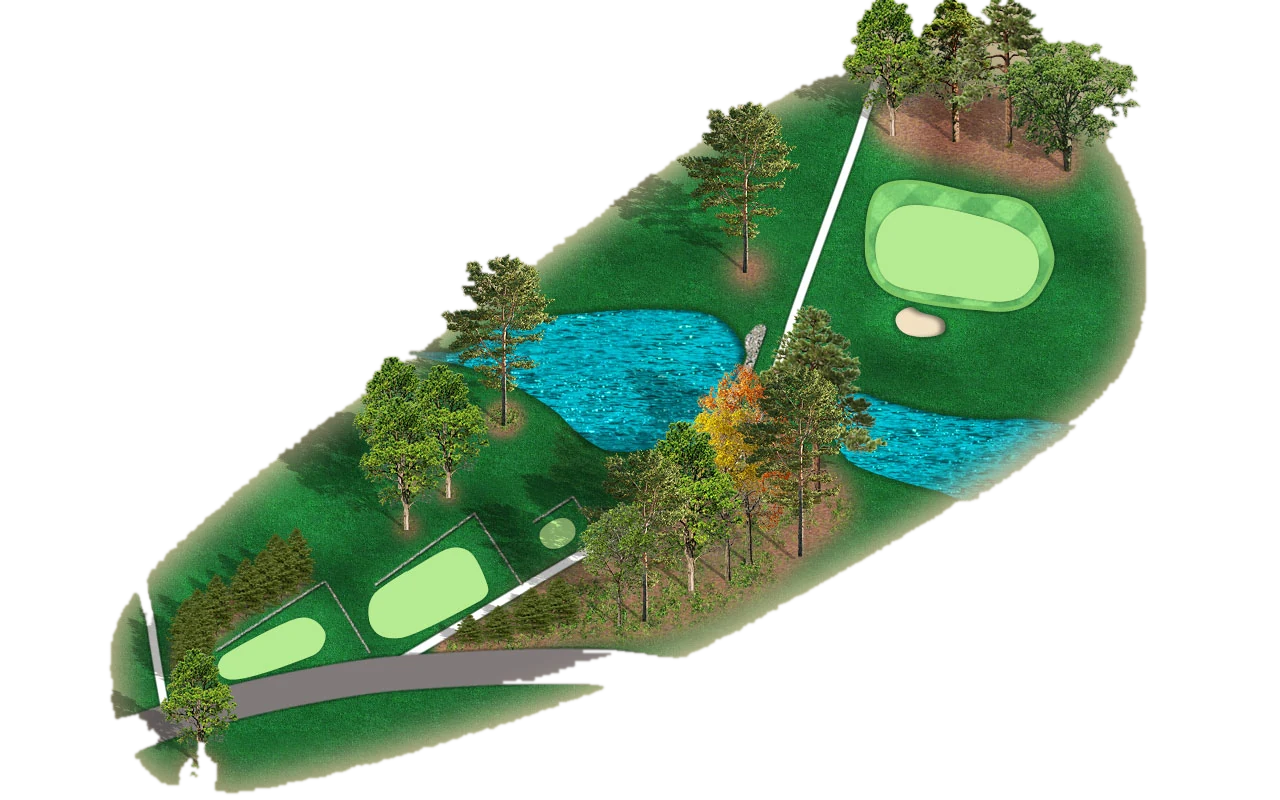
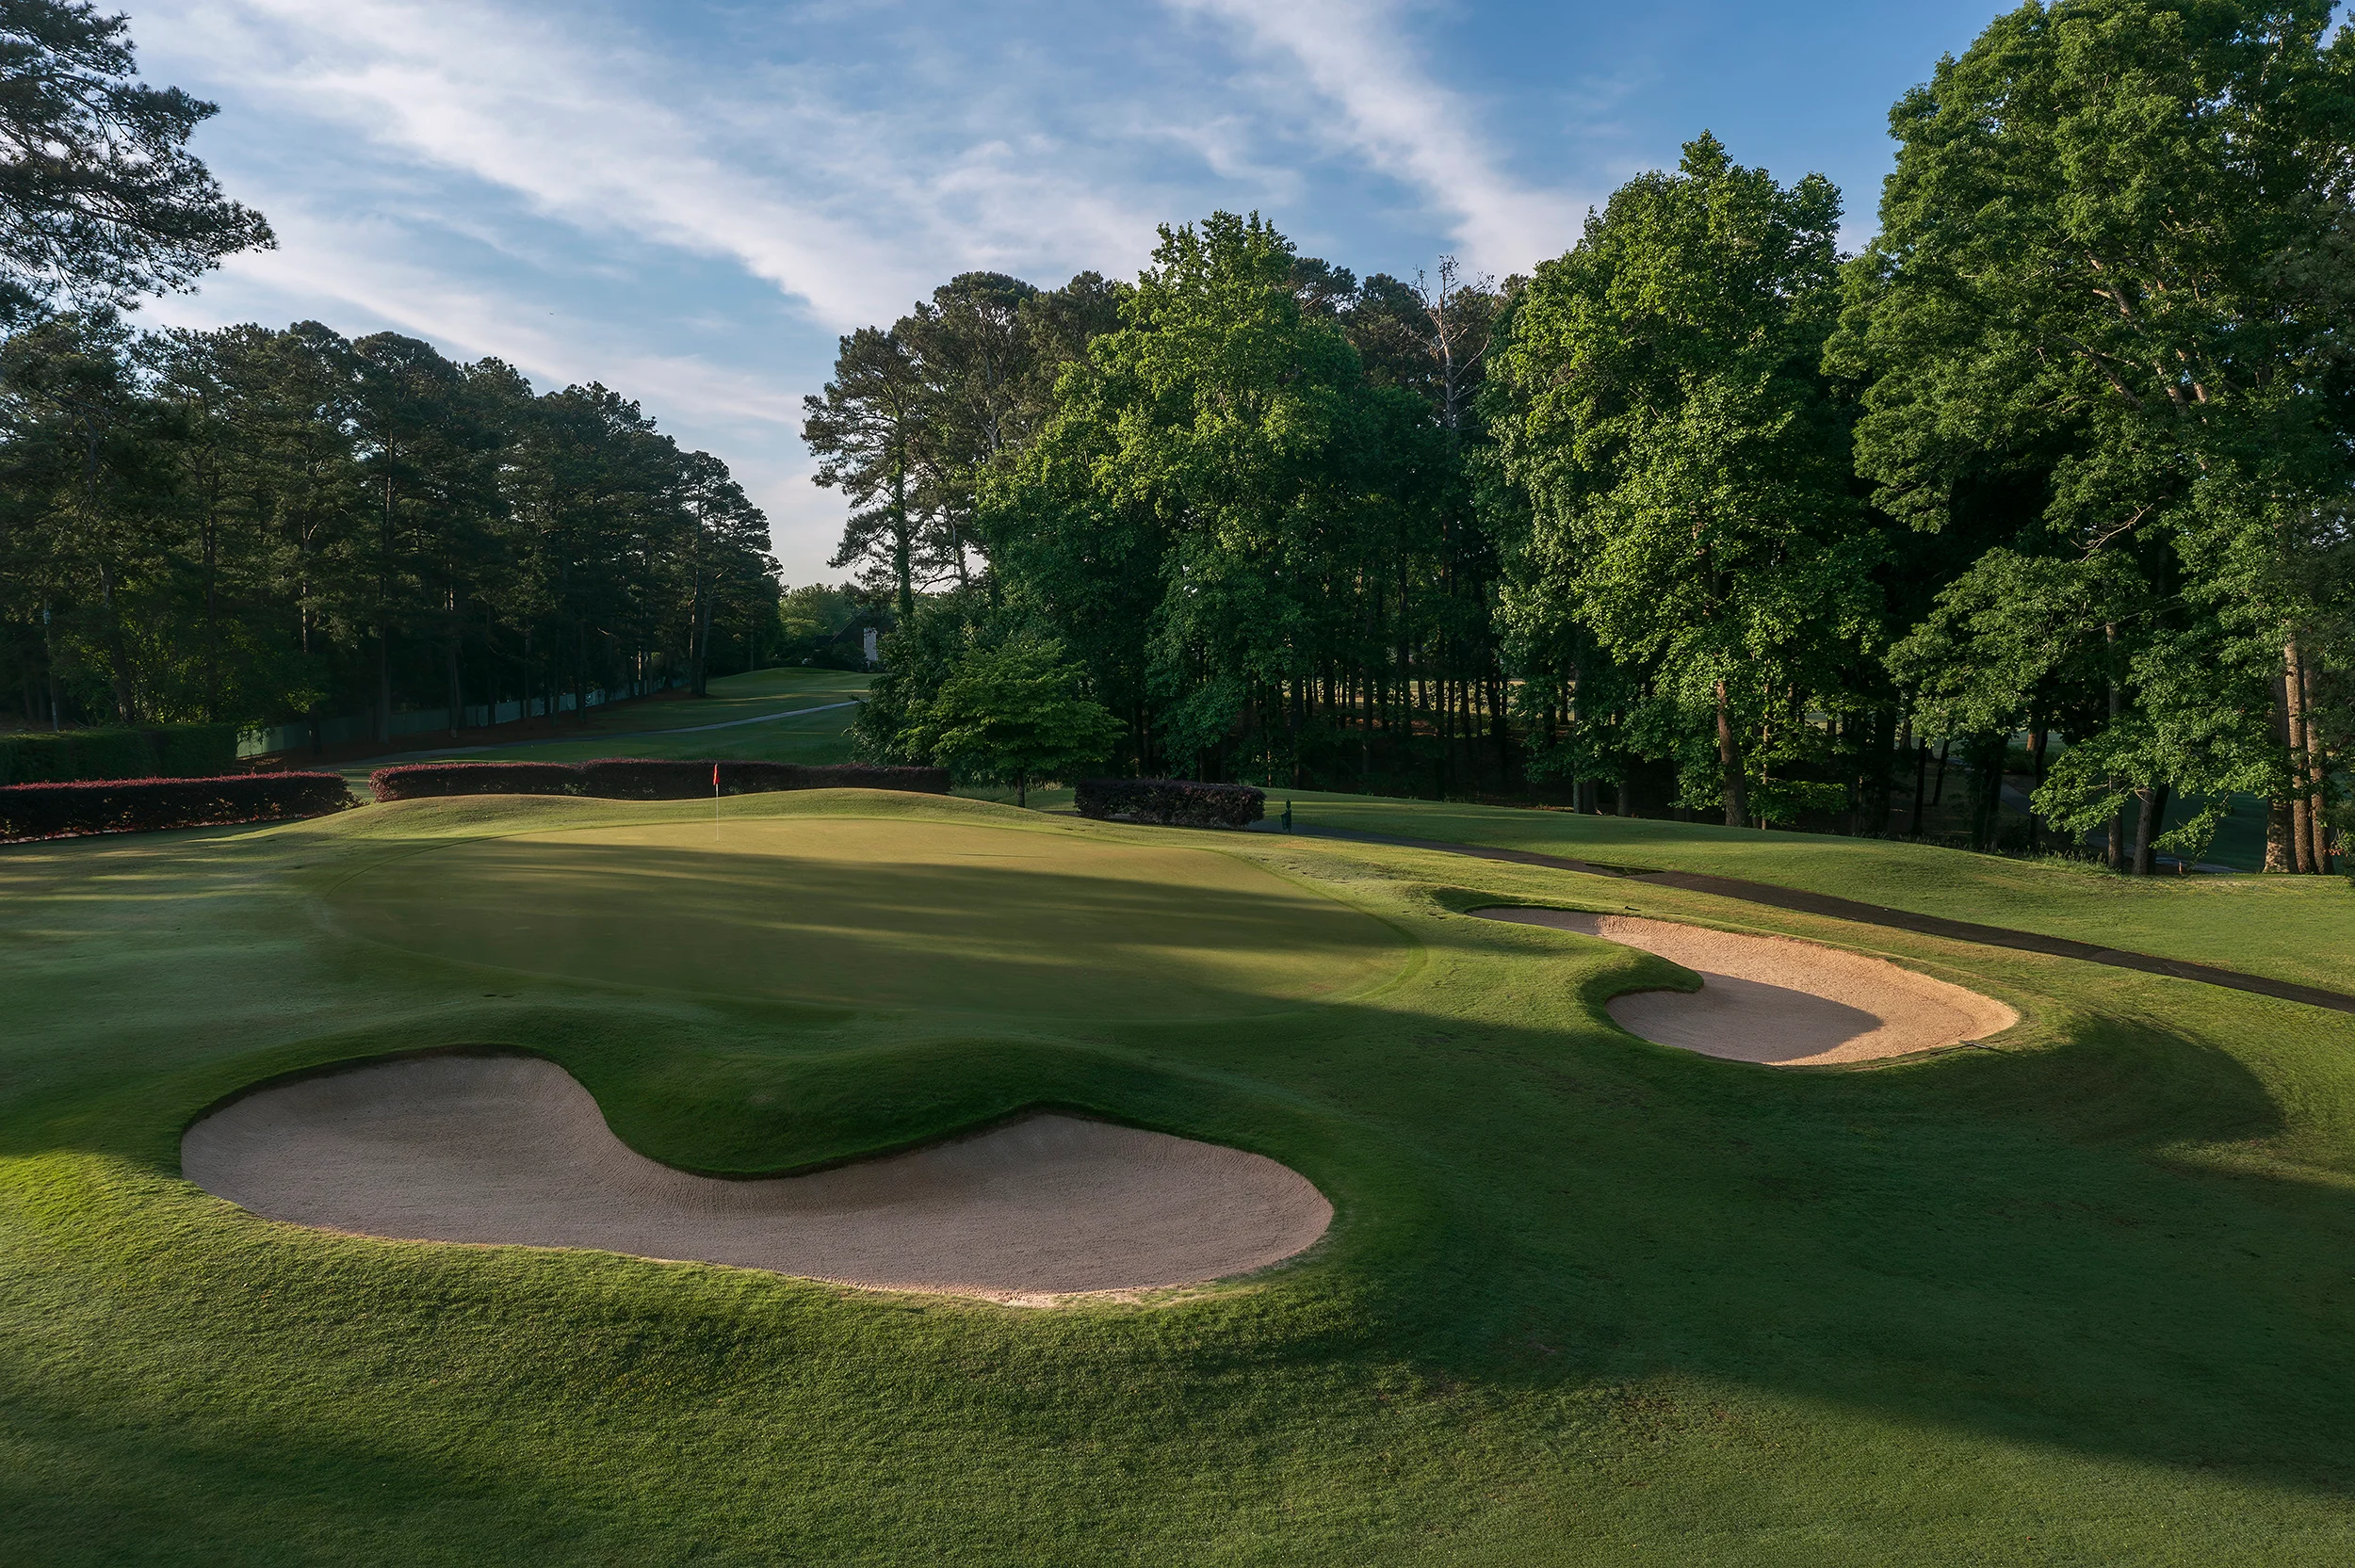
The 12th hole can play longer or shorter than the yardage depending on where your tee shot lands in relation to a slope near the 150 yard marker. Land short of this slope and your ball will likely stop dead, carry the slope and your ball will shoot forward leaving you a wedge or short iron to the green. From the fairway, you will have to negotiate a pair of bunkers that guard a green which slopes severely from back to front.
Yardage by tee
Hole 13
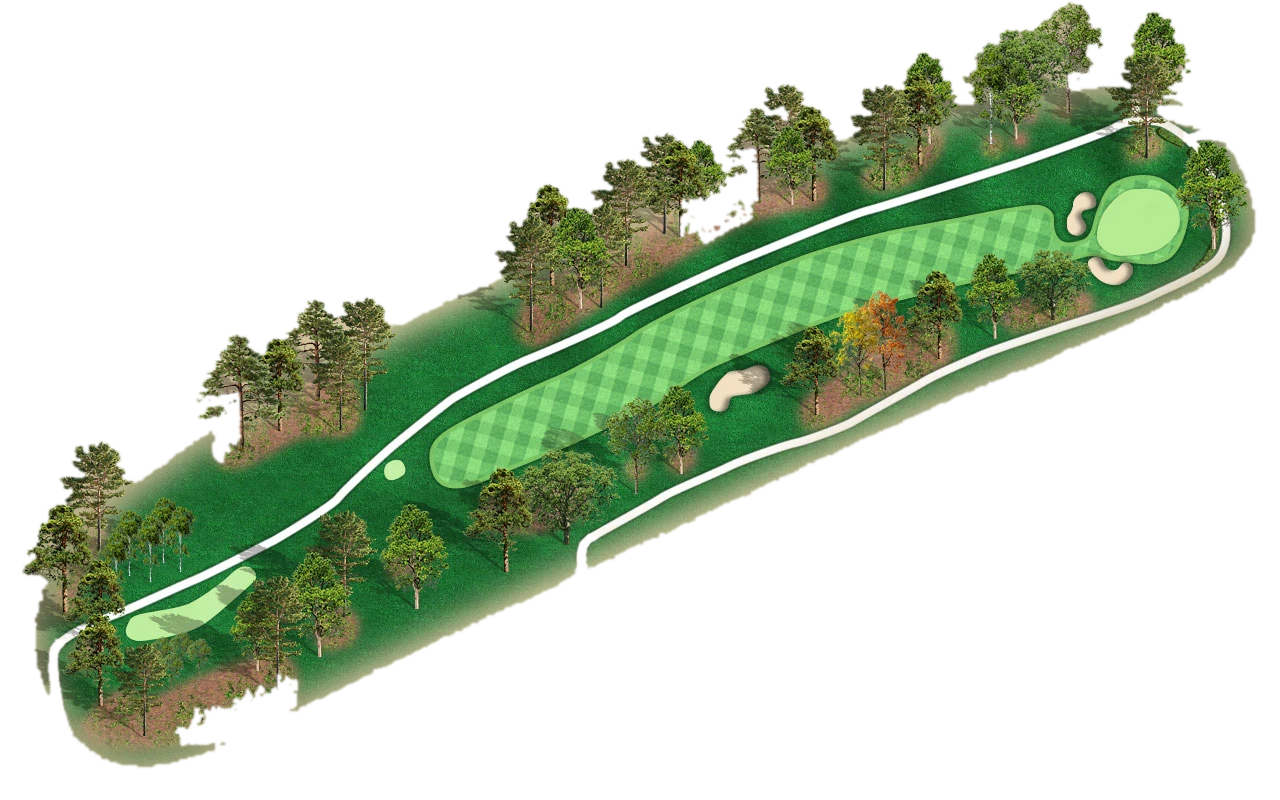
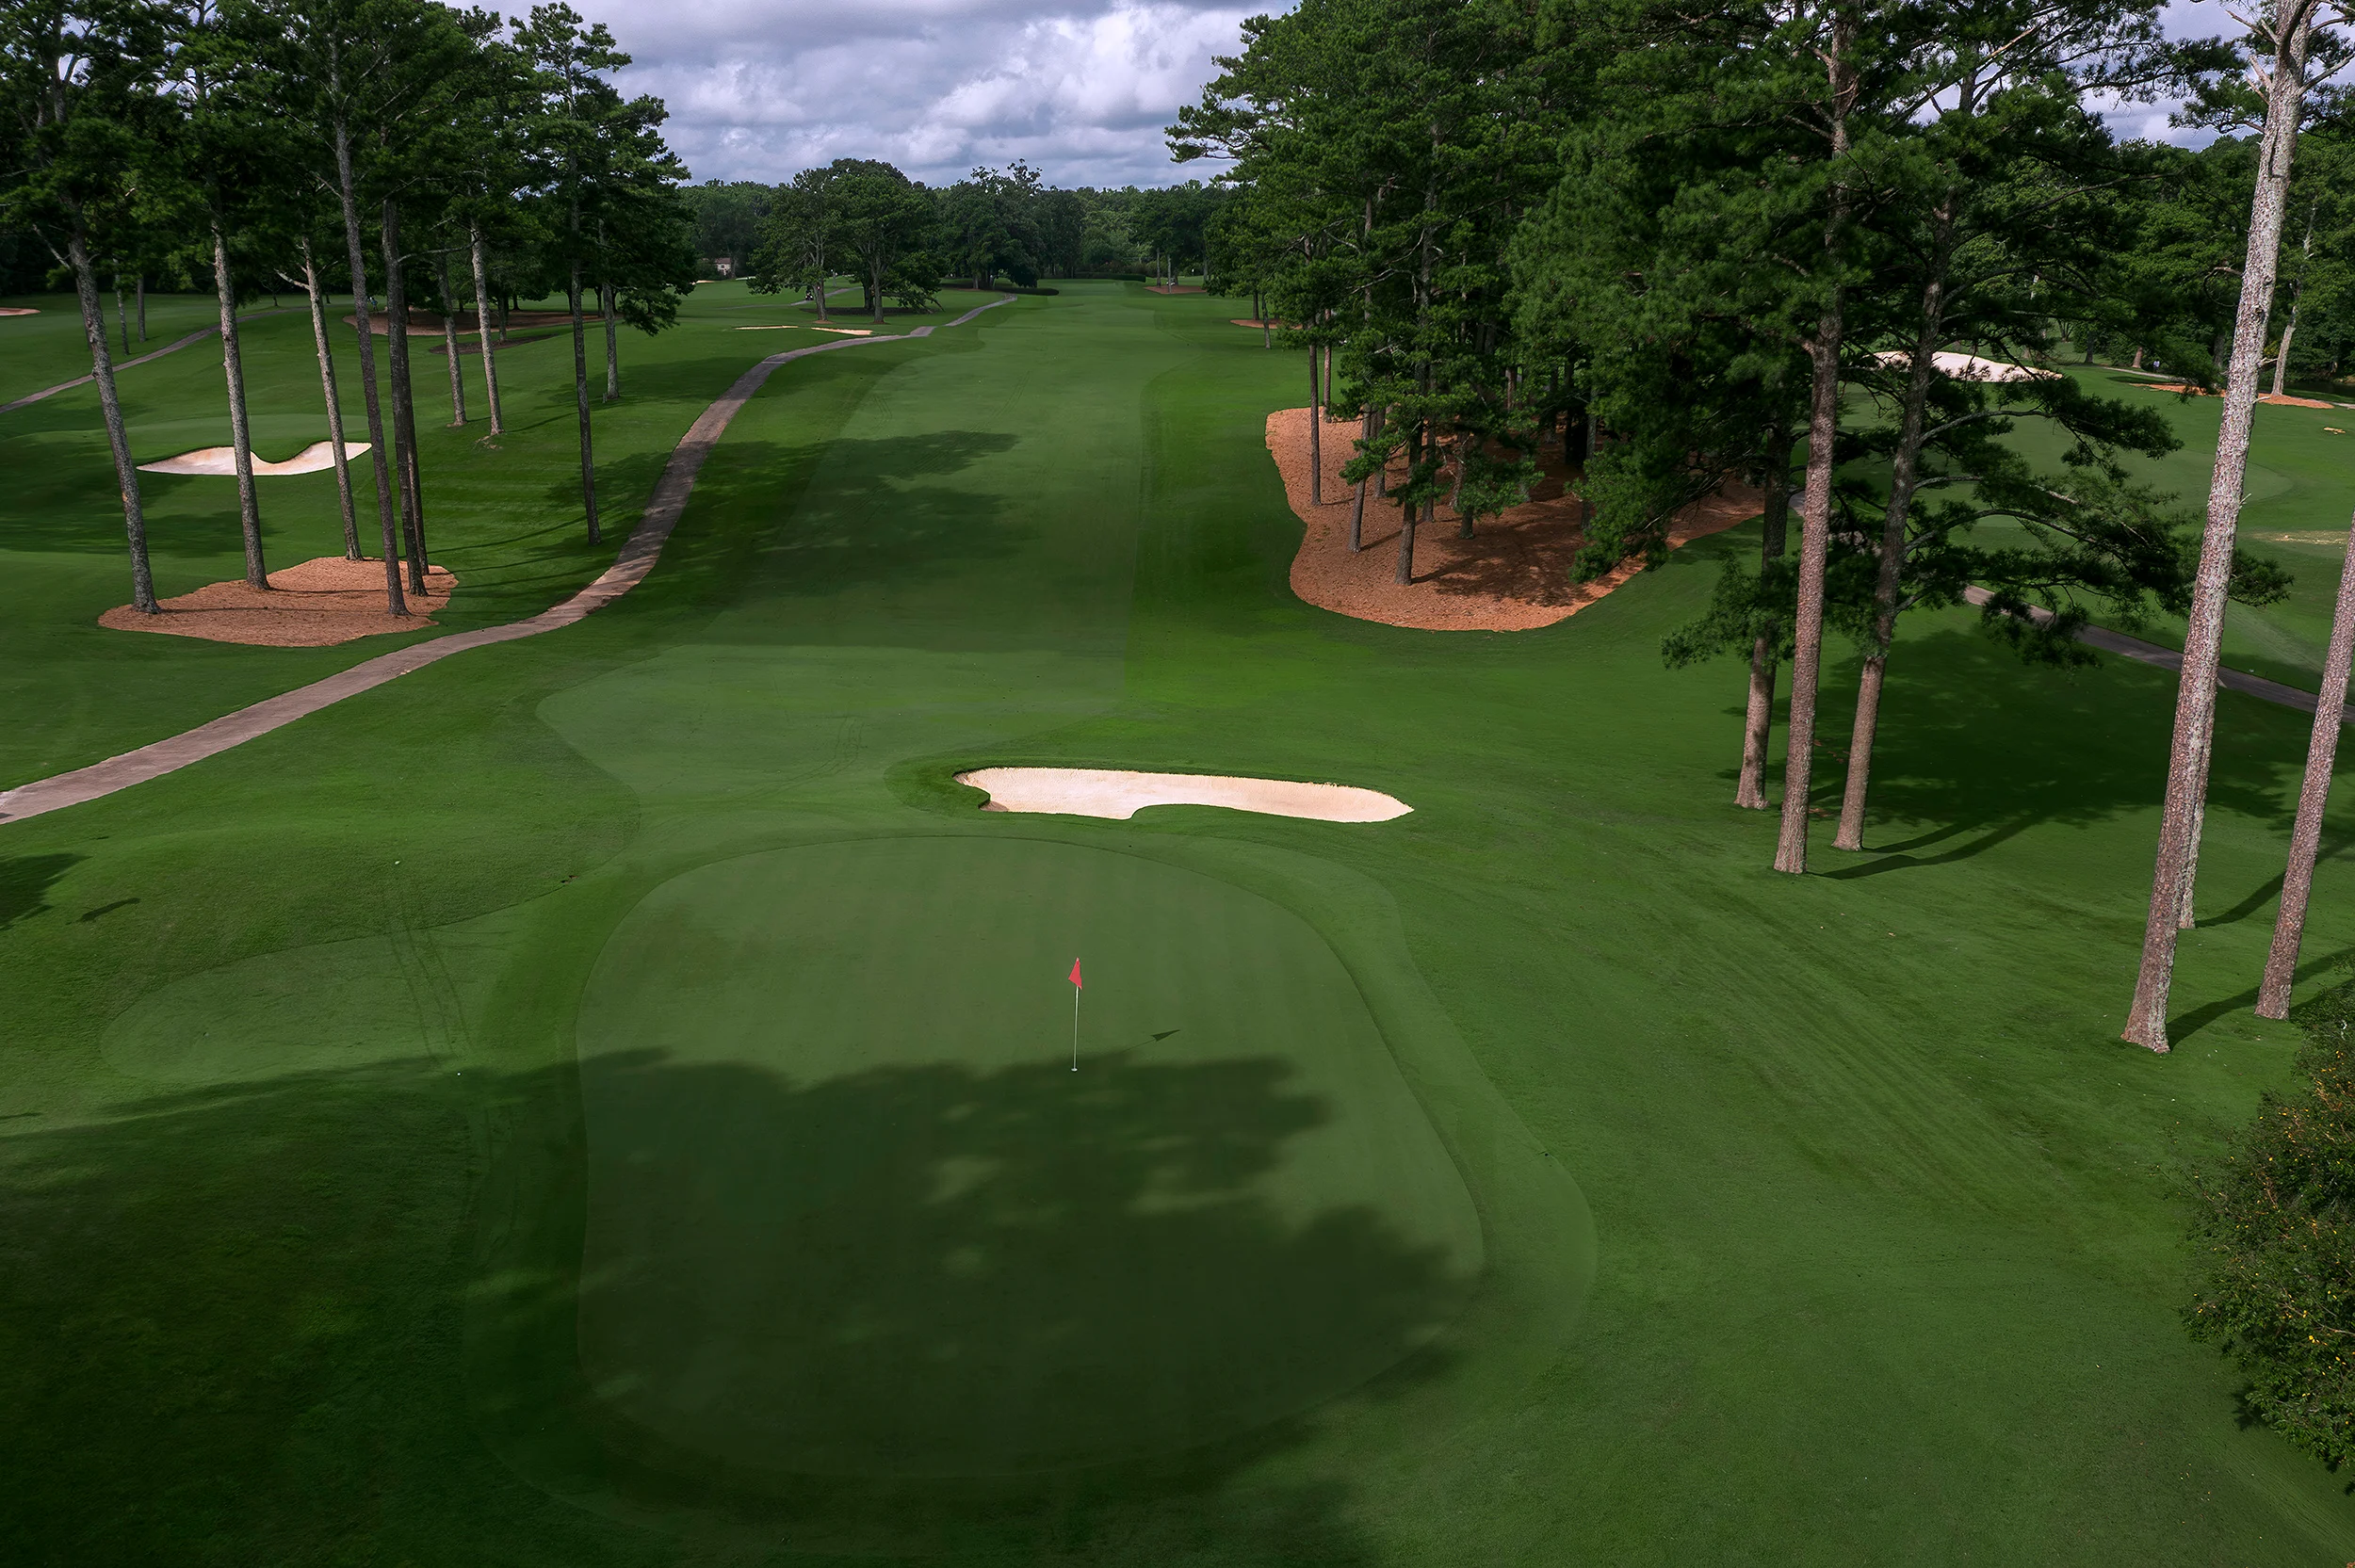
The 13th hole is probably the most difficult par 4 on the course due to the length and a small green that demands an accurate approach from considerable distance. While Number 13 plays straight away, you will want to favor the right side of this fairway because shots up the left side may end up behind a stand of pines with no shot to the green. The second shot plays downhill to a green that is cut in to the side of a hill sloping from right to left. A deep bunker guards the front portion of the green. The safe shot is to the right of this green but will leave you with a very difficult up and down.
Yardage by tee
Hole 14
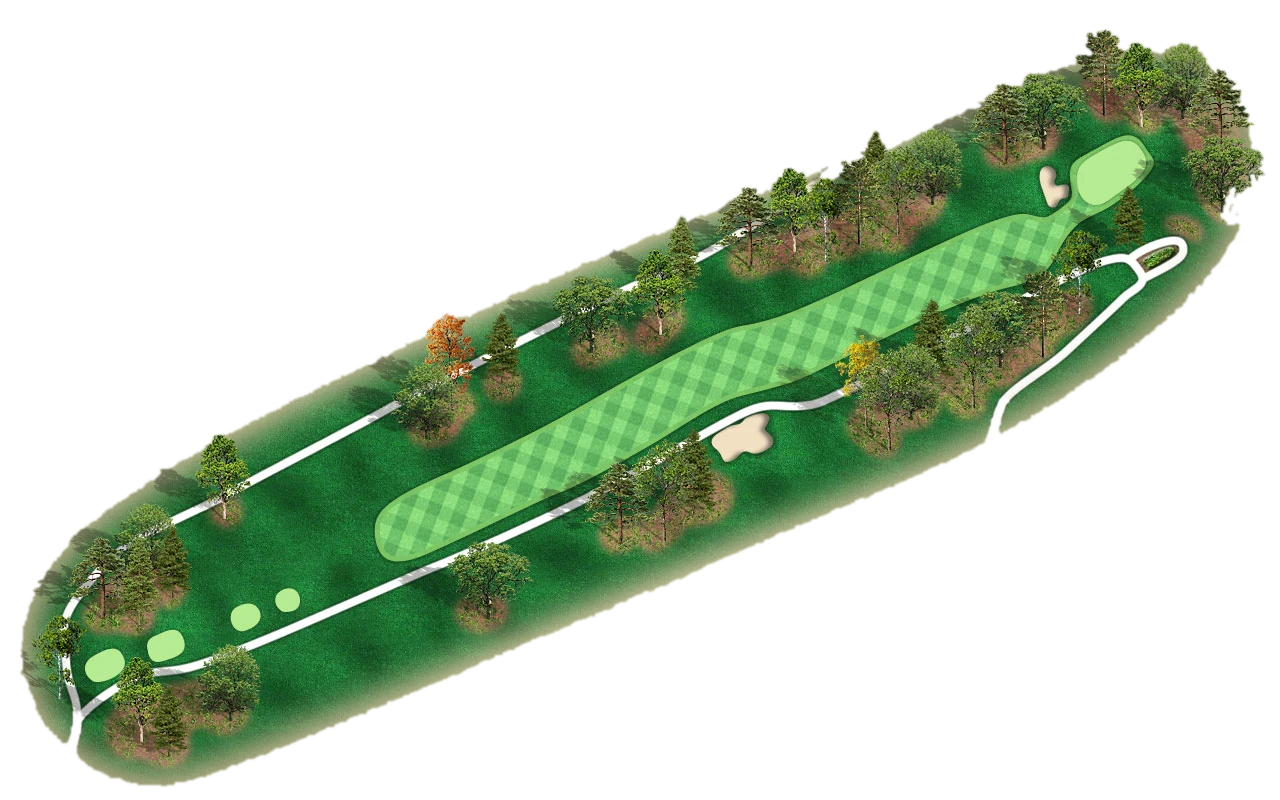
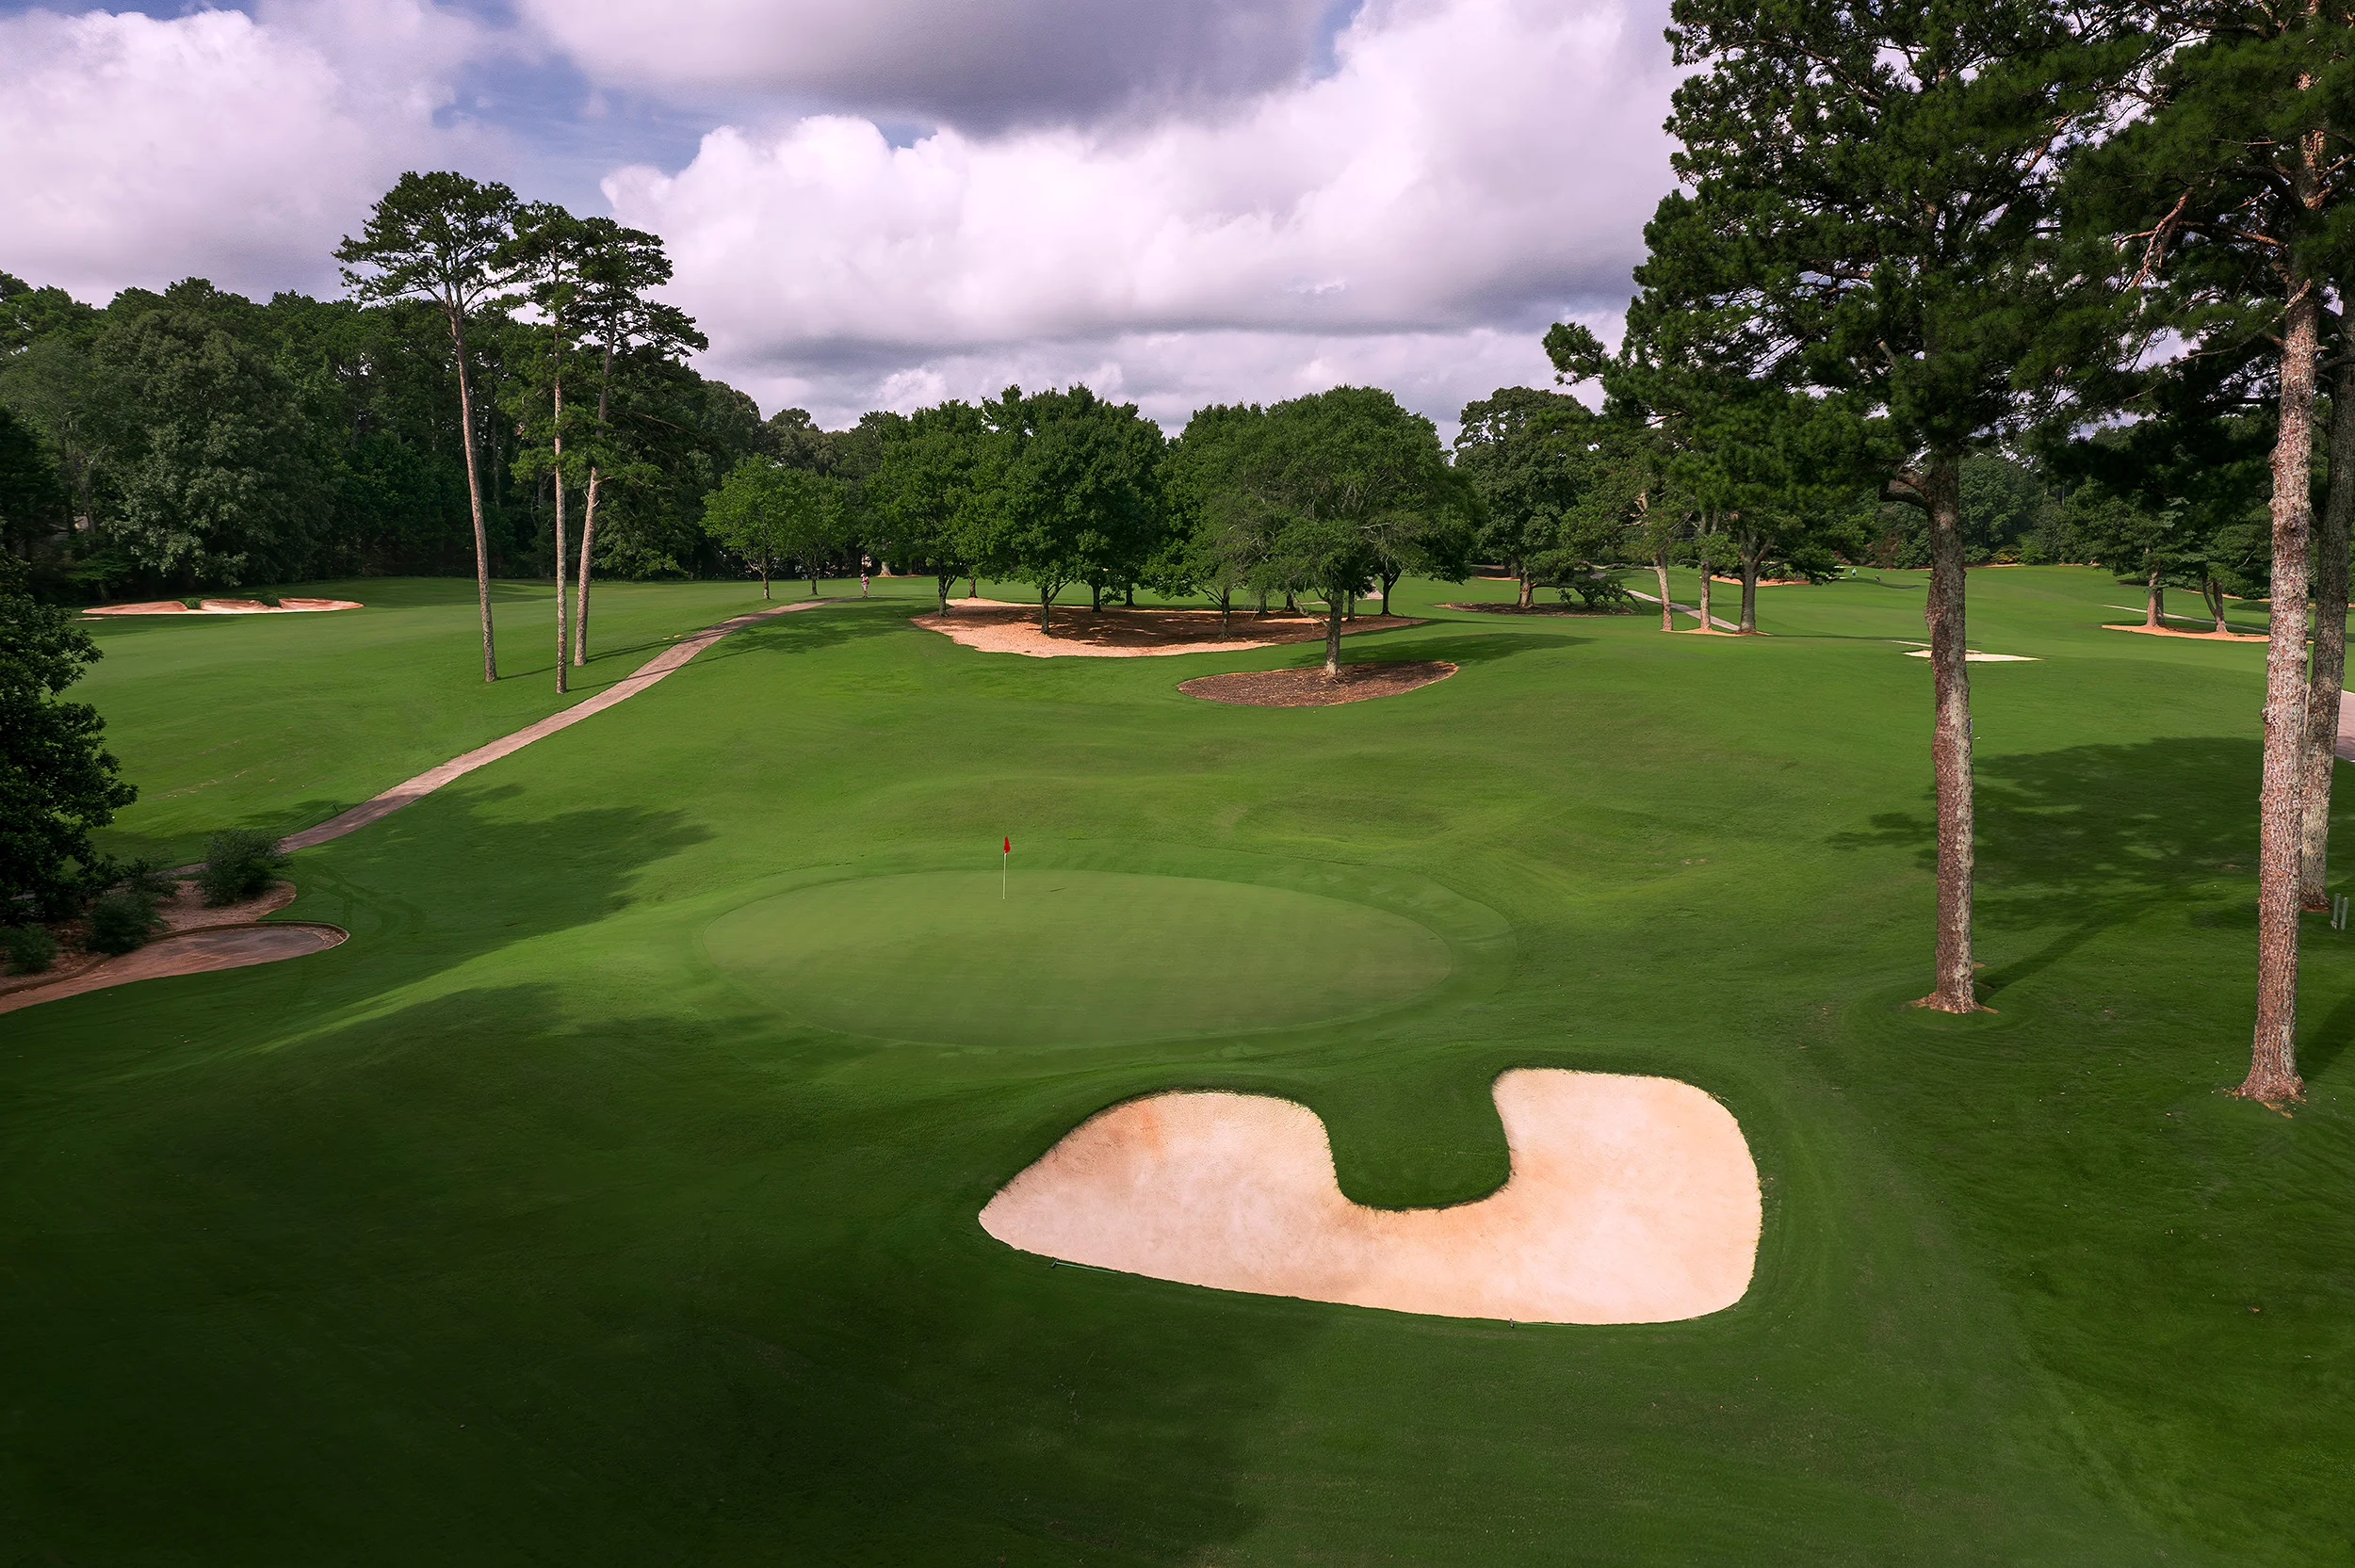
Number 14 plays shorter than the yardage thanks to a considerable downhill slope from tee to green. A mid-iron approach shot must avoid a large bunker short and right of this difficult green. Shots that land in the front half of this green will stop quickly, while those that carry past the middle of the green will likely run off the back. This green is surrounded by some of the thickest rough on the golf course, so getting up and down is never easy. In the spring and summer, a large patch of Azaleas behind the green makes this hole one of the prettiest in town.
Yardage by tee
Hole 15
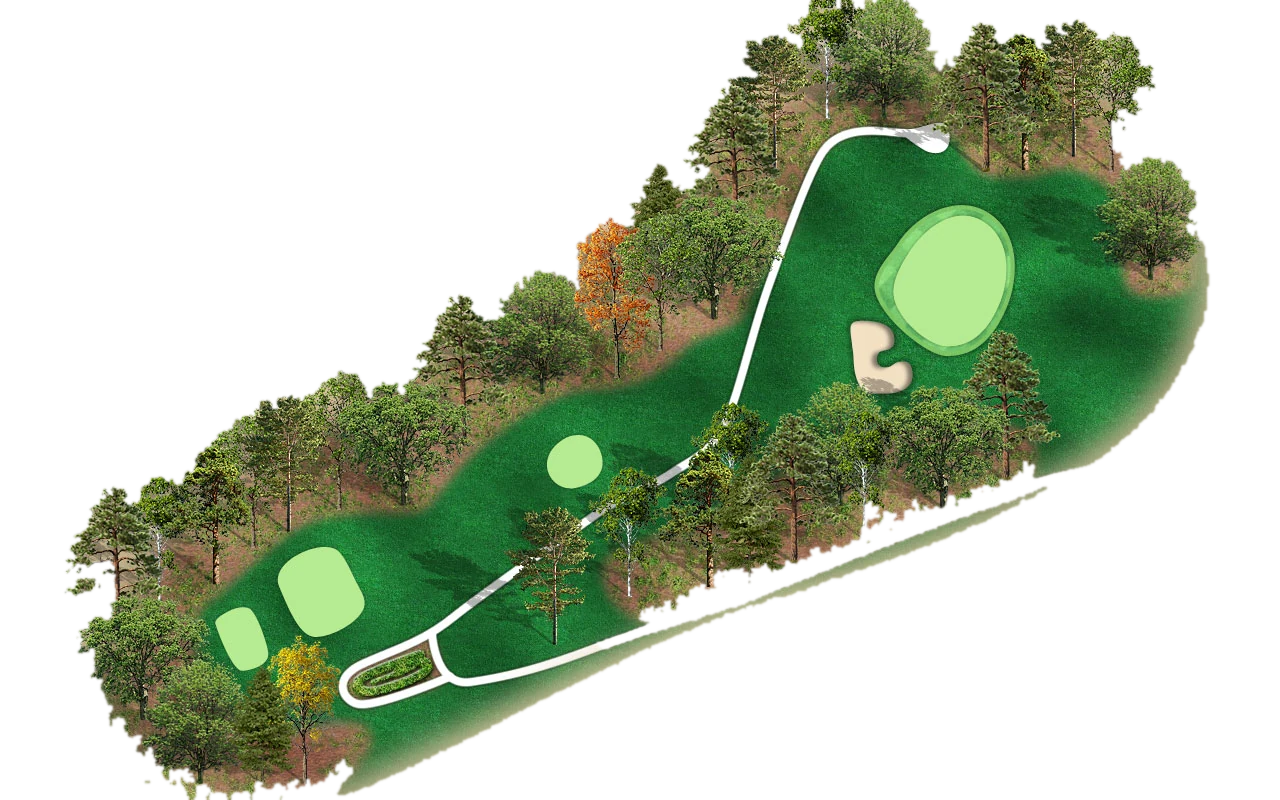
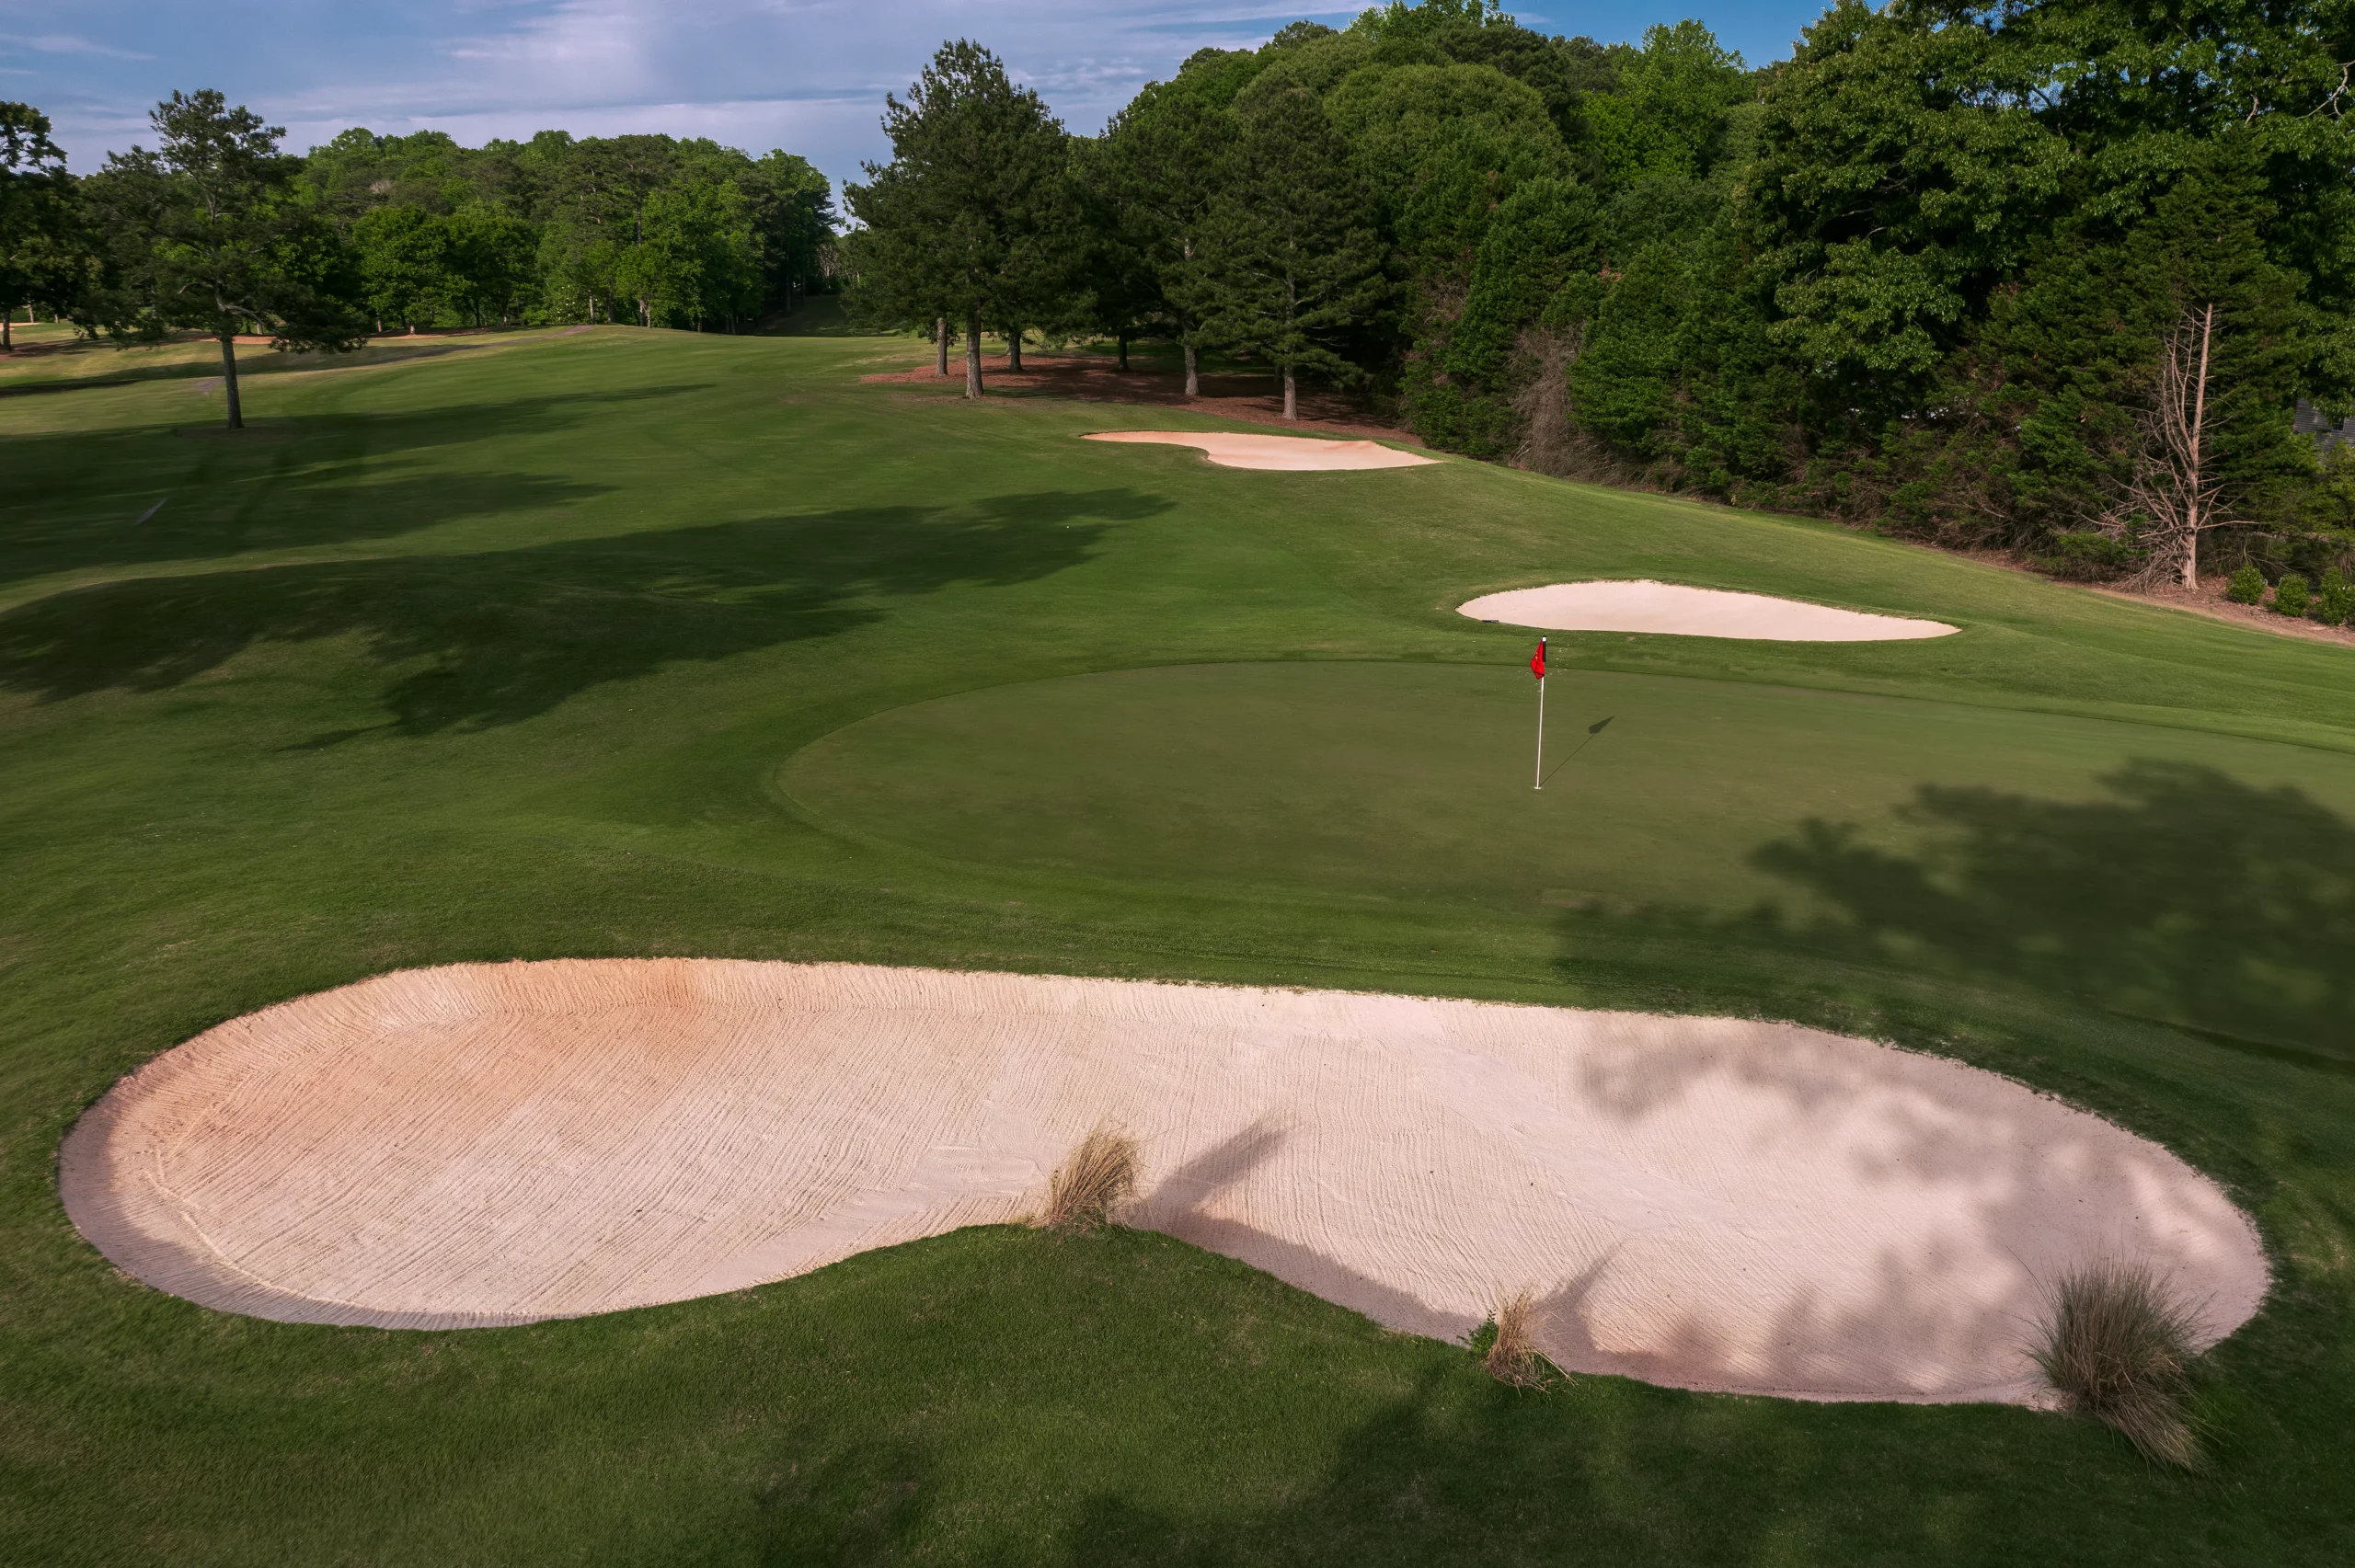
The second longest hole on the course starts off with a tee shot up a narrow chute of pine trees. From the Blue tees forward, this hole offers an excellent chance at birdie while from the Black tees, par is always a good score as the tee shot becomes considerably more difficult. Players must avoid a shallow bunker up the left side of the fairway off the tee and then several more bunkers as they approach the green. A small yet challenging green that slopes away from the center in every direction has some of the more difficult hole placements on the golf course. A birdie here must be earned with some good putting.
Yardage by tee

Hole 16
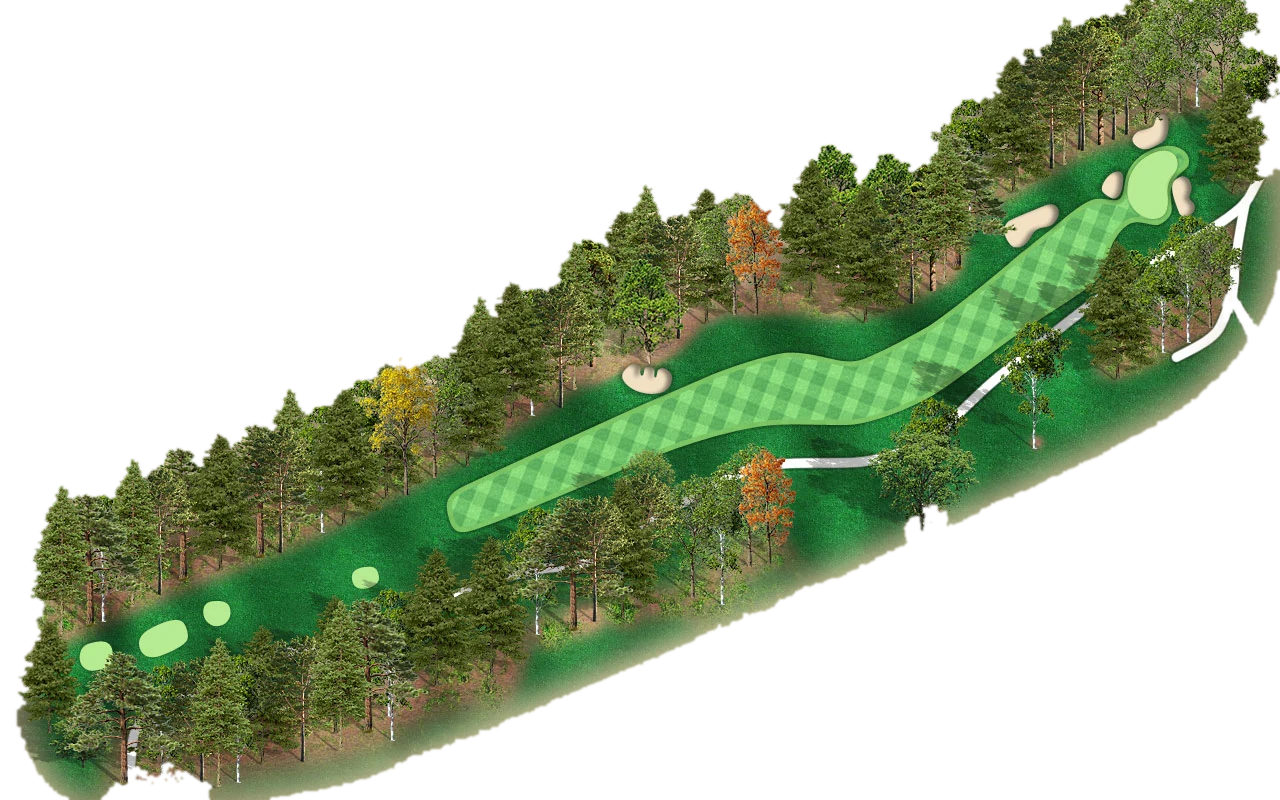
Sixteen offers players a choice off the tee. Play short to a plateau fairway that leaves a downhill approach with a mid or short iron or go long to a second fairway that leaves an uphill wedge shot to one of the trickiest greens on the course. Water guards the front and left of this green and a grass bunker offers bailout to the right. The green pitches sharply towards the water and par is always a good score on this tough little hole.
Yardage by tee
Hole 17
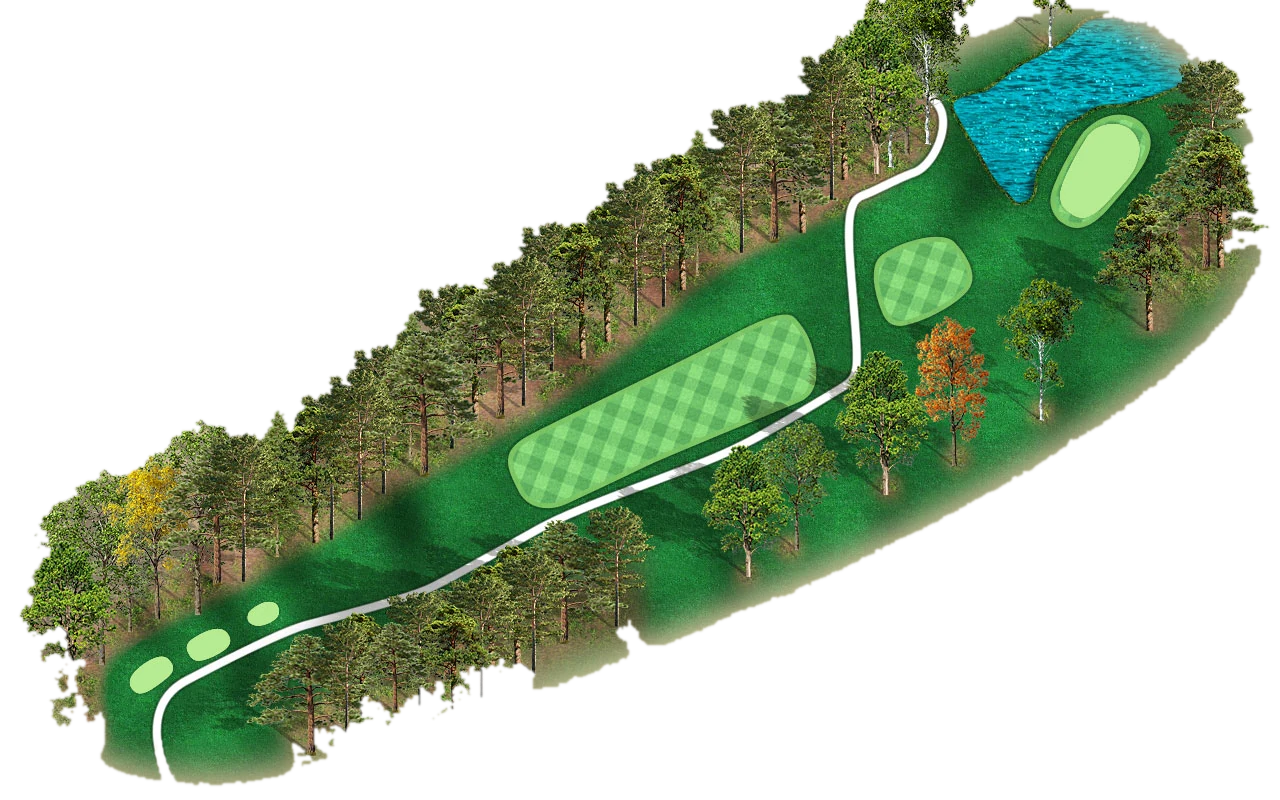
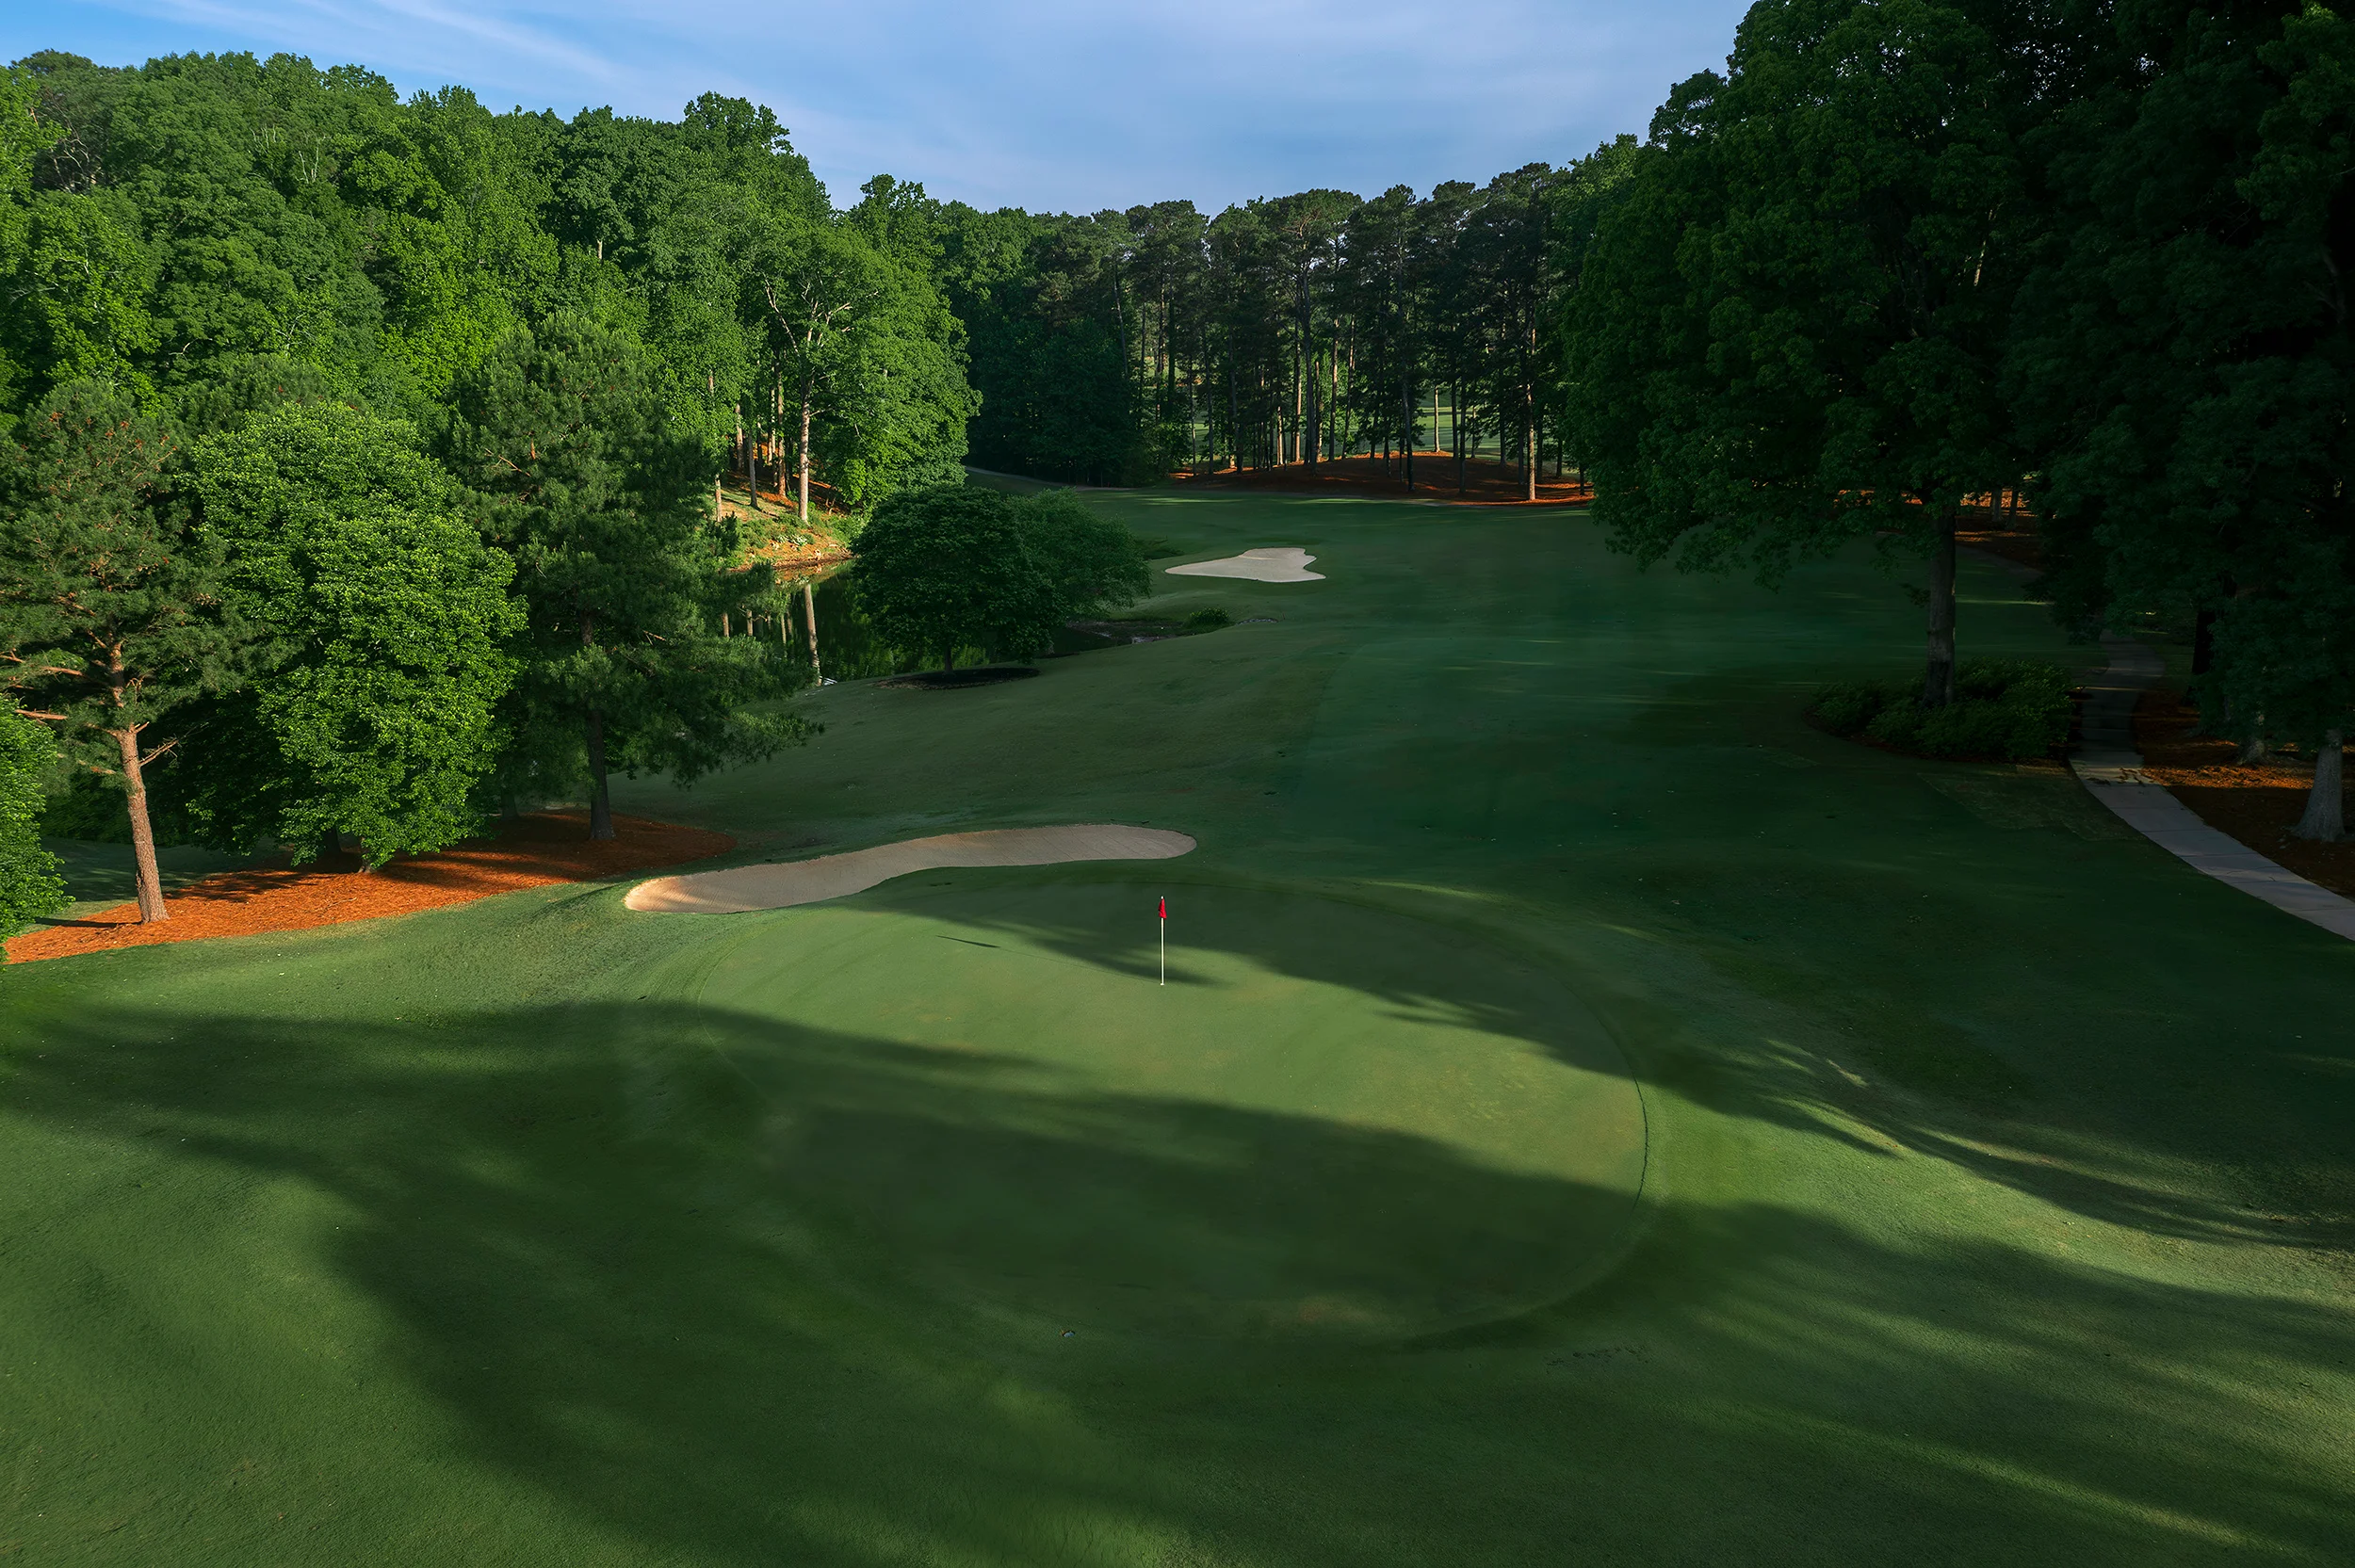
Accuracy off the tee, most likely with a fairway wood, is required so that the seventeenth hole does not wreck your round. The elevated tee shot is through a narrow chute of pines down to a fairway that doglegs right around a large water hazard. Because of the hazard on the right, many players will miss left and end up blocked out by a huge oak tree that hides much of the green. Negotiate the tee shot, and you will be faced with an uphill approach to a small, two-tiered green that slopes severely from back to front.
Yardage by tee
Hole 18
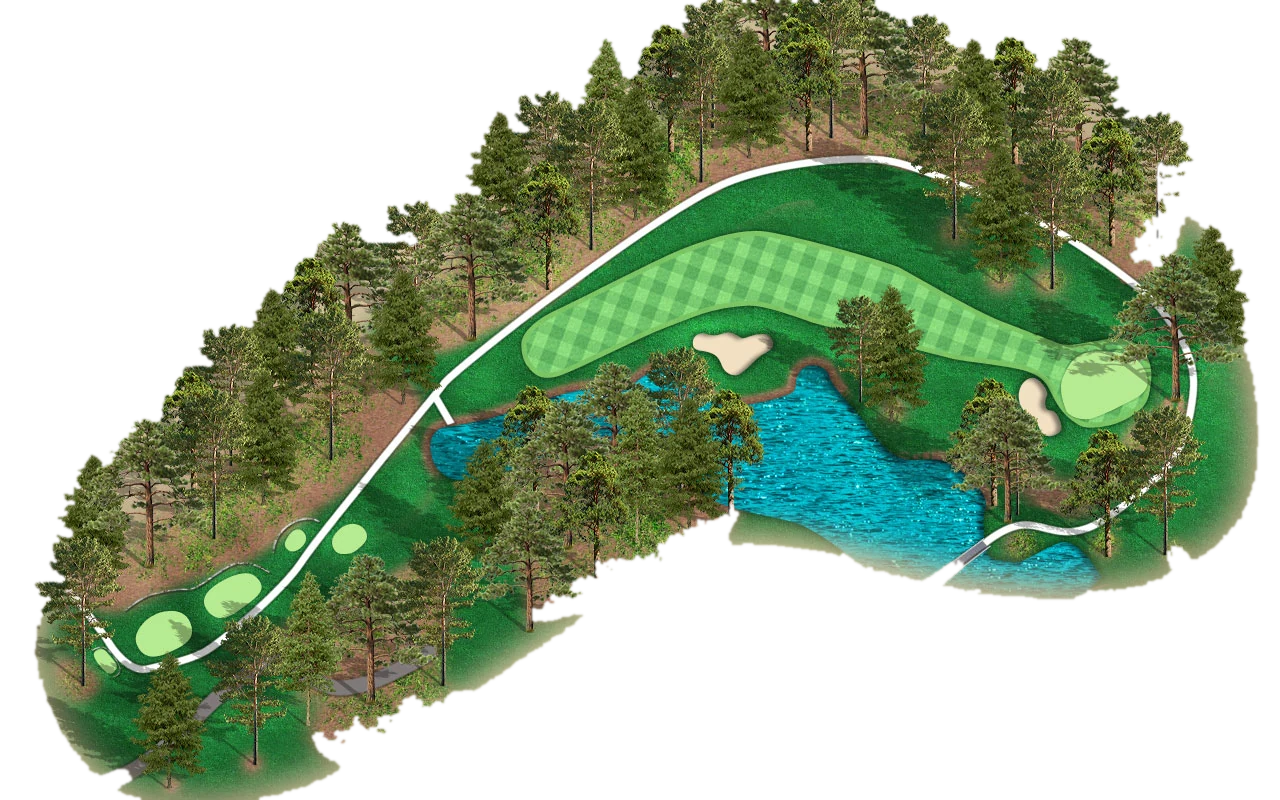
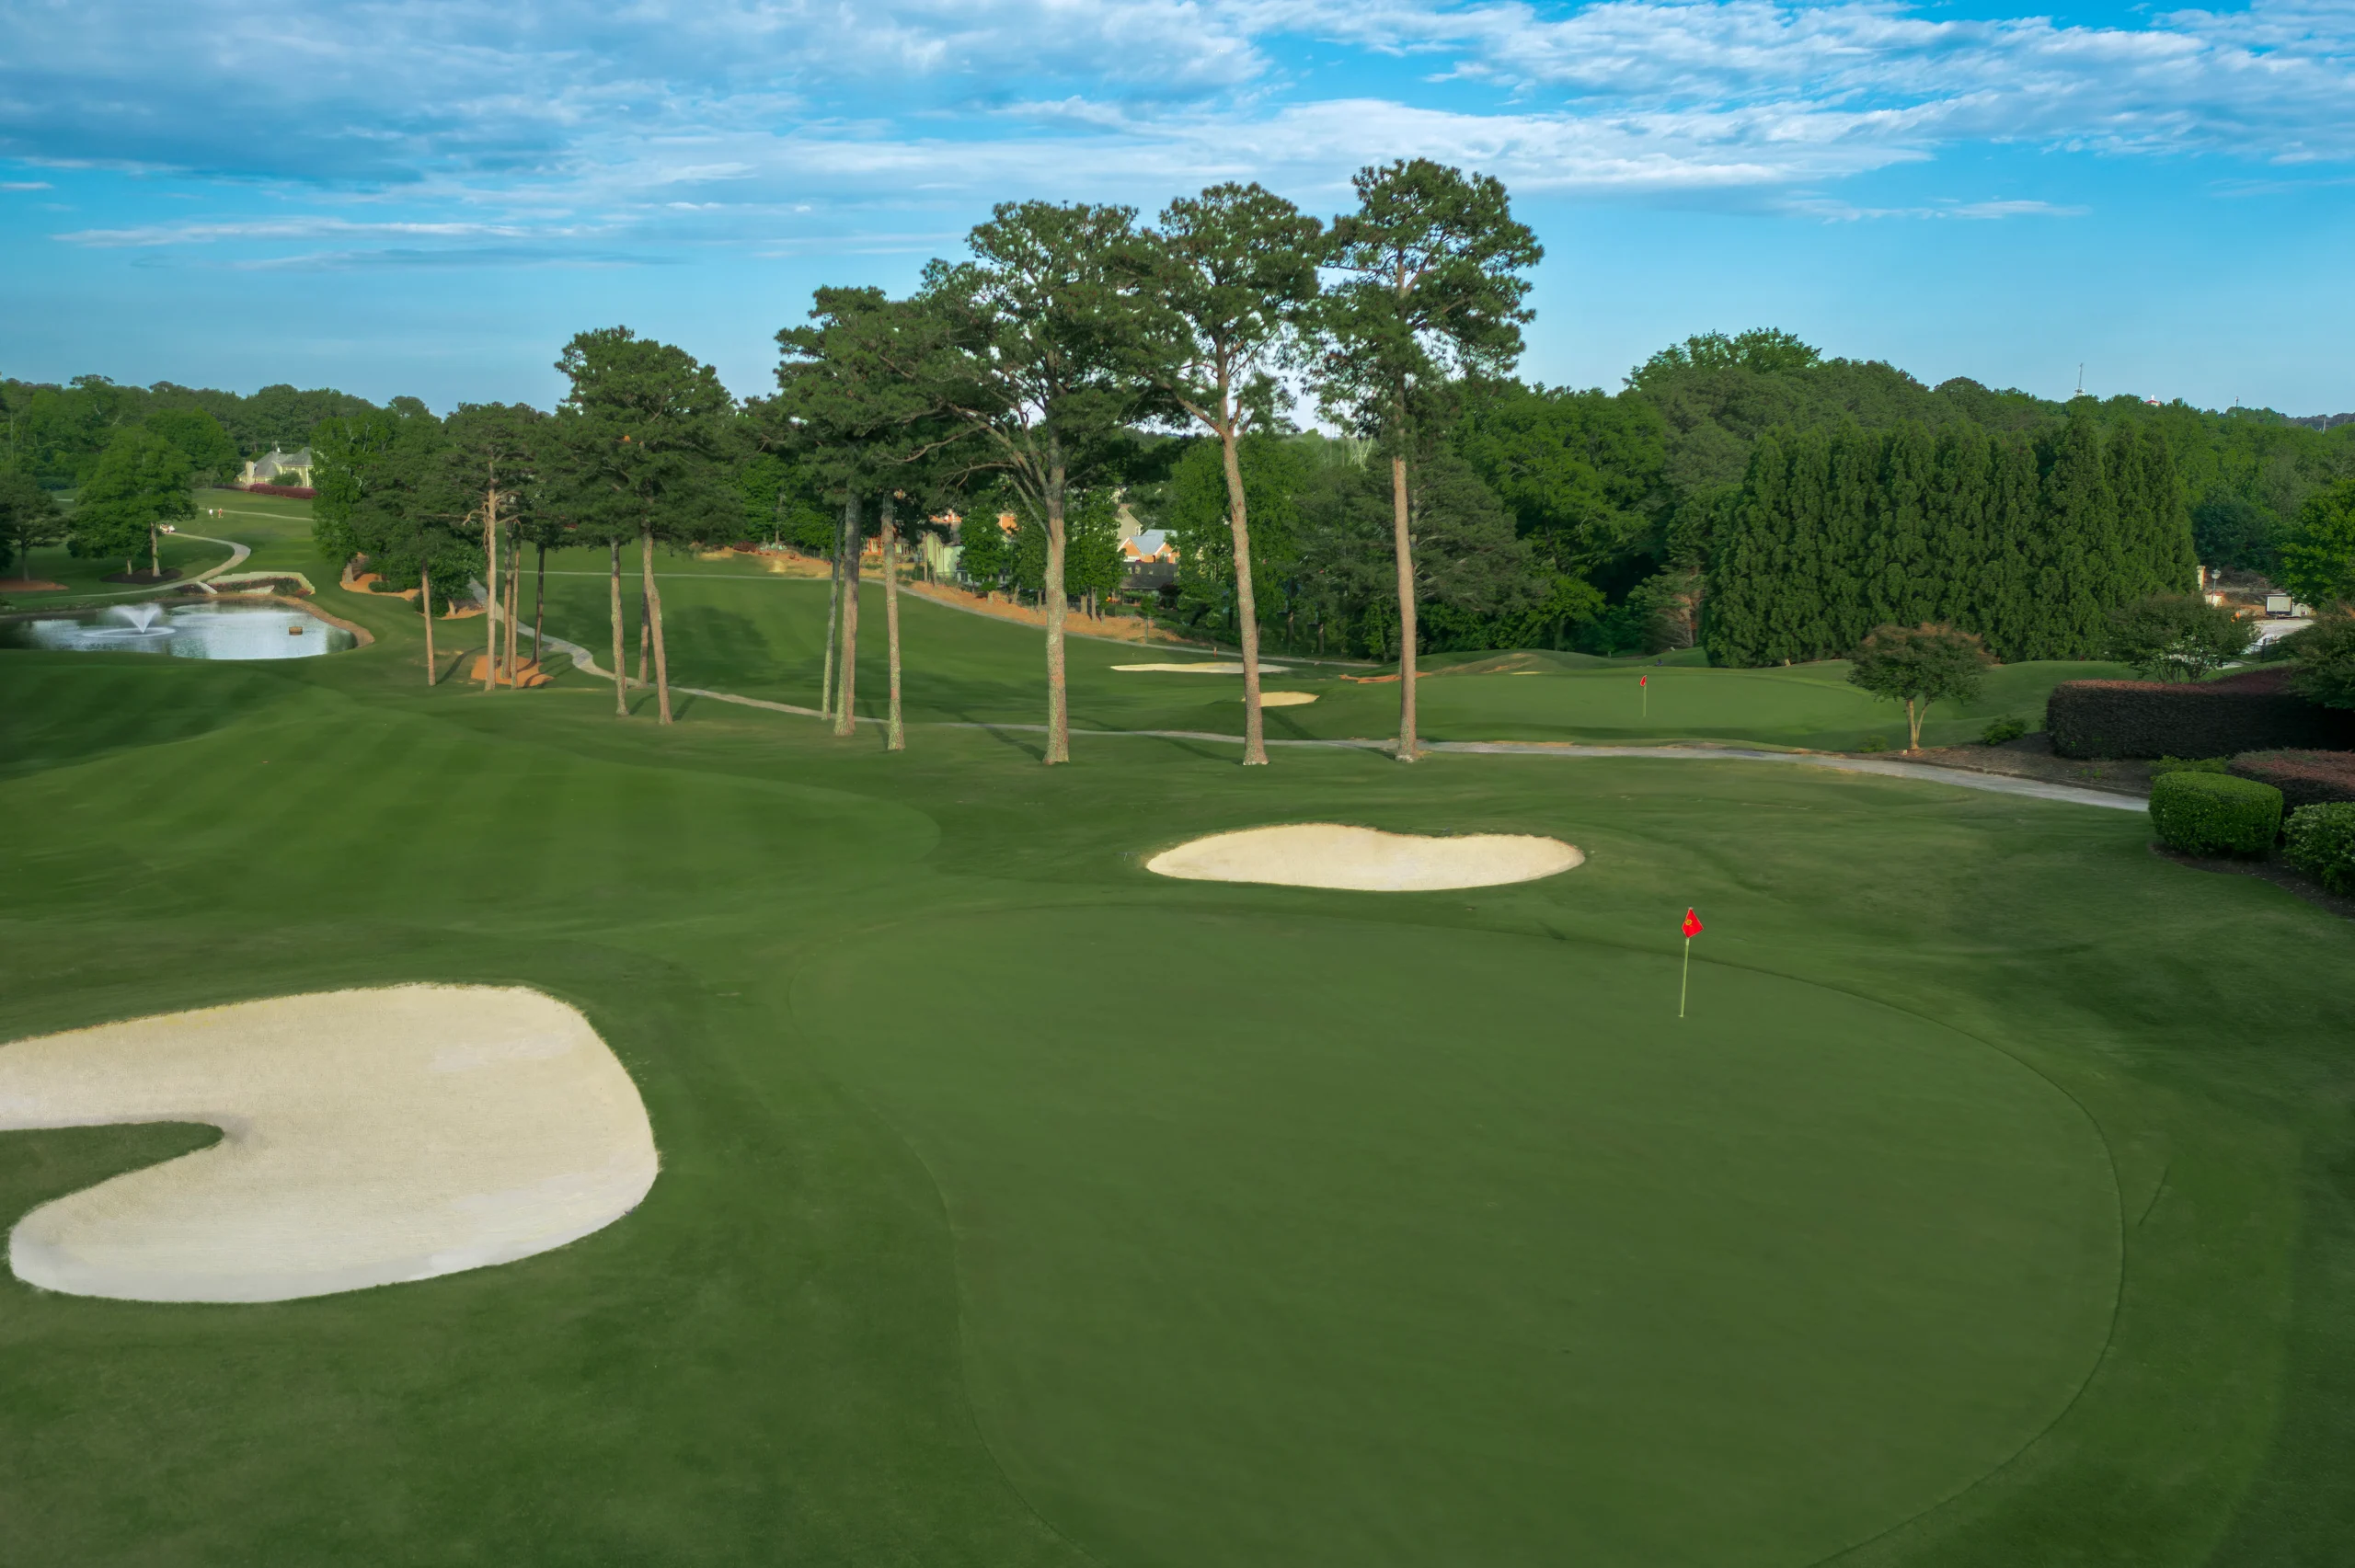
Trees line the fairway from tee to green and out of bounds is right, but a big tee ball that carries to a plateau creates a scoring opportunity to the uphill finishing hole. Without a carry or a draw the ridge that runs diagonally and away from the tee will produce considerably longer approaches from a side hill lie. The two-tiered green is guarded left and right by sand along with a steep slope in front. The 18th is one of the smallest greens on the course, each of the three primary hole locations requires a precise uphill approach.
Yardage by tee